Feeling overwhelmed by hundreds or even thousands of photos? This beginner-friendly guide explains a simple culling method to help you sort, reduce, and choose the strongest images without getting lost in the process.
Returning from a photo shoot or a holiday with hundreds — or even thousands — of photos can feel pretty overwhelming. Where do you even start?
There are many ways to sort through a big batch of images, but I use what I like to call the culling method.
Culling simply means sorting through your photos and removing the weaker ones until you’re left with the strongest collection.
The good thing about this method is that it helps break a huge, messy folder of photos into something much more manageable. It also makes editing easier later, because you’re only working on the images that are actually worth keeping.
Most importantly, you do not need to make perfect decisions on the first pass. The whole point is to make it easier by doing it in stages.
Step 1: Make a Copy and Sort
Before you delete anything, make a copy of all your photos into another folder and call it Original, Raw, or whatever naming convention works for you.
This is important because it means you are not deleting your only copy. If you make a mistake, change your mind, or accidentally save over something later, your originals are still safe. This avoids those “oh crap” moments.
If you have thousands of images — for example, from a holiday — it can also help to sort them into smaller groups first. You might organise them by town, by week, by day, or by location. Just choose whatever makes the most sense for that batch of photos.
Smaller groups are much easier to work through than one giant folder.
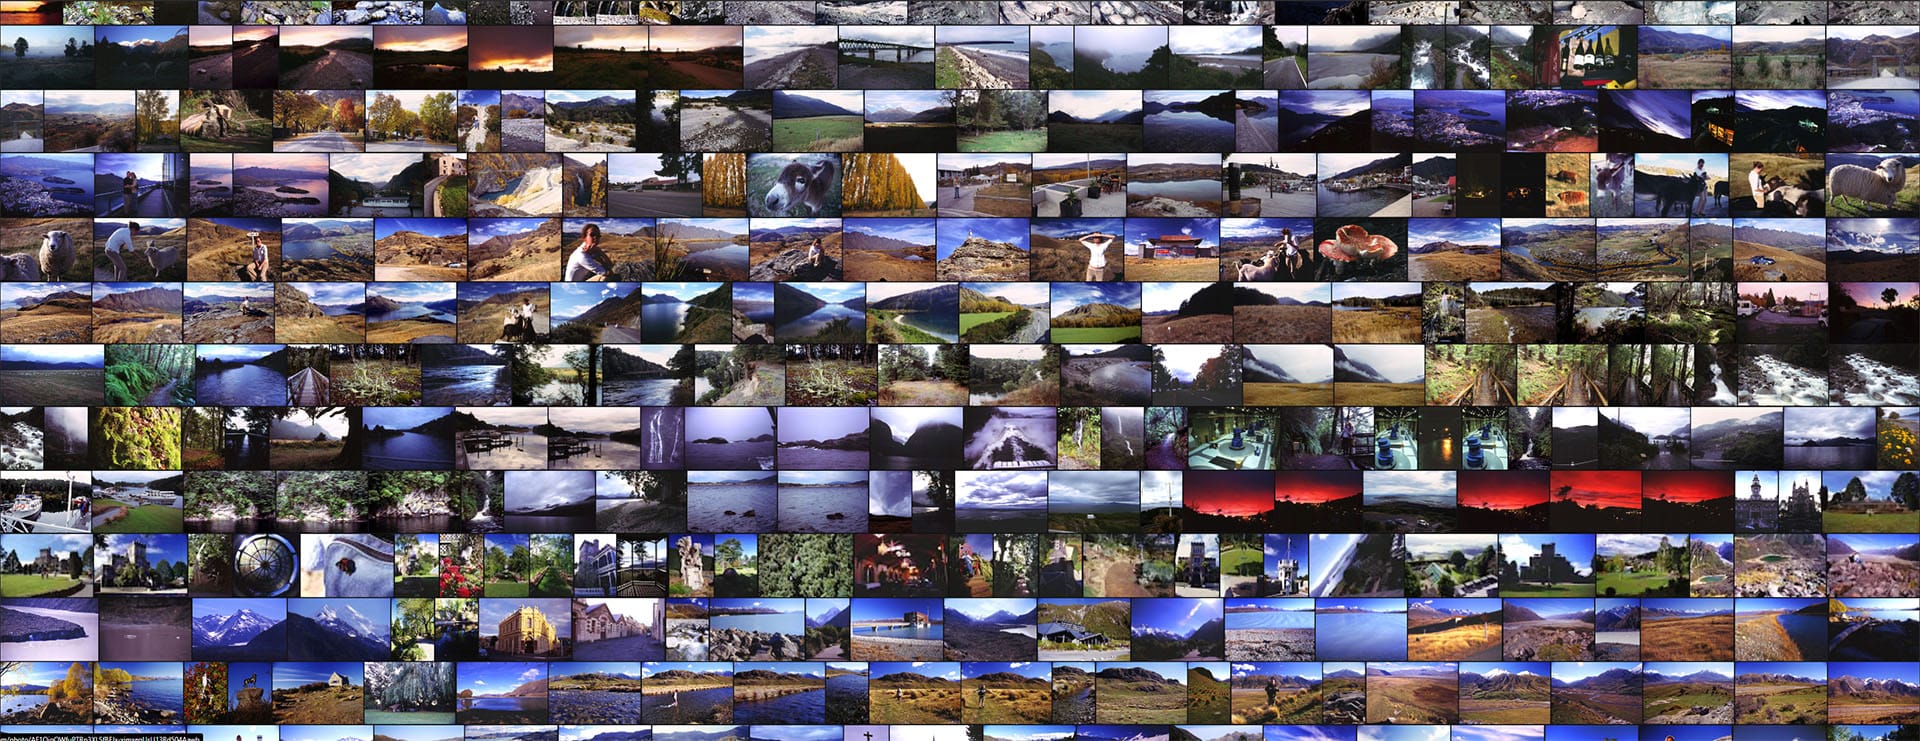
For example, on a seven-week tour of New Zealand, I broke my photos up into weeks. (below)
Unsorted holiday snaps from New Zealand
Step 2: The Cull — Phase 1
Now go through the collection one image at a time. Honestly, I just use the PC’s basic photo viewer for this.
Start by deleting the obvious weak photos:
accidental shots
random photos of your leg or the ground
badly blurred images
out-of-focus photos*(see Step 5)
badly exposed photos**
images with someone blinking or pulling an unflattering face
This first pass is not about making difficult artistic decisions. It’s just about getting rid of the obvious rubbish.
**Note: If you shot in RAW, poor exposure can often be salvaged, so don’t delete those too quickly unless they are clearly beyond saving.
Step 3: The Cull — Phase 2
Go through the images again.
By now, you’ll already have a better feel for the overall set because you’ve seen everything once. This second pass is where you start removing the duplicates or near-duplicates.
For example, if you have Uncle Ted in front of the house, Uncle Ted beside the house, and Uncle Ted back in front of the house again, this is the stage where you start choosing the best one.
That might be the sharpest one, the best expression, the nicest light, or simply the one that feels strongest.
If that feels too hard, don’t stress. You do not need to choose perfectly yet. Just leave the difficult ones for the next round and keep moving.
Step 4: The Weakest Link Loop
By now, your numbers should have come down a bit. If you still have far too many photos, consider breaking them into smaller groups again and repeating the same process.
This next part is what I call the weakest link loop.
It’s exactly what it sounds like: flick through the photos again and look for the image that feels weakest compared to the others.
At this stage, don’t overthink it. Just look at the images as a group and ask yourself things like:
Which one feels bland?
Which one has weaker light?
Which one has a less interesting composition?
Which one doesn’t add much to the set?
Which one feels less memorable than the others?
Sometimes the answer will be obvious.
You might find yourself thinking: “That’s a nice one... the kids look great in that shot... this one’s a bit boring... that one’s not as strong as the others...”
That’s the photo to remove.
Sometimes this round will only remove one or two images, and that’s completely fine. You’re still making progress.
Then repeat.
Each time you go through the collection, it gets easier to spot the weaker images. Over time, you’ll whittle the set down to a collection of genuinely good photos.
By “good,” I don’t necessarily mean prize-winning photography. I just mean the best of what you captured at your current level.
If you started with 1,000 photos, your final set might be 50, 100, or 200. There’s no magic number. The goal is simply to end up with a set that tells the story well without loads of unnecessary extras.
Step 5: Remember That Story Matters More Than Perfection
This part is especially important for beginners.
A technically perfect image is not always the most meaningful one.
If you’re sorting holiday snaps or family photos, think about which images best relive the experience or capture the feeling of the moment.
Sometimes a slightly blurred or imperfect image can still be the best one because the expression, timing, or memory matters more than technical quality.
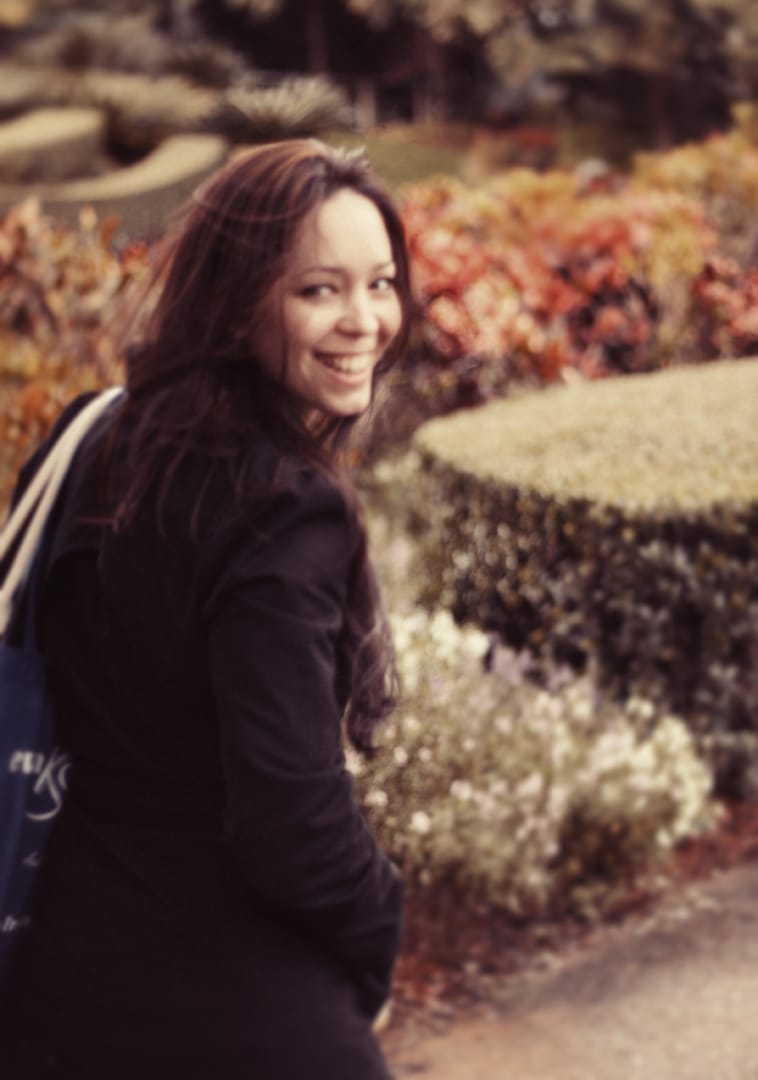
For example, I have a photo of my wife from when we were dating, and it’s quite out of focus. But the expression on her face, captured in that moment, is far better than the sharper images from the same place and time. It still feels like the best memory from that moment. (below)
Although quite out of focus, this photo captured the moment
So yes, keep technical quality in mind — but don’t let it be the only thing you judge a photo by.
Step 6: Edit
Once you have a collection you’re happy with, then it’s time to edit.
Because you’ve already cut the folder down to your strongest images, the editing process becomes much easier and less overwhelming.
If you don’t have photo editing software and you’re happy with the photos straight out of camera, that’s perfectly fine too.
The main job is simply to end up with a smaller, stronger collection of images you actually want to keep, share, or print.