How I built a budget-friendly HEMA gorget using scrap stainless steel, a borrowed Winter Tree Craft pattern, and built from stainless steel, leather straps, and peened copper rivets.
Need gorget, but no money for gorget, because all money spent on swords.
And such is life when you discover there’s such a thing as Historical European Martial Arts (HEMA). You dive in head first, and before you know it… you’re a sword collector.
So now you have many swords 👏🏽 — but if you want to use them, you’re going to need armour. After all, no one wants to lose a limb. But let me clarify a few things here for those of you who’ve just realised HEMA is actually a thing.
We don’t use live blades — well, at least not when training with opponents. For longsword training, we use specially made, historically accurate training fedders.
The “armour” is also specially crafted, and mostly not metal. Generally: a gambeson, padded pants, a box for floppily-doppilies, shin guards (motocross ones work fine), special plastic gauntlets, and various types of fencing masks depending on what swords are being used.
One of the only full-metal parts commonly allowed in training and competition is the gorget (pronounced gaw-juht).
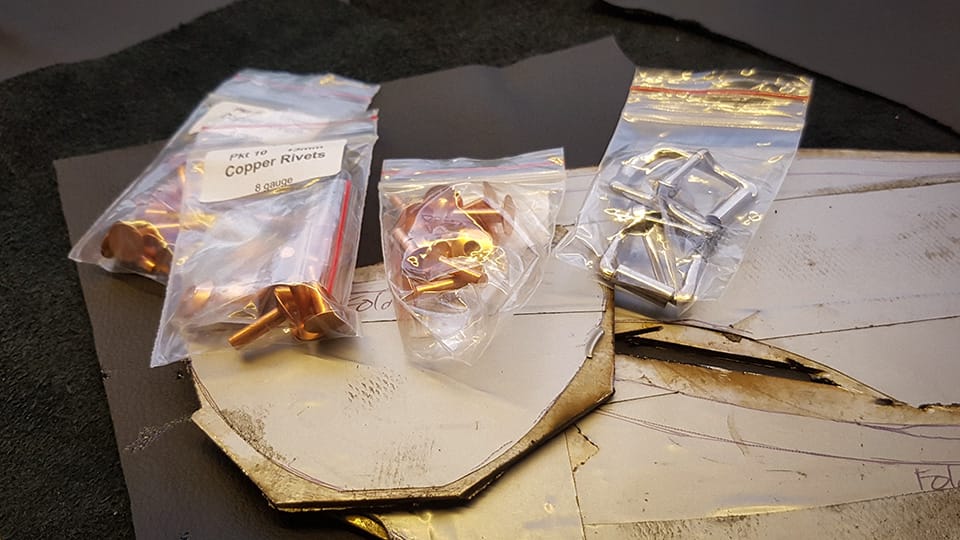
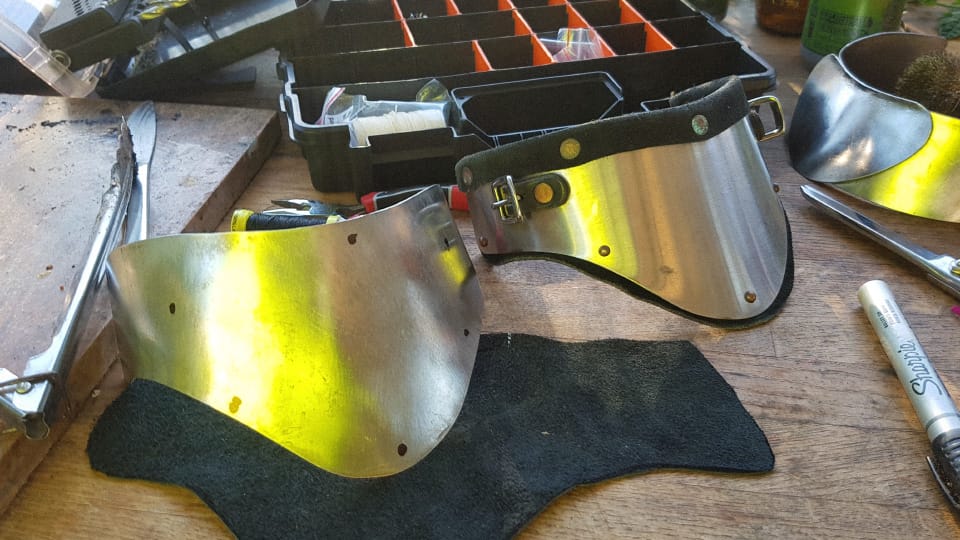
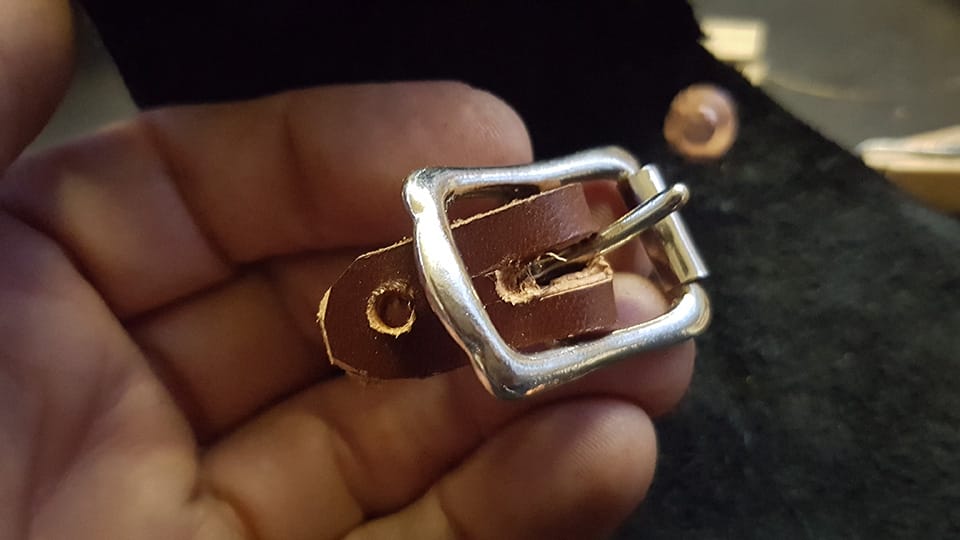
Copper rivets and buckles and the marked out pieces of stainless
I am not a fan of getting stabbed in the neck, and due to a lack of remaining funds (plus a collection of appropriate tools), I decided to make a copy of the Winter Tree Craft (WTC) gorget — which is a pretty common choice.
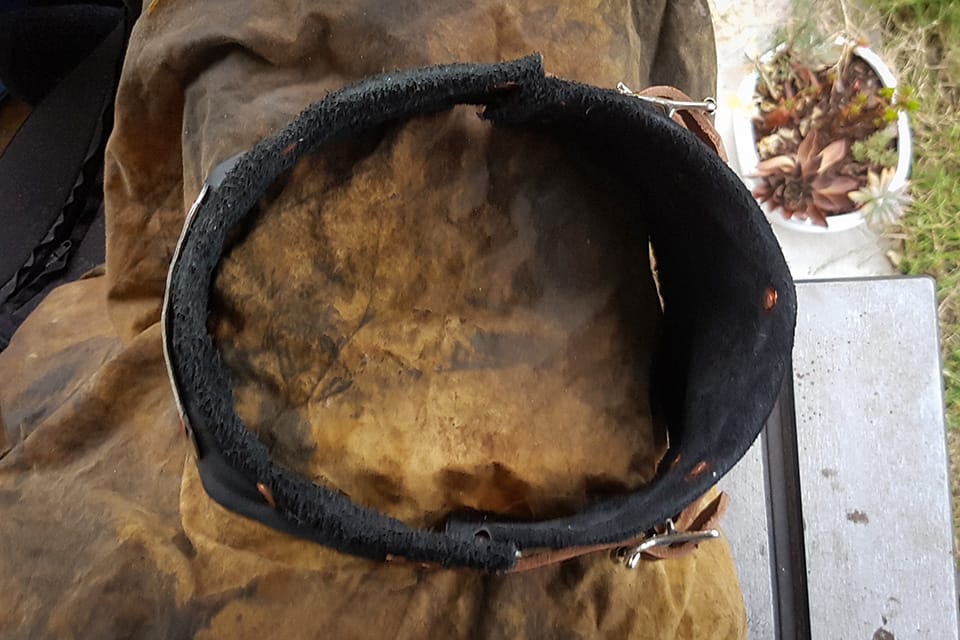
One of the HEMA club members lent me his so I could take measurements and work out how it was built.
I had some scrap stainless steel lying around, just enough for the project. I drew it all up to scale on paper first so I could test the shape and get an idea if it would fit, then roughly cut it out with a grinder. I wish I had a plasma cutter. Oh how I wish.
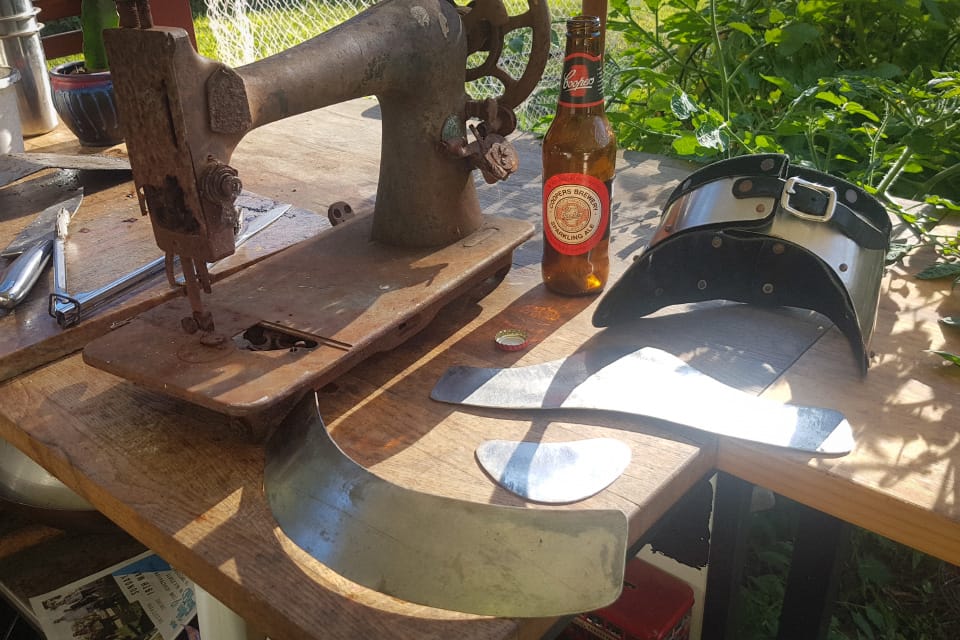
Bending the stainless pieces on an old singer machine body
With a bit more careful grinding, I cleaned up the initial rough cuts. Then I finished it off with a belt sander using a steel linishing belt. The cheap Ryobi belt-and-disc sander works fine, but it doesn’t have the custom adjustment angles of higher-quality (and higher-priced) metal linishers.
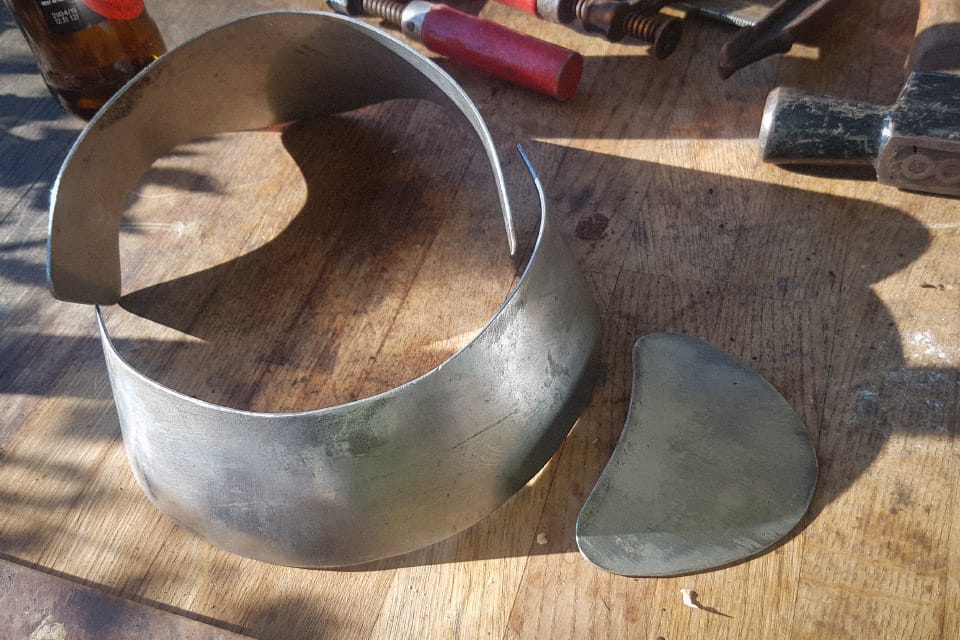
All the stainless pieces bend and ready to drill
I have an old cast body of a Singer sewing machine — rescued from the depths of a friend’s garden — that I use for moulding shapes. You can bend parts like this by hand, or use a hammer to bash in the tighter curves.
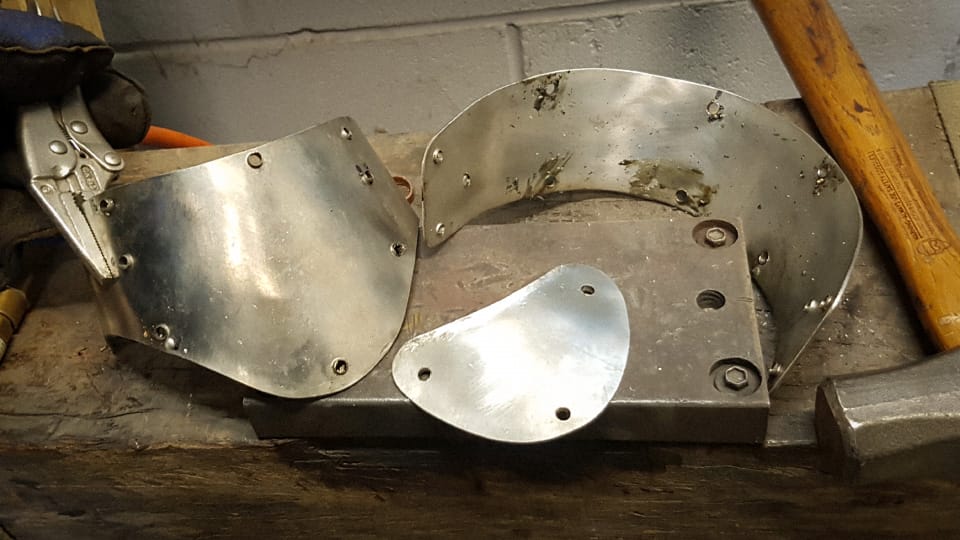
Stainless gorget pieces drilled
I probably should have drilled all the holes first, but I’d never done this before, so I inadvertently skipped a few steps. Once all the holes were drilled on the drill press, I did a final clean-up using the best sander.
We don’t need burrs and sharp points here. This thing is designed for my neck.
My cut stainless piece compared to the original WTC gorget
This is the copy I made, on theeft, and the original WTC gorget I borrowed on the right. Then I cut out the leather lining to suit.
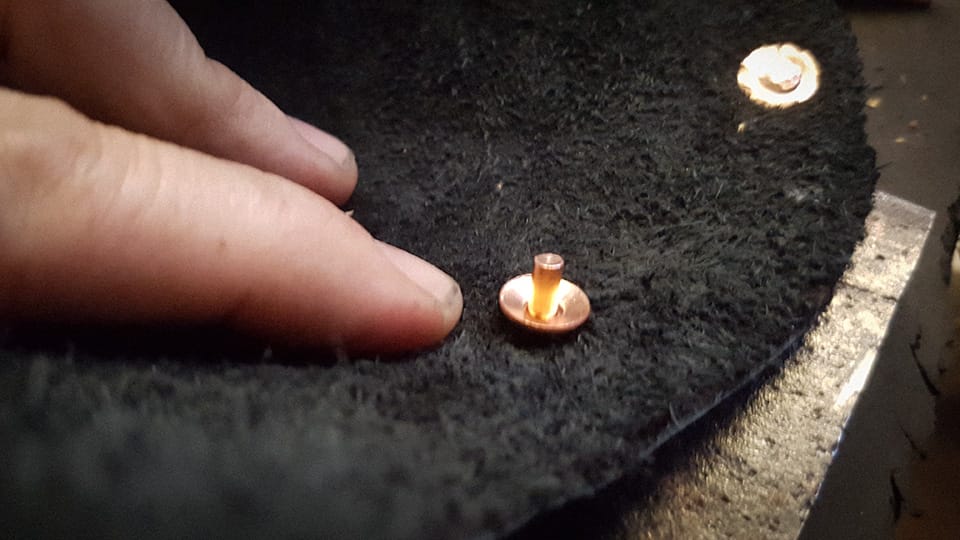
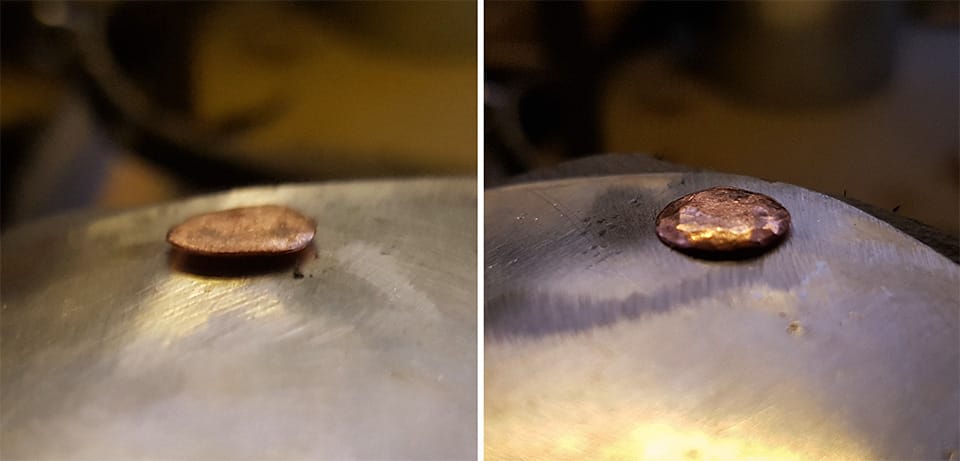
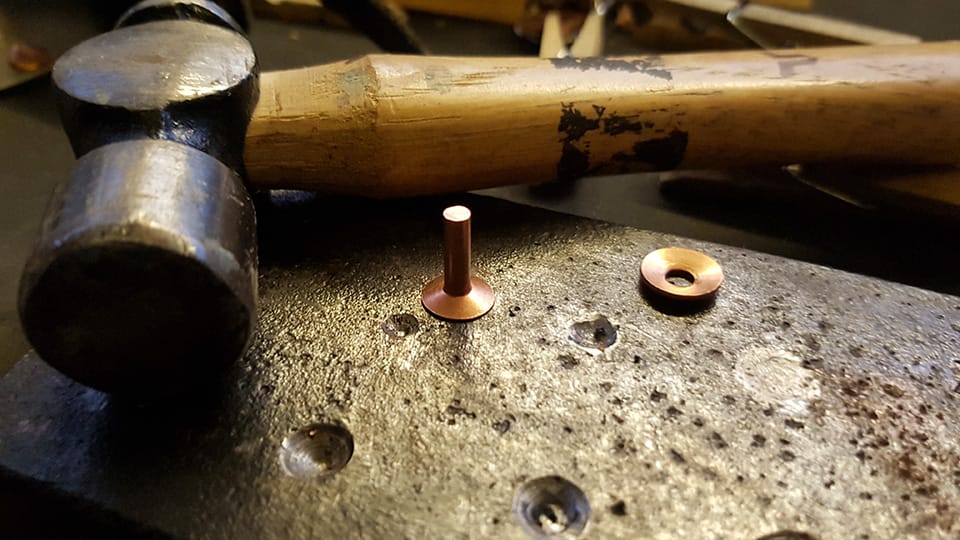
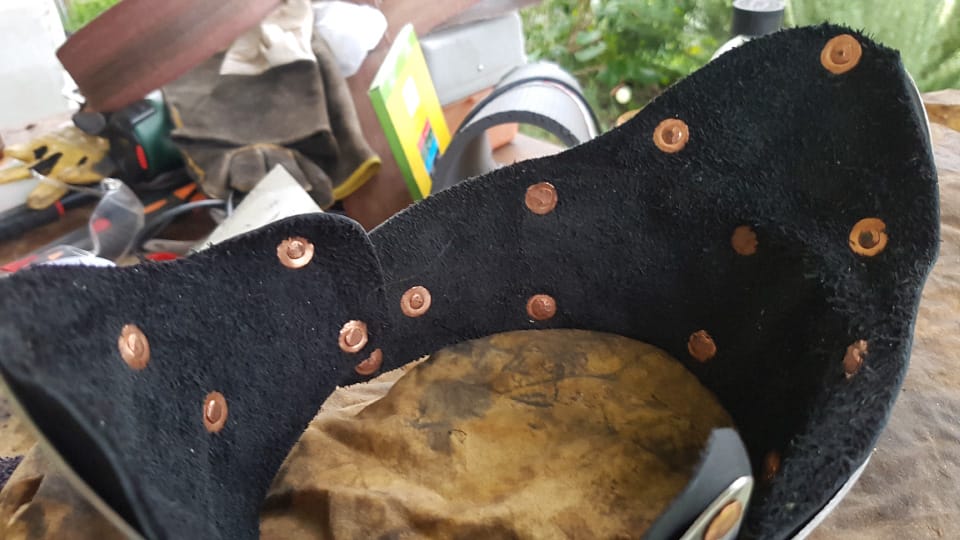
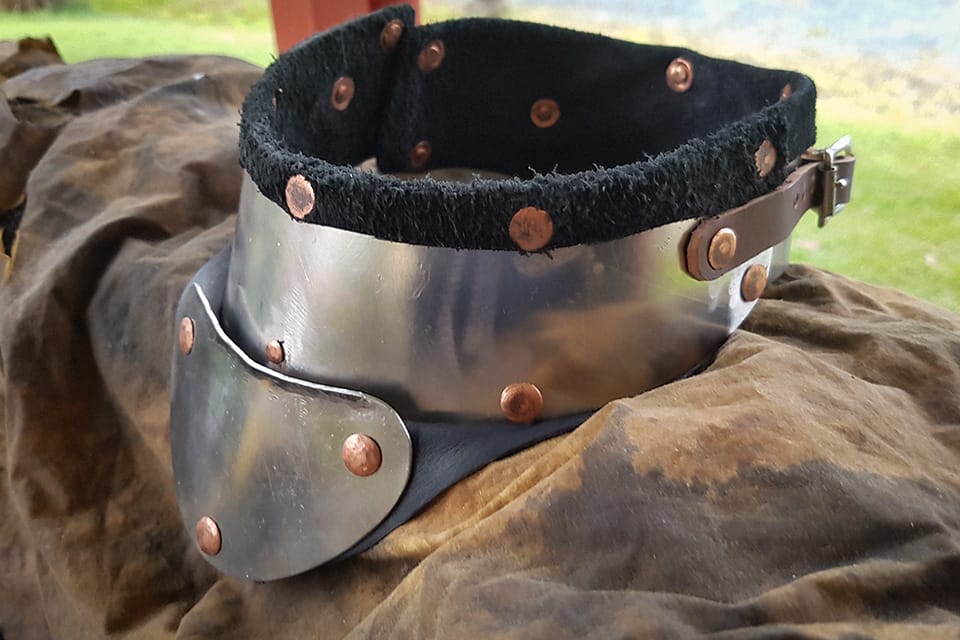
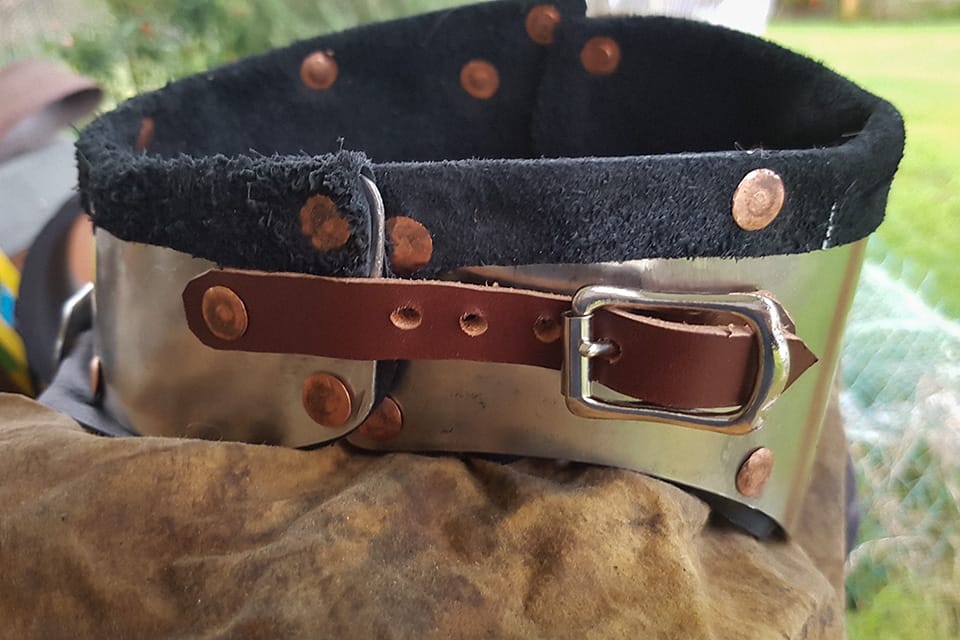
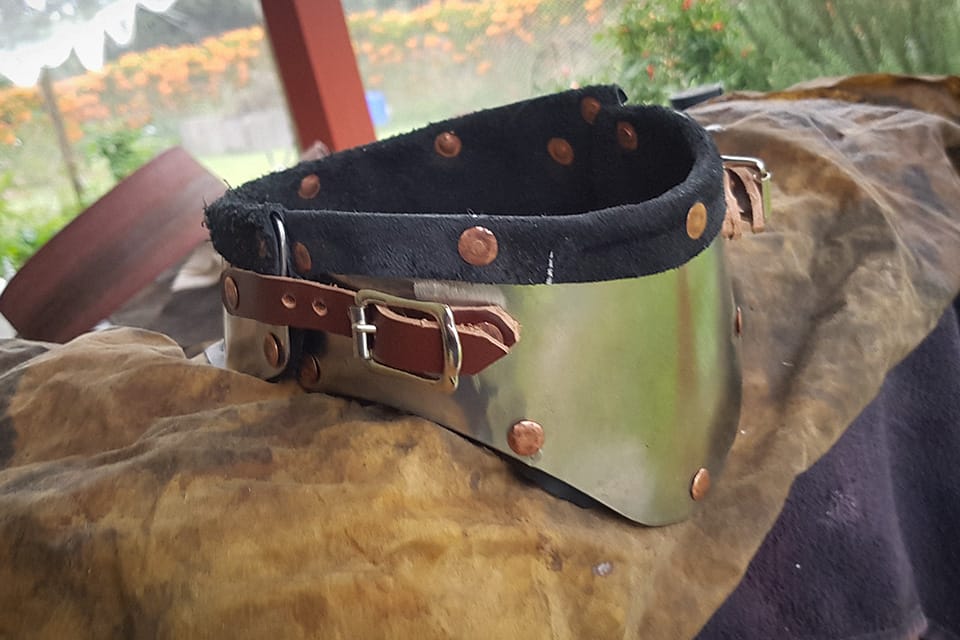
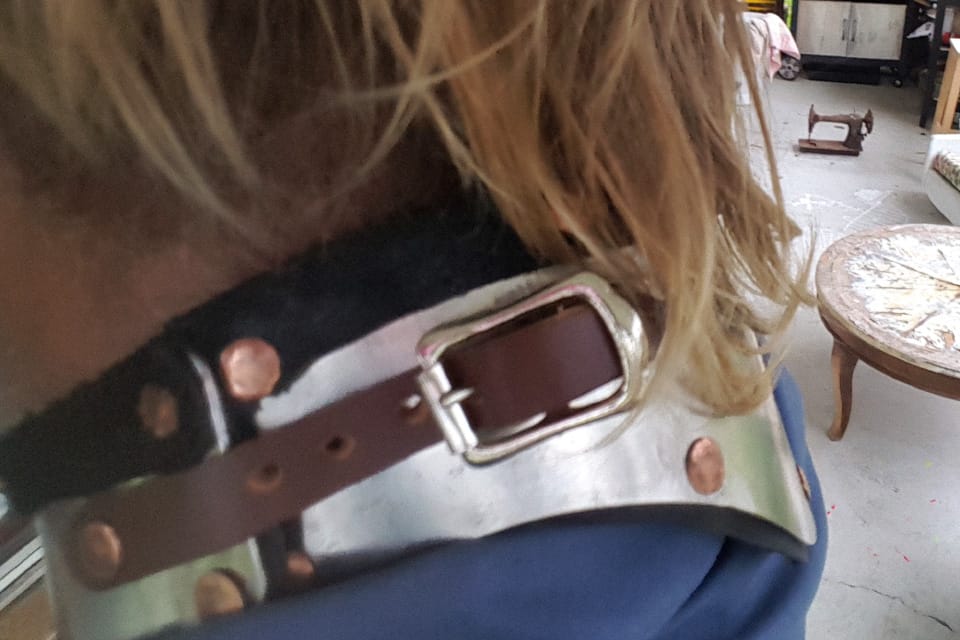
Adding the rivets — cut to size and peened.My leather strap cutting is rough as guts, but I’ll clean it up before finishing.A nicely peened copper rivetI drilled shallow holes in my makeshift block of mild steel to help with the rivet process.The finished gorget from aboveCopper rivets are all set in placeBehold! The finished gorgetThe finished gorget from the side - much neater straps The finished gorget from the rearFitting the gorget strapsThe gorget fits nice and snug around the neck
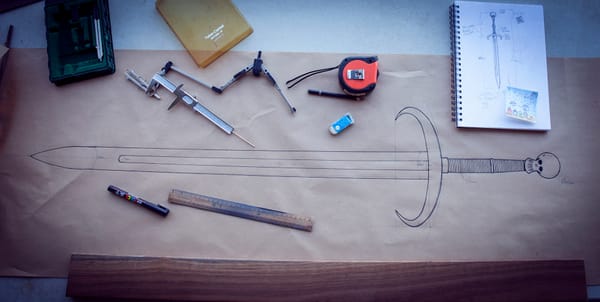
Overall it works well. If i made it again i would reduce the height slightly. I think I made this slightly larger than the original WTC design. I’m keen to attempt a full suit of steel armour someday. (Update: I did give it a go (below) — I managed to make a single pauldron, but the lack of a proper shed made it difficult. Cold-beating steel is a lot louder than I expected, so I had to pause until I can secure a more suitable space.)
The single pauldron beat from a flat piece of mild steel sheet
Everything on this site is free for everyone. No ads. No popups. No paywalls. Subscribe to receive the free monthly newsletter, and you’ll be able to comment on posts. If you’d like to help keep this project sustainable, there are Supporter and Sponsortiers available - Totally optional.