Building Death’s Sword for Brisbane Arts Theatre’s Mort
I built a prop sword for Death in Brisbane Arts Theatre’s production of Mort. What started as a straightforward stage prop became a crash course in wood choice, painting problems, casting repairs, and adapting on the fly.
I was commissioned to build a prop sword for Terry Pratchett’s character Death for the Brisbane Arts Theatre production of Mort. This is the same production that I helped airbrush the mask for, for the same character.
This was the first sword I’d ever made. Up until then I’d only made a wooden dagger, so my understanding of sword construction was fairly limited and mostly based on what I’d seen in movies. I did have a conversation with the theatre’s set builder, who was also into medieval re-enactment, and he gave me a few pointers, but a lot of it came from what I could find on the internet.
The sword had to take some minor blows in a fight scene, so I used a piece of spotted gum decking board, as it’s strong and this kind of timber is often used for training swords. That said, I made a few rookie mistakes right from the start. The biggest one was building it as if it were a steel sword, in separate pieces, with a blade and tang and then a separate handle. For a wooden training sword, I really should have made the tang more like a full handle shape and left more material there instead of thinning it down. That ended up being its downfall.
The other issue was the pommel. I had planned to sculpt and cast a skull, but ran out of time and used a purchased ornamental skull instead, which turned out to be much weaker than I expected. At the time, I also hadn’t been told that the sword would need to be thrown across the stage. As you can probably imagine, that became a problem pretty quickly.
Even with all that, it was a huge learning experience, and I’ll go through as much of it as I can.
Designing the sword
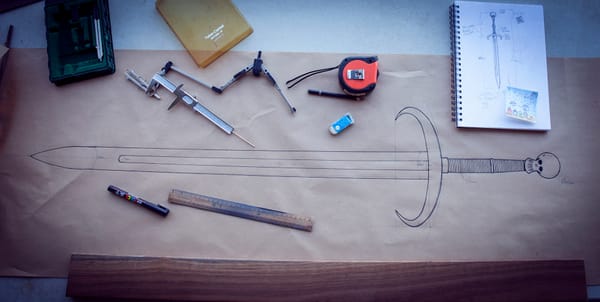
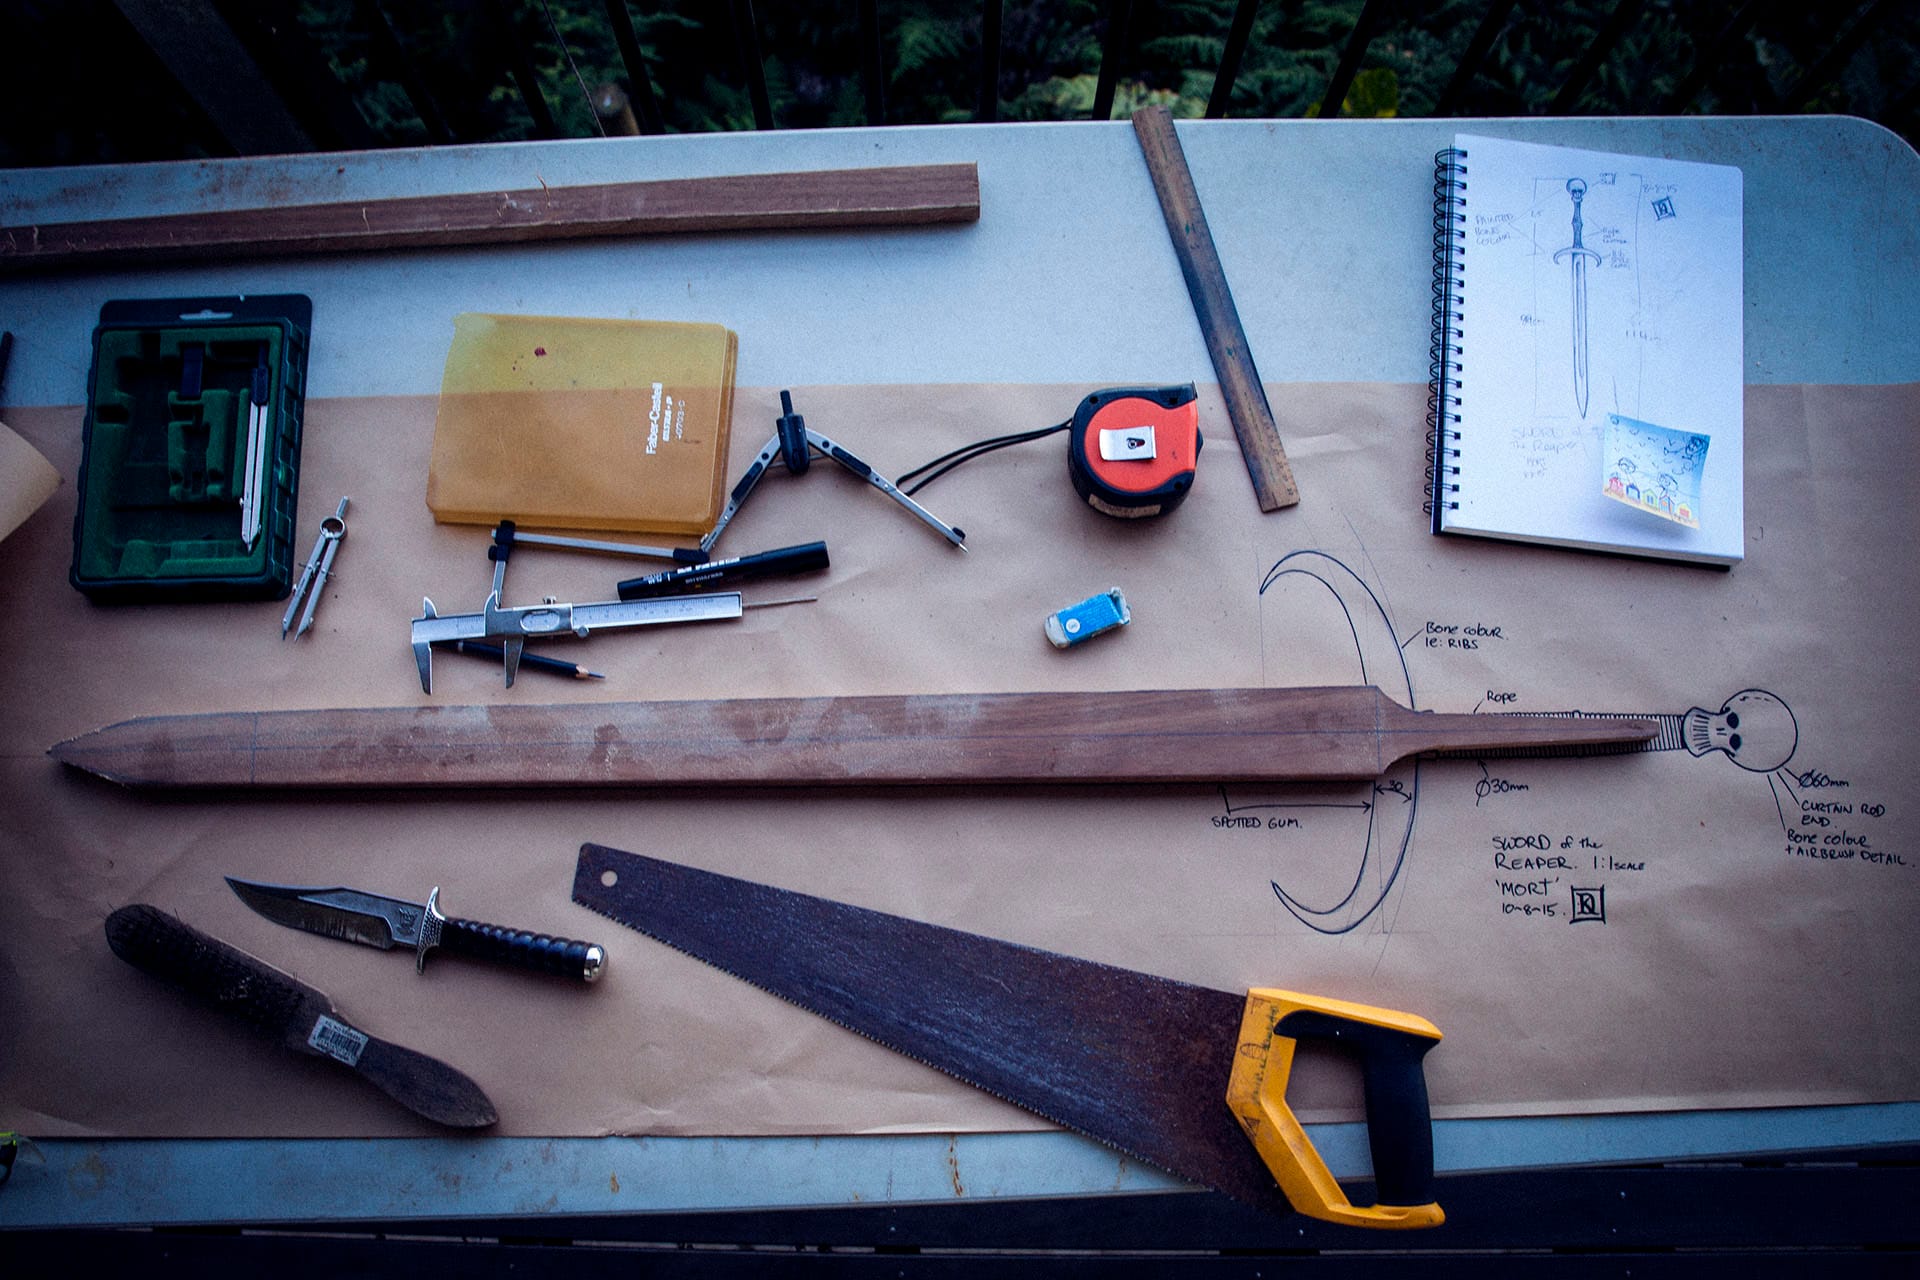
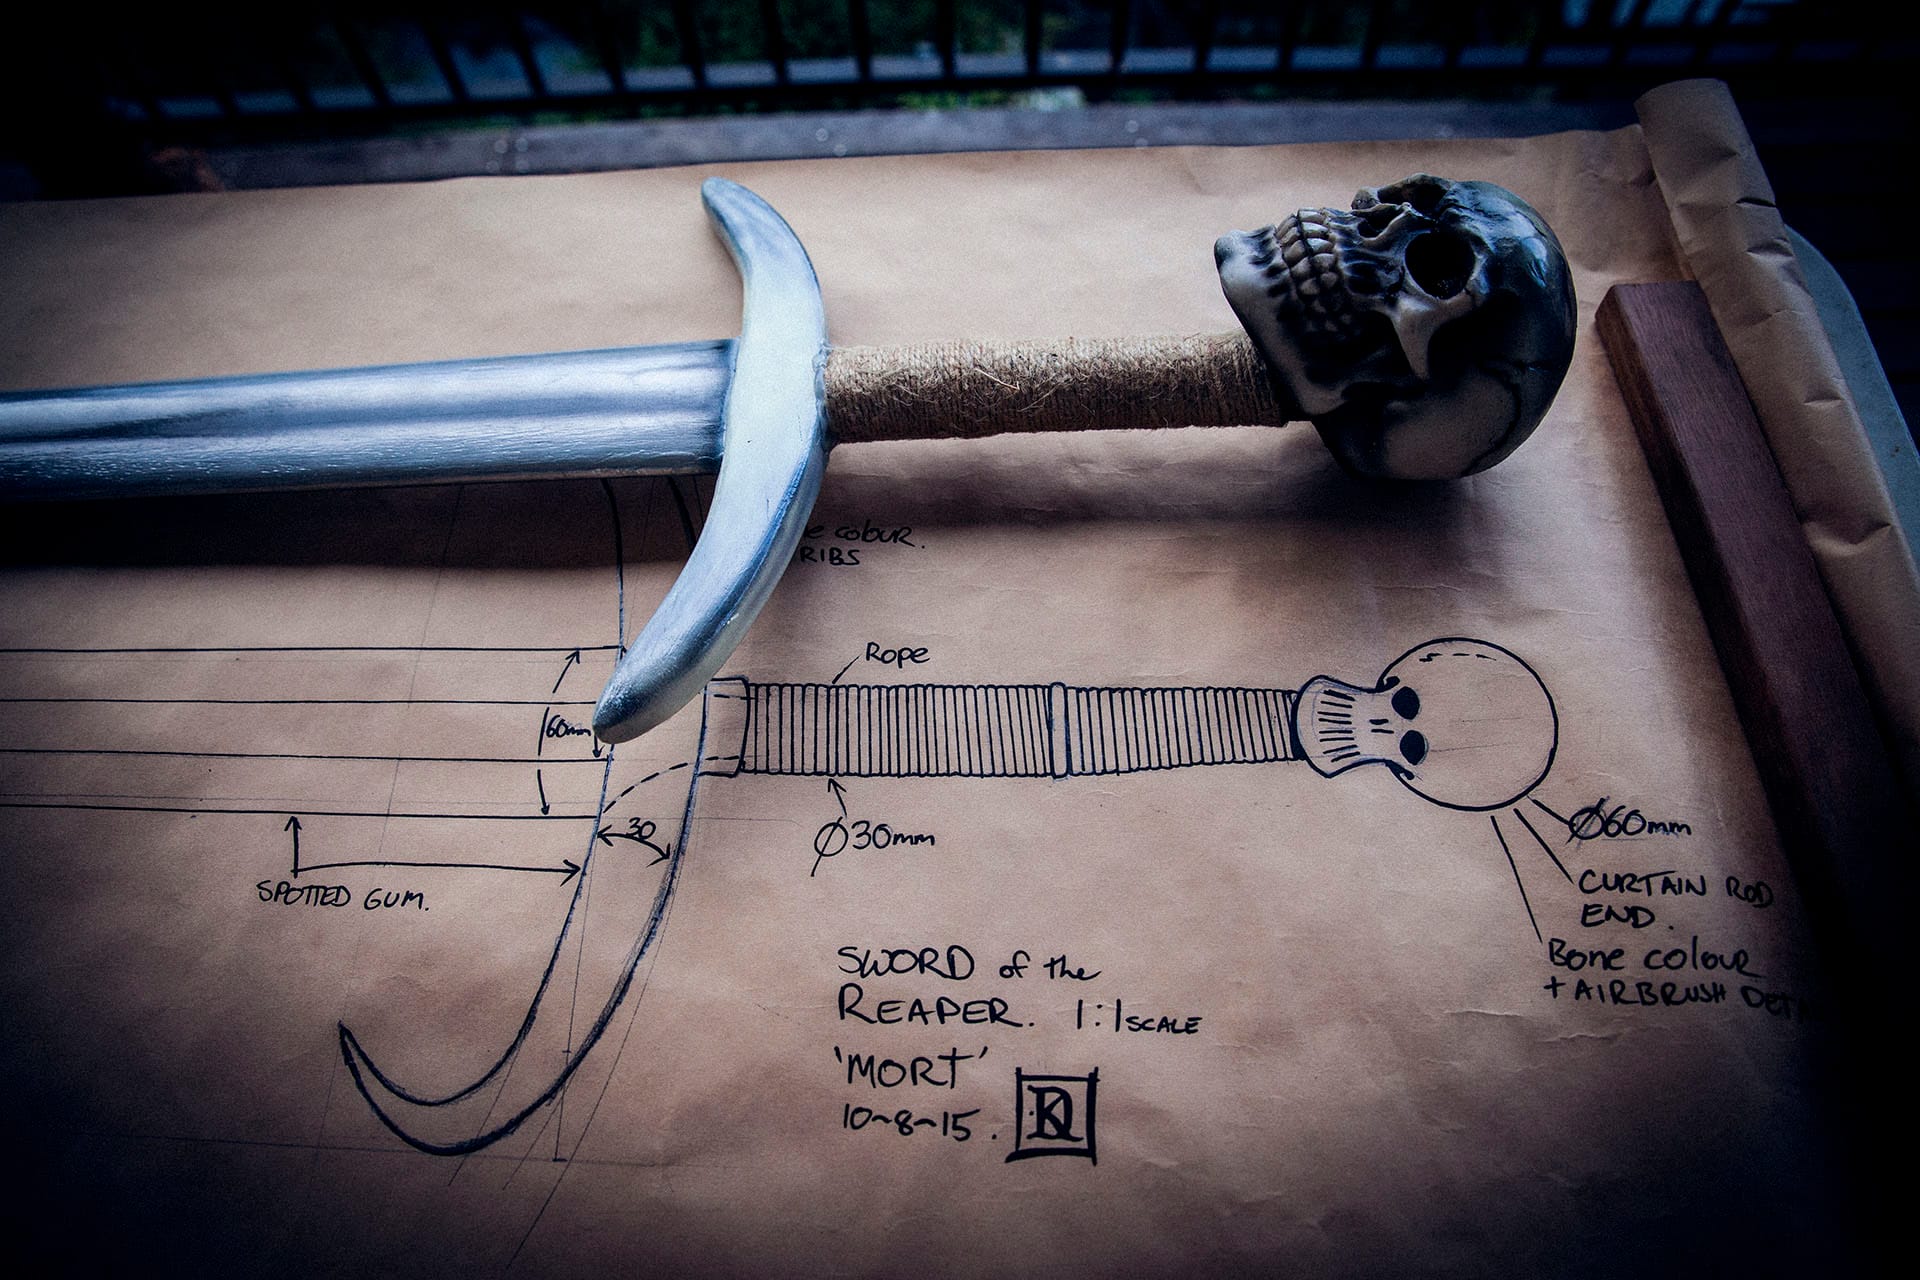
Deaths sword design
I started with an initial design in the sketchbook, based on descriptions from the book and something that would also work on stage. We settled on a design with a skull as the pommel and a guard resembling a rib.
From there, I transferred the design to scale onto rolls of paper. I like this process, as it gives you a much better idea of how the finished piece will turn out, and it also acts as a guide for the individual parts. It’s a process I continued to use in future projects.
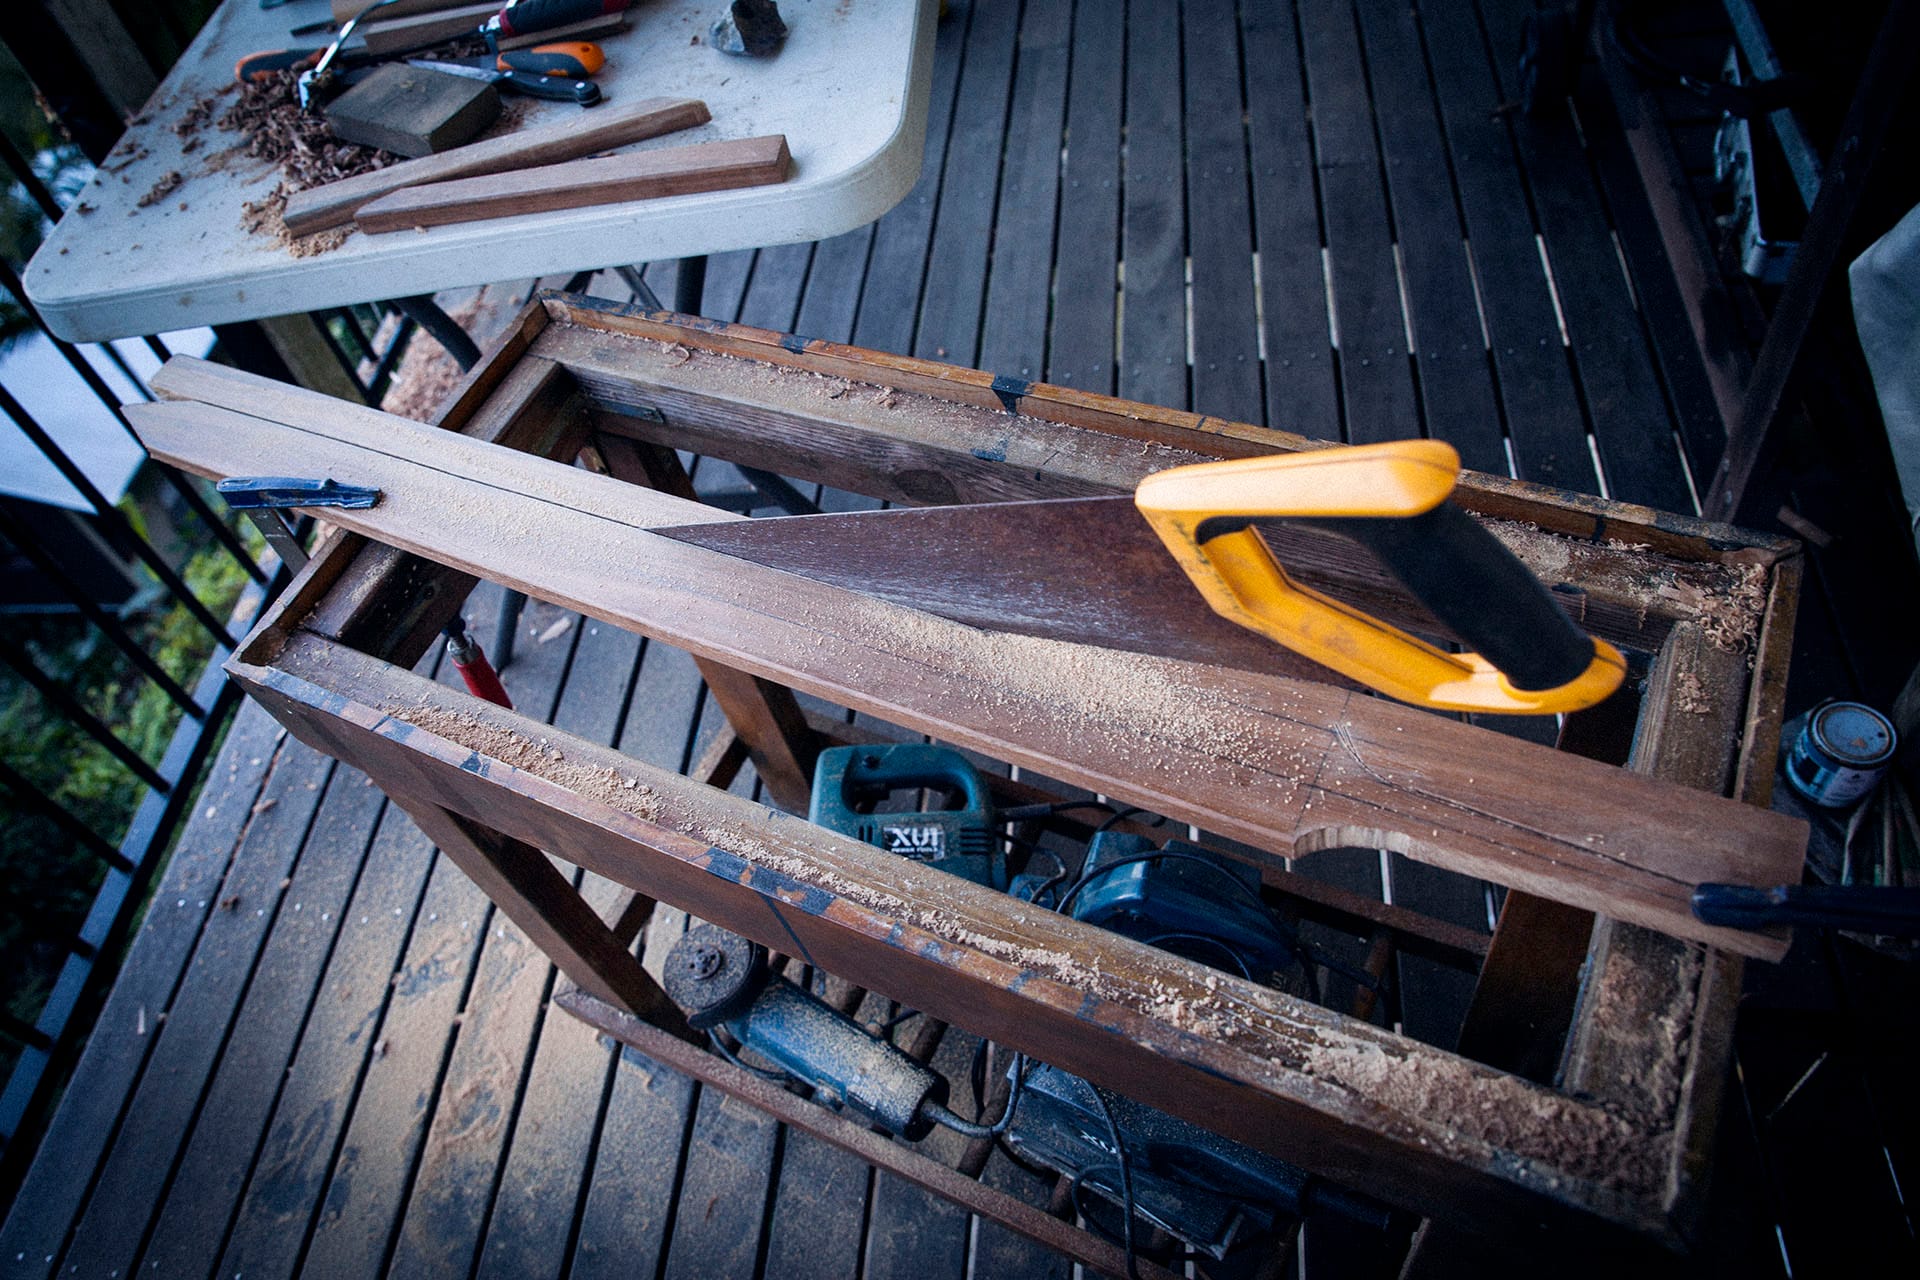
Cutting the initial blade shape
Once I was happy with the full-scale version, I measured and cut the piece of spotted gum to closely match the drawing, then removed most of the waste material with a hand saw.
One thing you’ll notice is the lack of quality tools here. I didn’t have the budget at the time, so I made do with as little as possible.
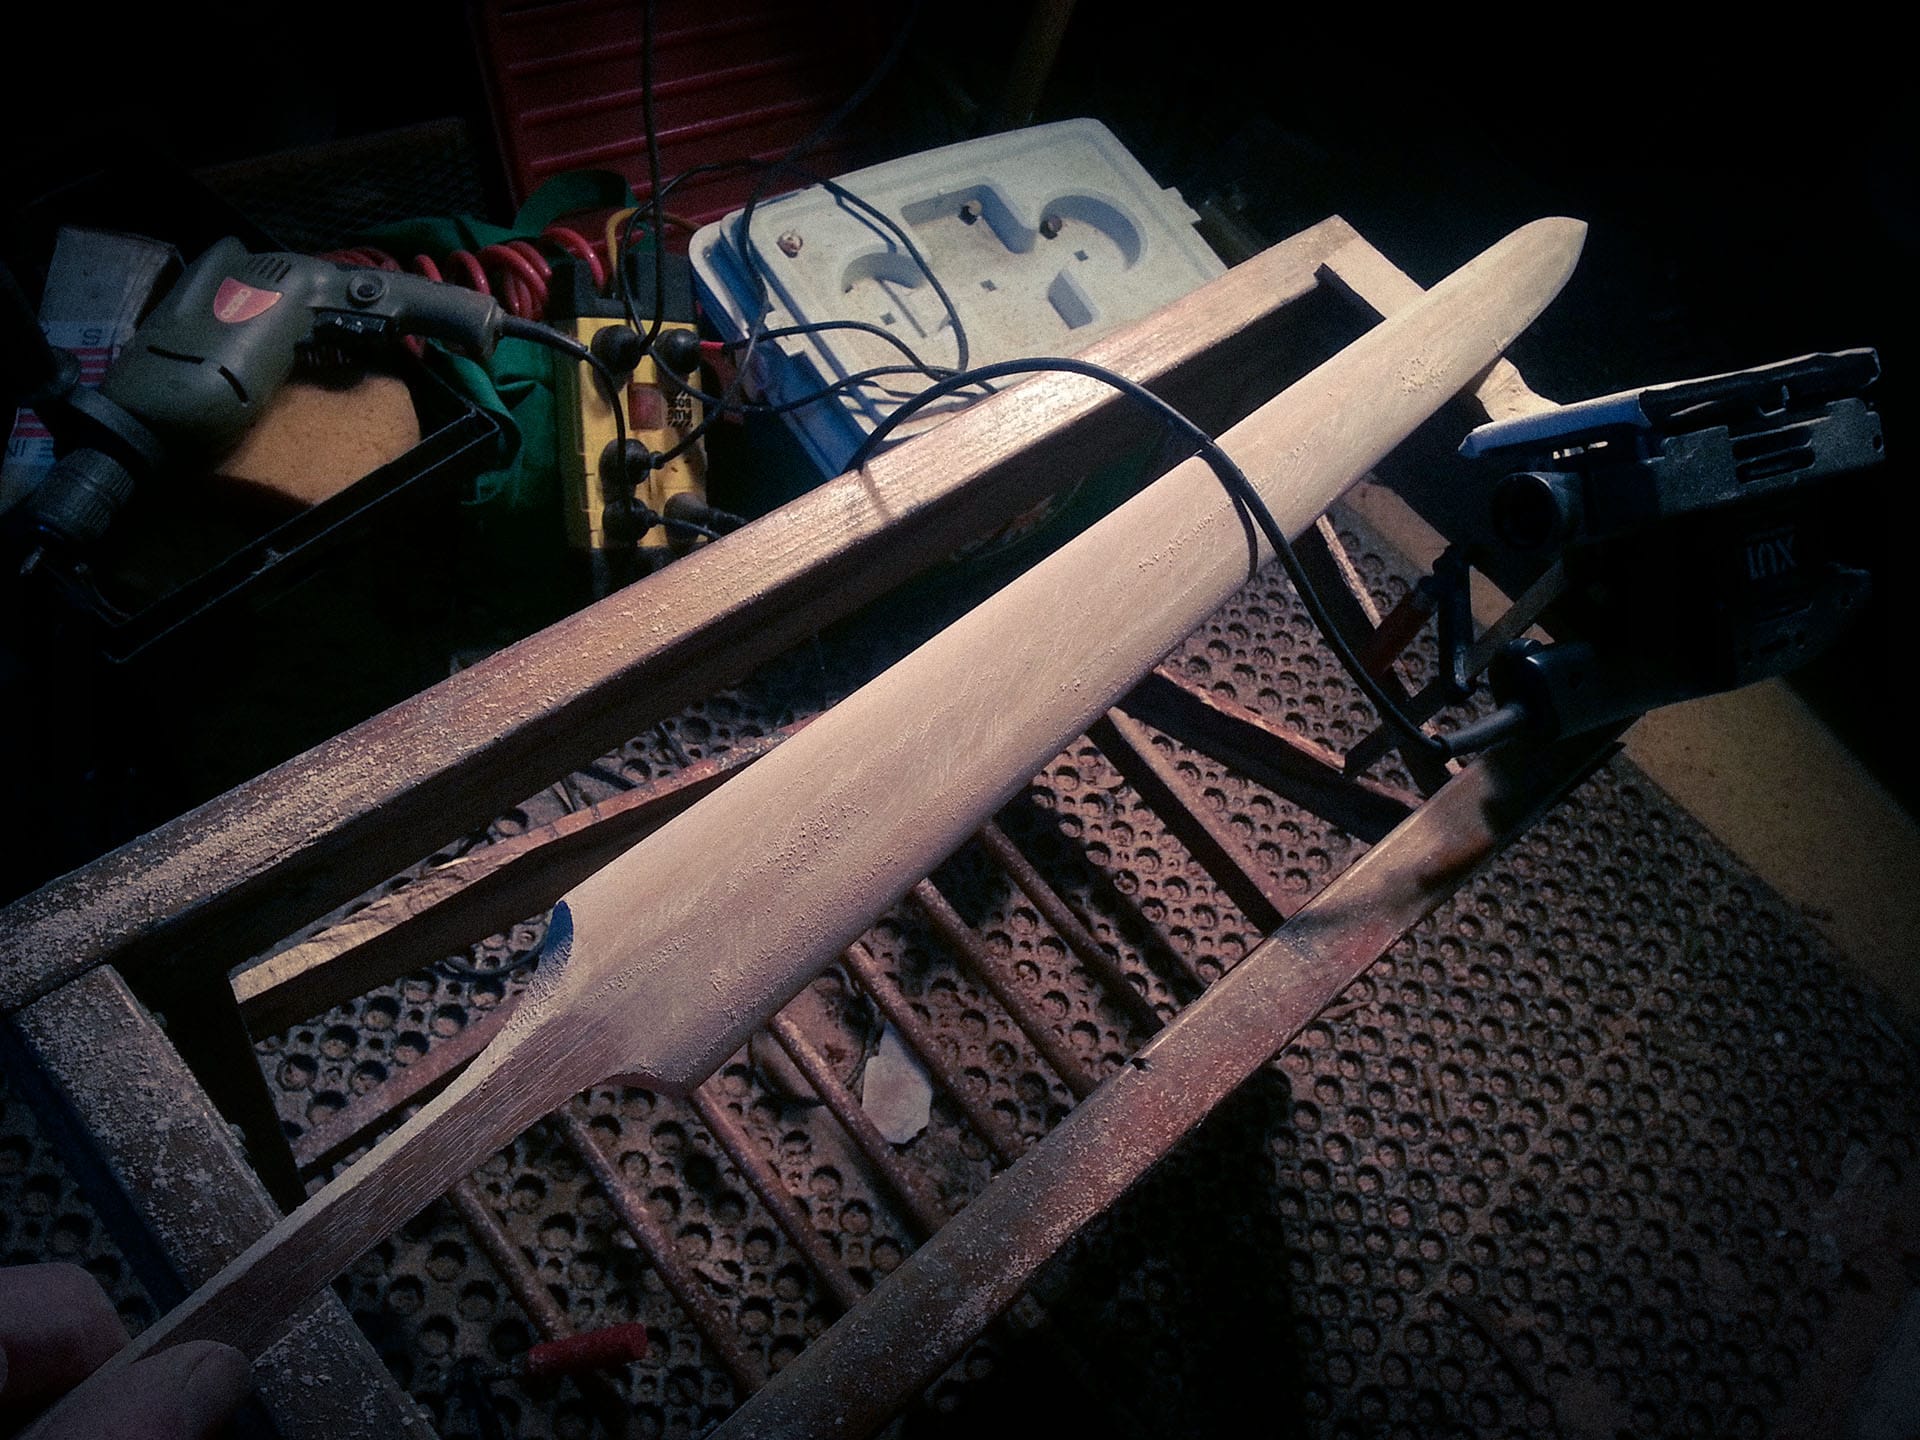
Shaping the blade
The idea was to use traditional hand tools as much as possible. However, due to time constraints, I ended up using several power tools such as an electric planer and orbital sander. The planer was used for shaping the rough blade profile, then I continued the more detailed shaping with a rasp and smoothed it out with the orbital sander.
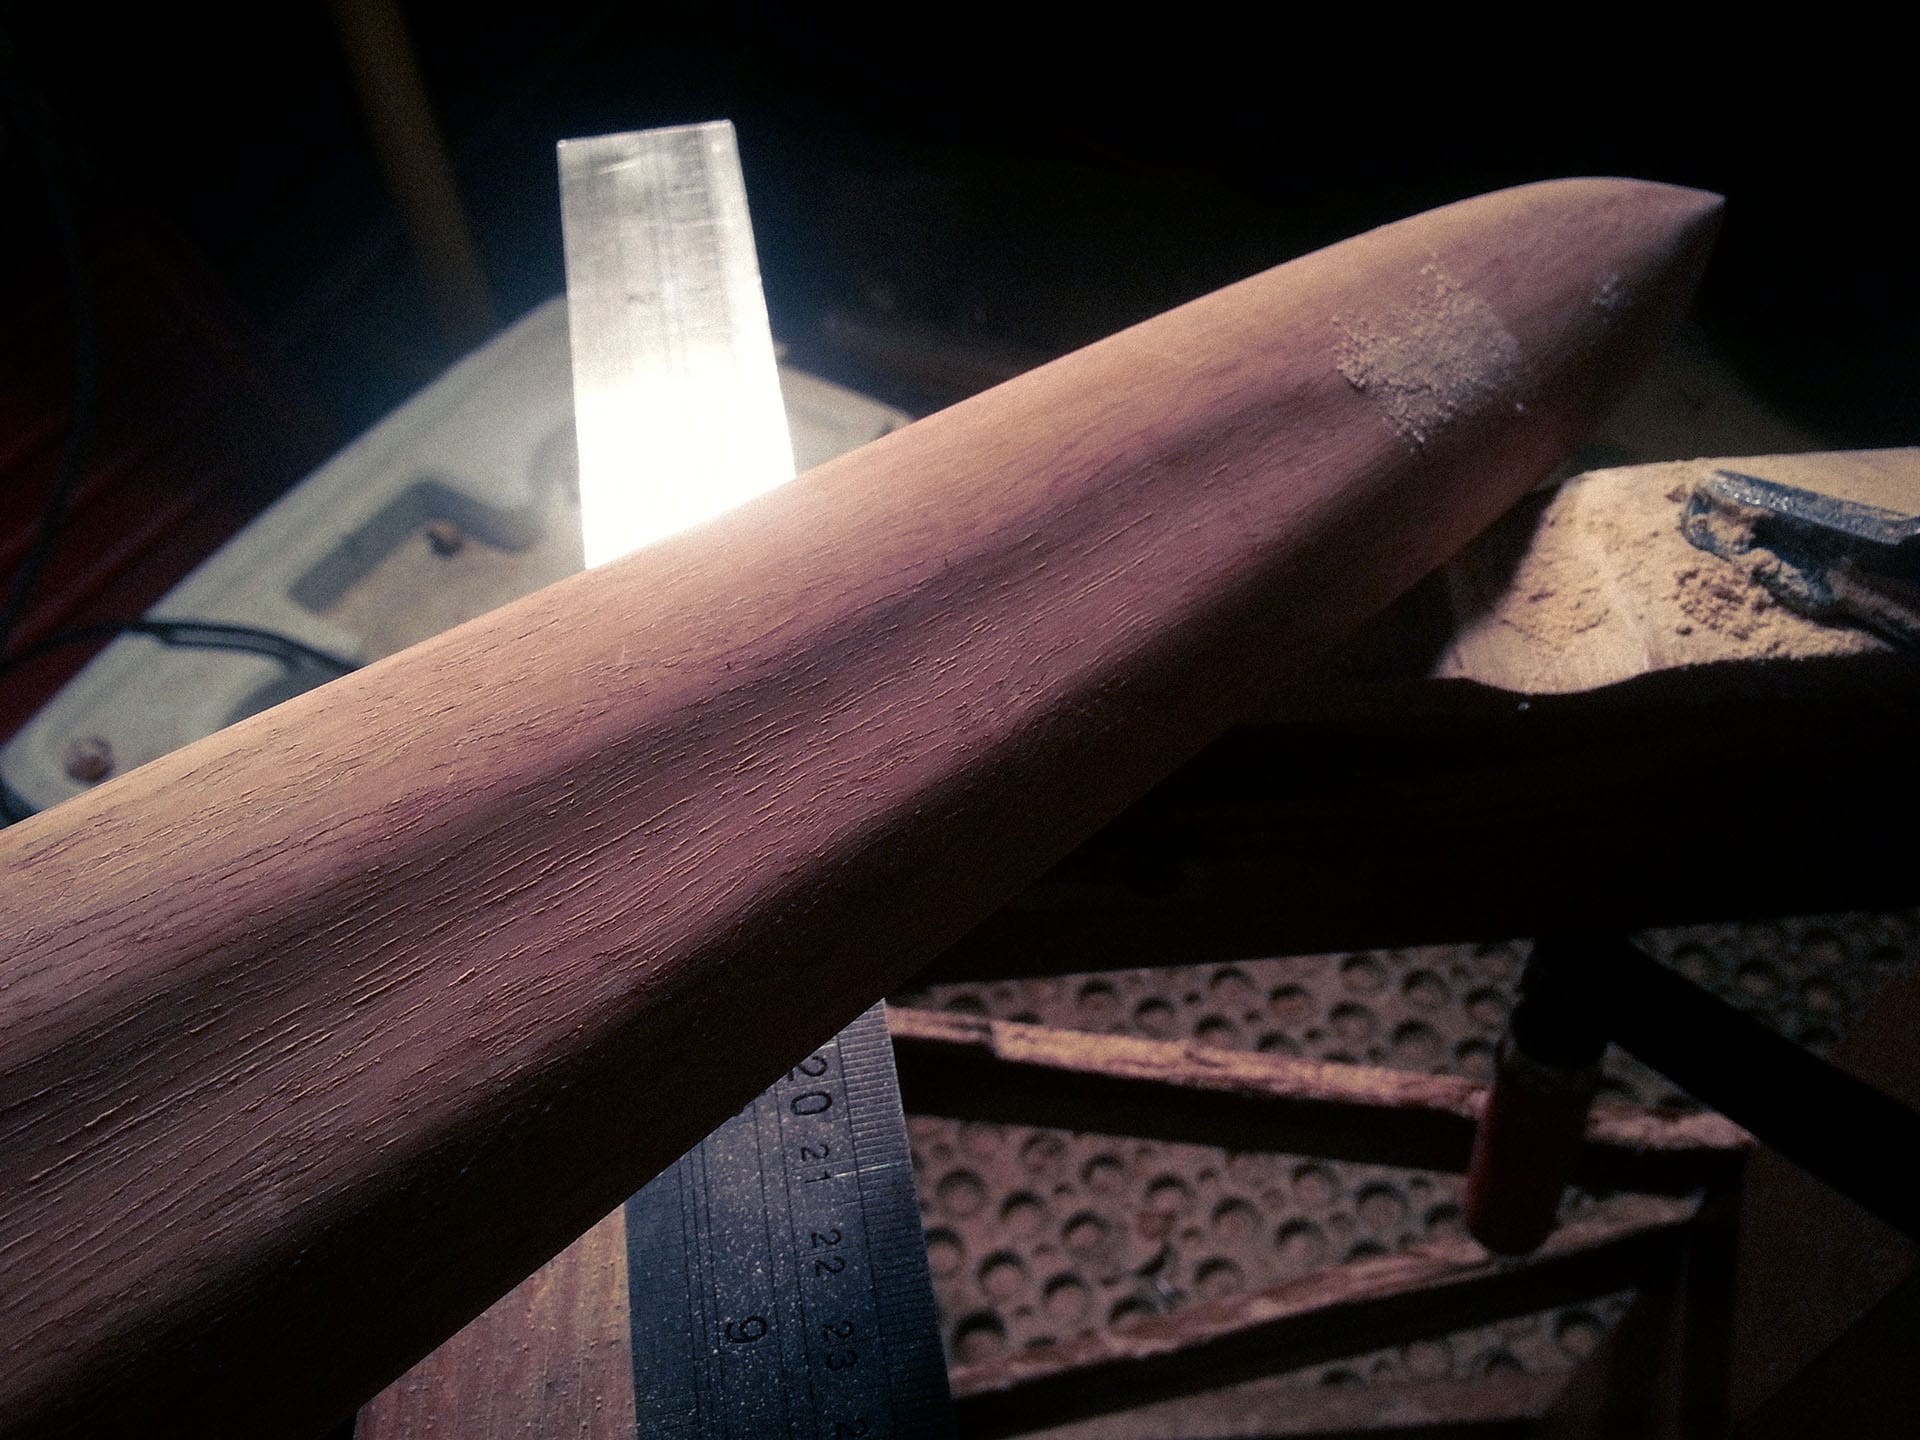
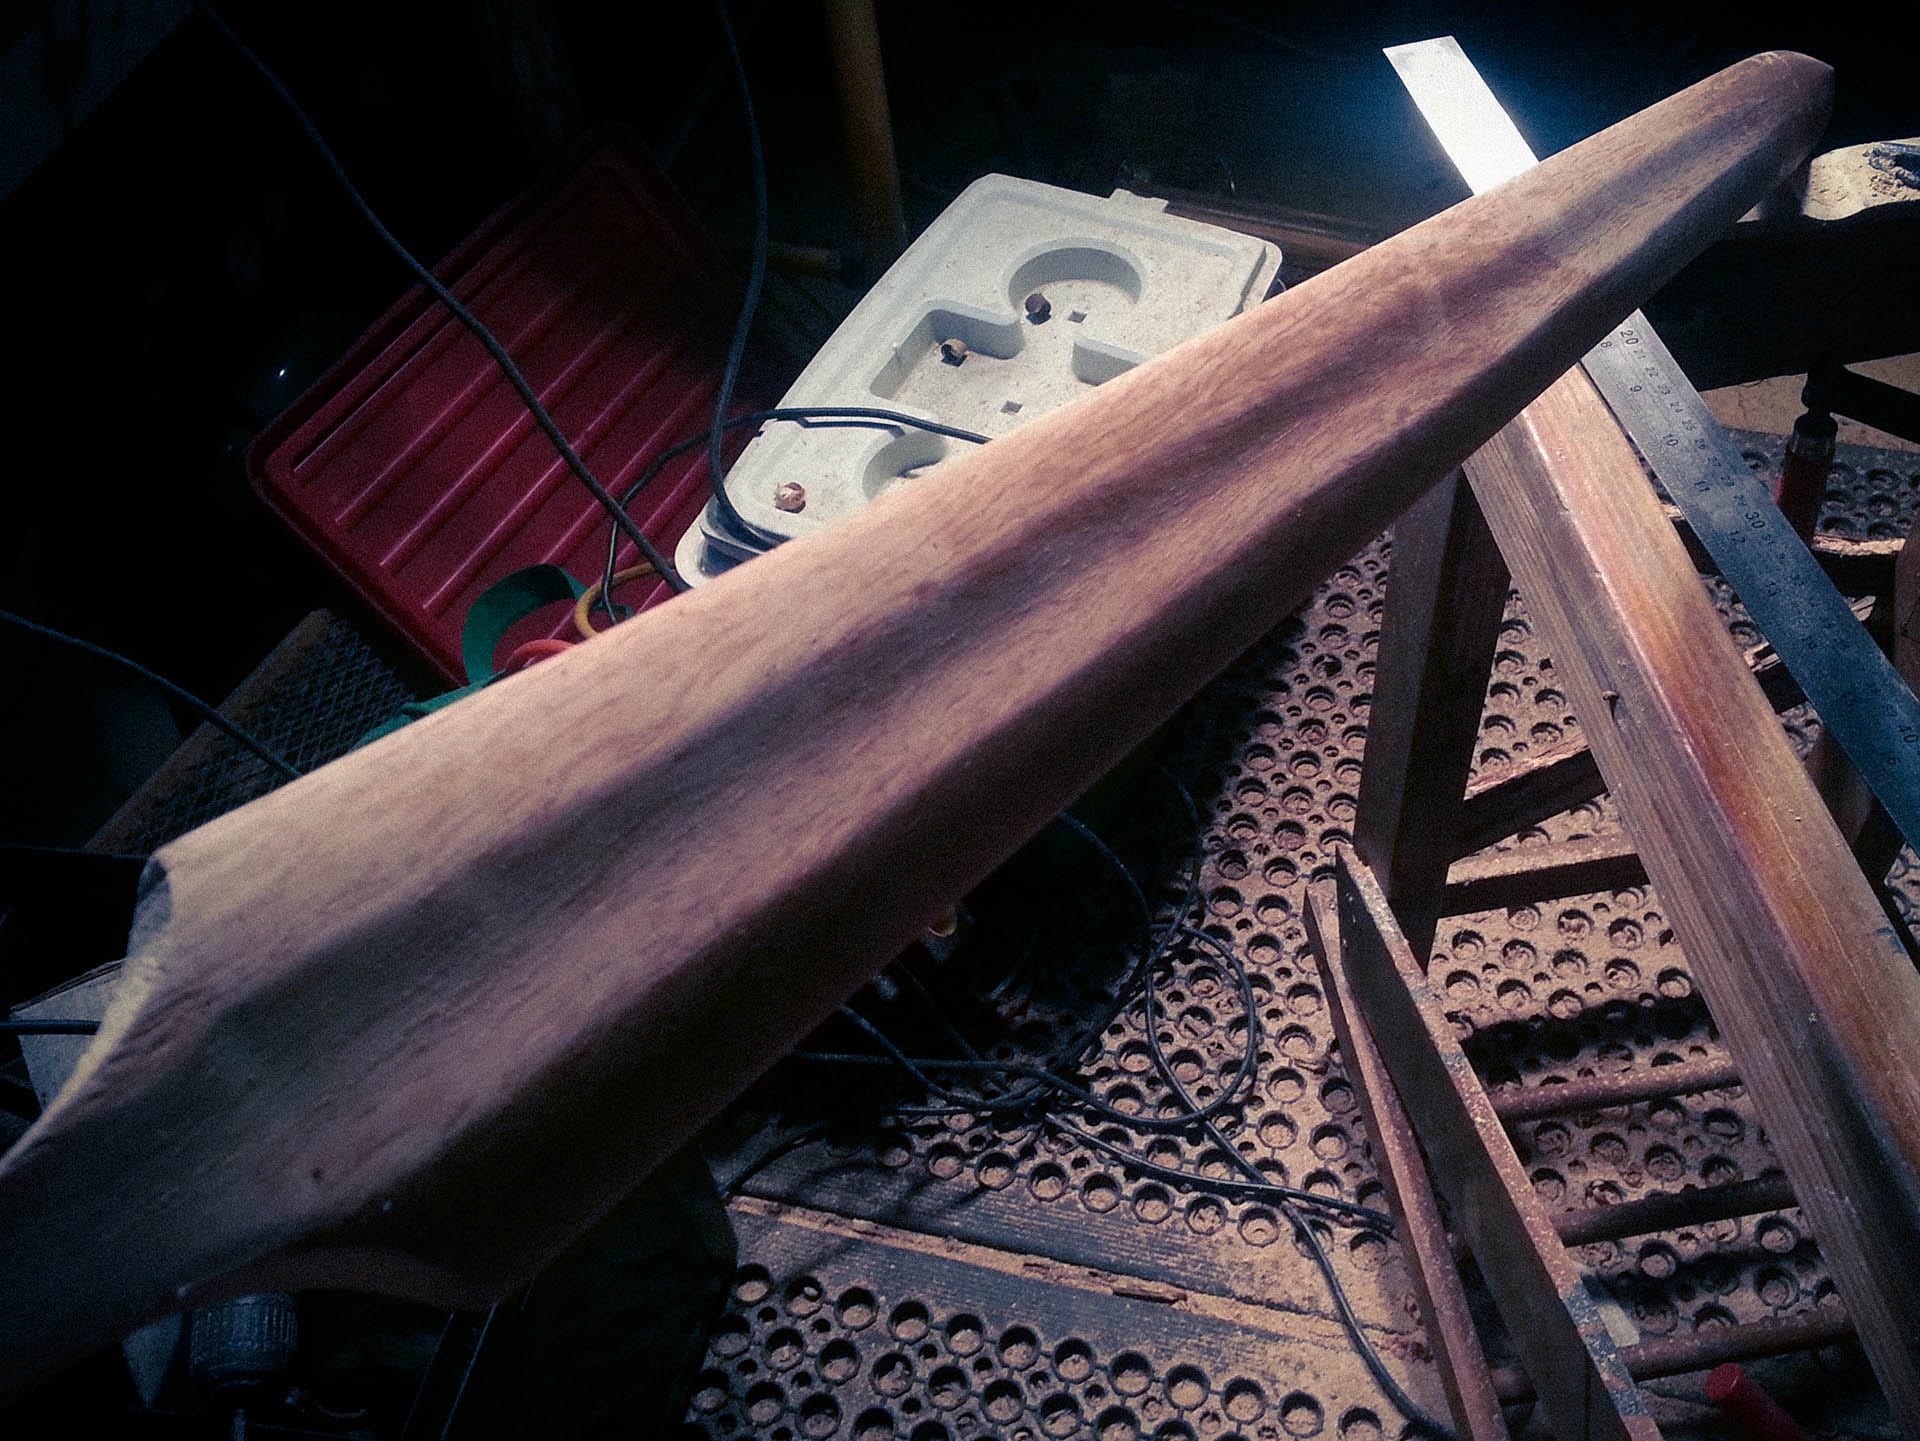
Cutting the bevels with a plane
I used a grinder with a flap disc to cut the fuller, which, despite being a power tool job, still took quite a long time as it had to be done with a lot of care to keep it straight. The fuller was then finished by hand, sanding with regular sandpaper wrapped around a thick piece of dowel to maintain even pressure.
With the basic blade shape done, it was on to the guard.
The blade shaping process
The guard problem
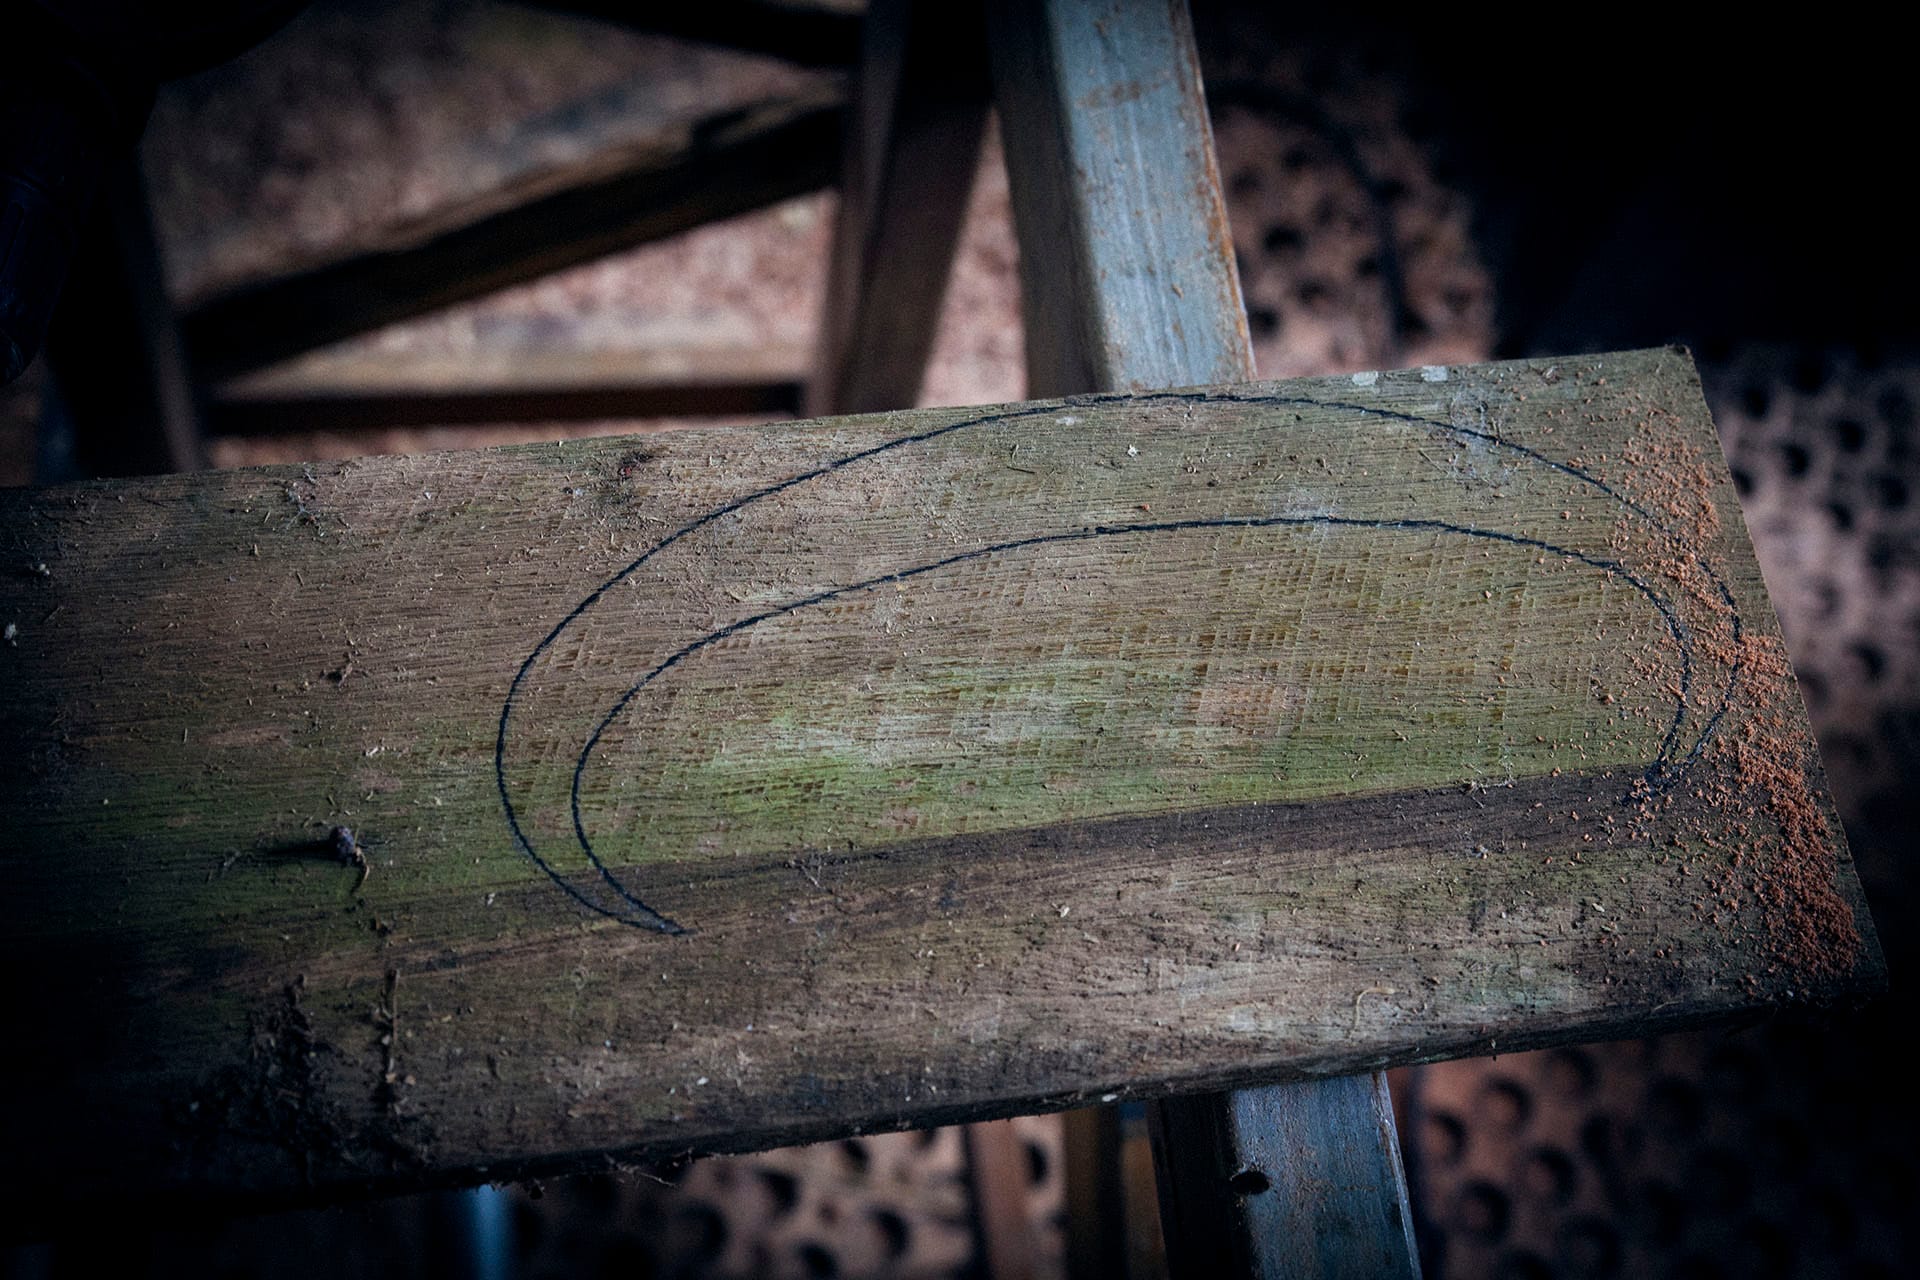
Ok, so I didn’t think this through, and I was in a bit of a rush. I didn’t have a proper piece of wood for this task, and I also hadn’t really thought about how I was actually going to make it work. So, in my haste, I grabbed a piece of who-knows-what old scrap from the wood pile, marked out the shape, and hoped for the best.
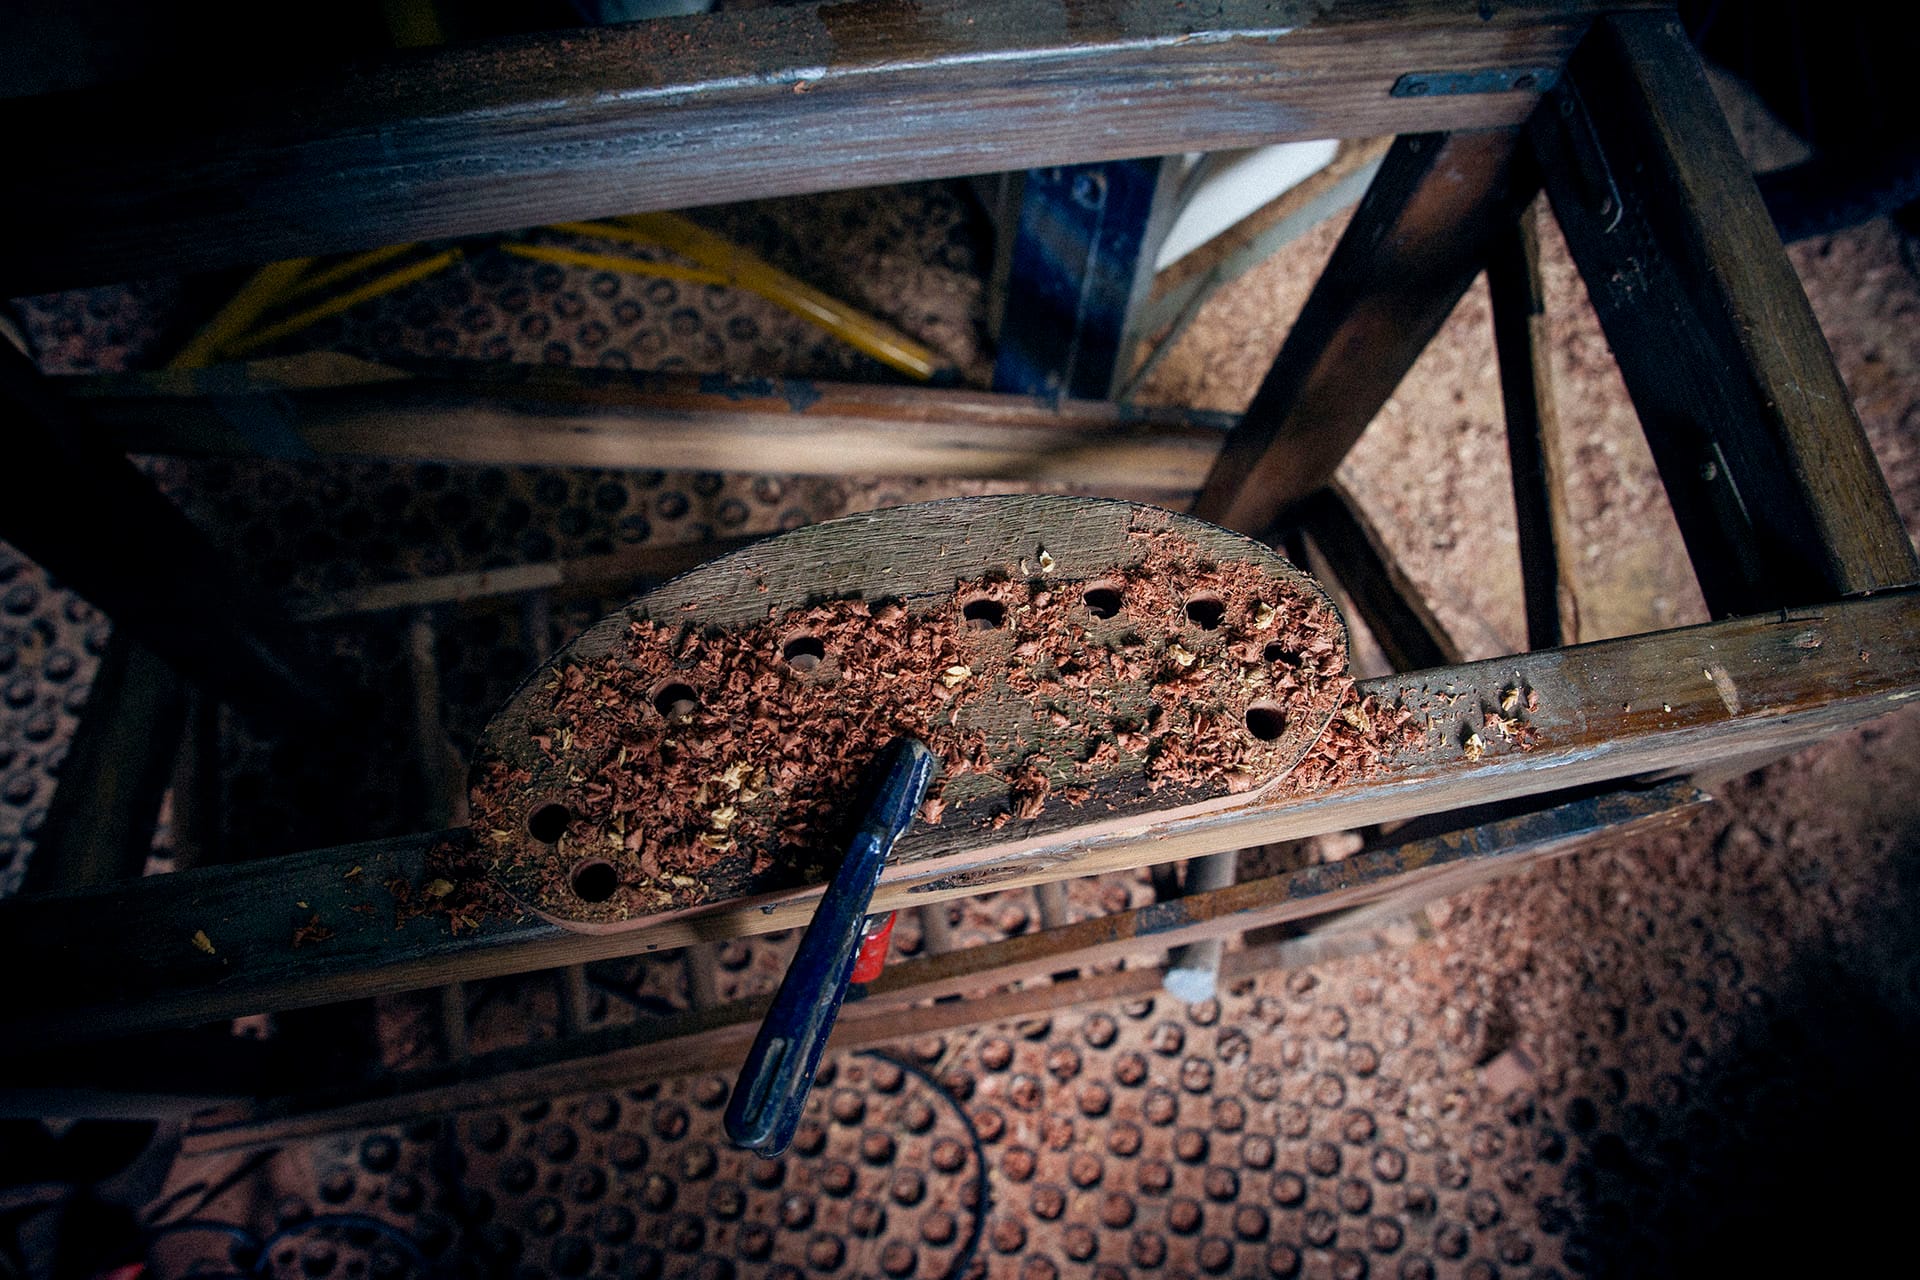
As you can see in the image a, not only was it a softwood, but the grain direction became a huge issue. The shape was never really going to work, and in hindsight I would have used cast plastic or something else entirely. If I was going to do this again, I’d probably cast it, or maybe use a scrap chunk of nylon from a local plastics fabricator or something similar.
Drilling holes to make it easier for the jigsaw
I cut the outer shape with a jigsaw using the wrong type of blade — again, budget job — then started drilling around the inner shape to make cutting easier. It was a bit too tight to simply jigsaw around those curves. The problem became very obvious once it was cut out, as I could physically wobble the tips of the guard along the grain with my hand. It would snap under slight pressure, let alone survive shaping with tools, and definitely not a stage fight.
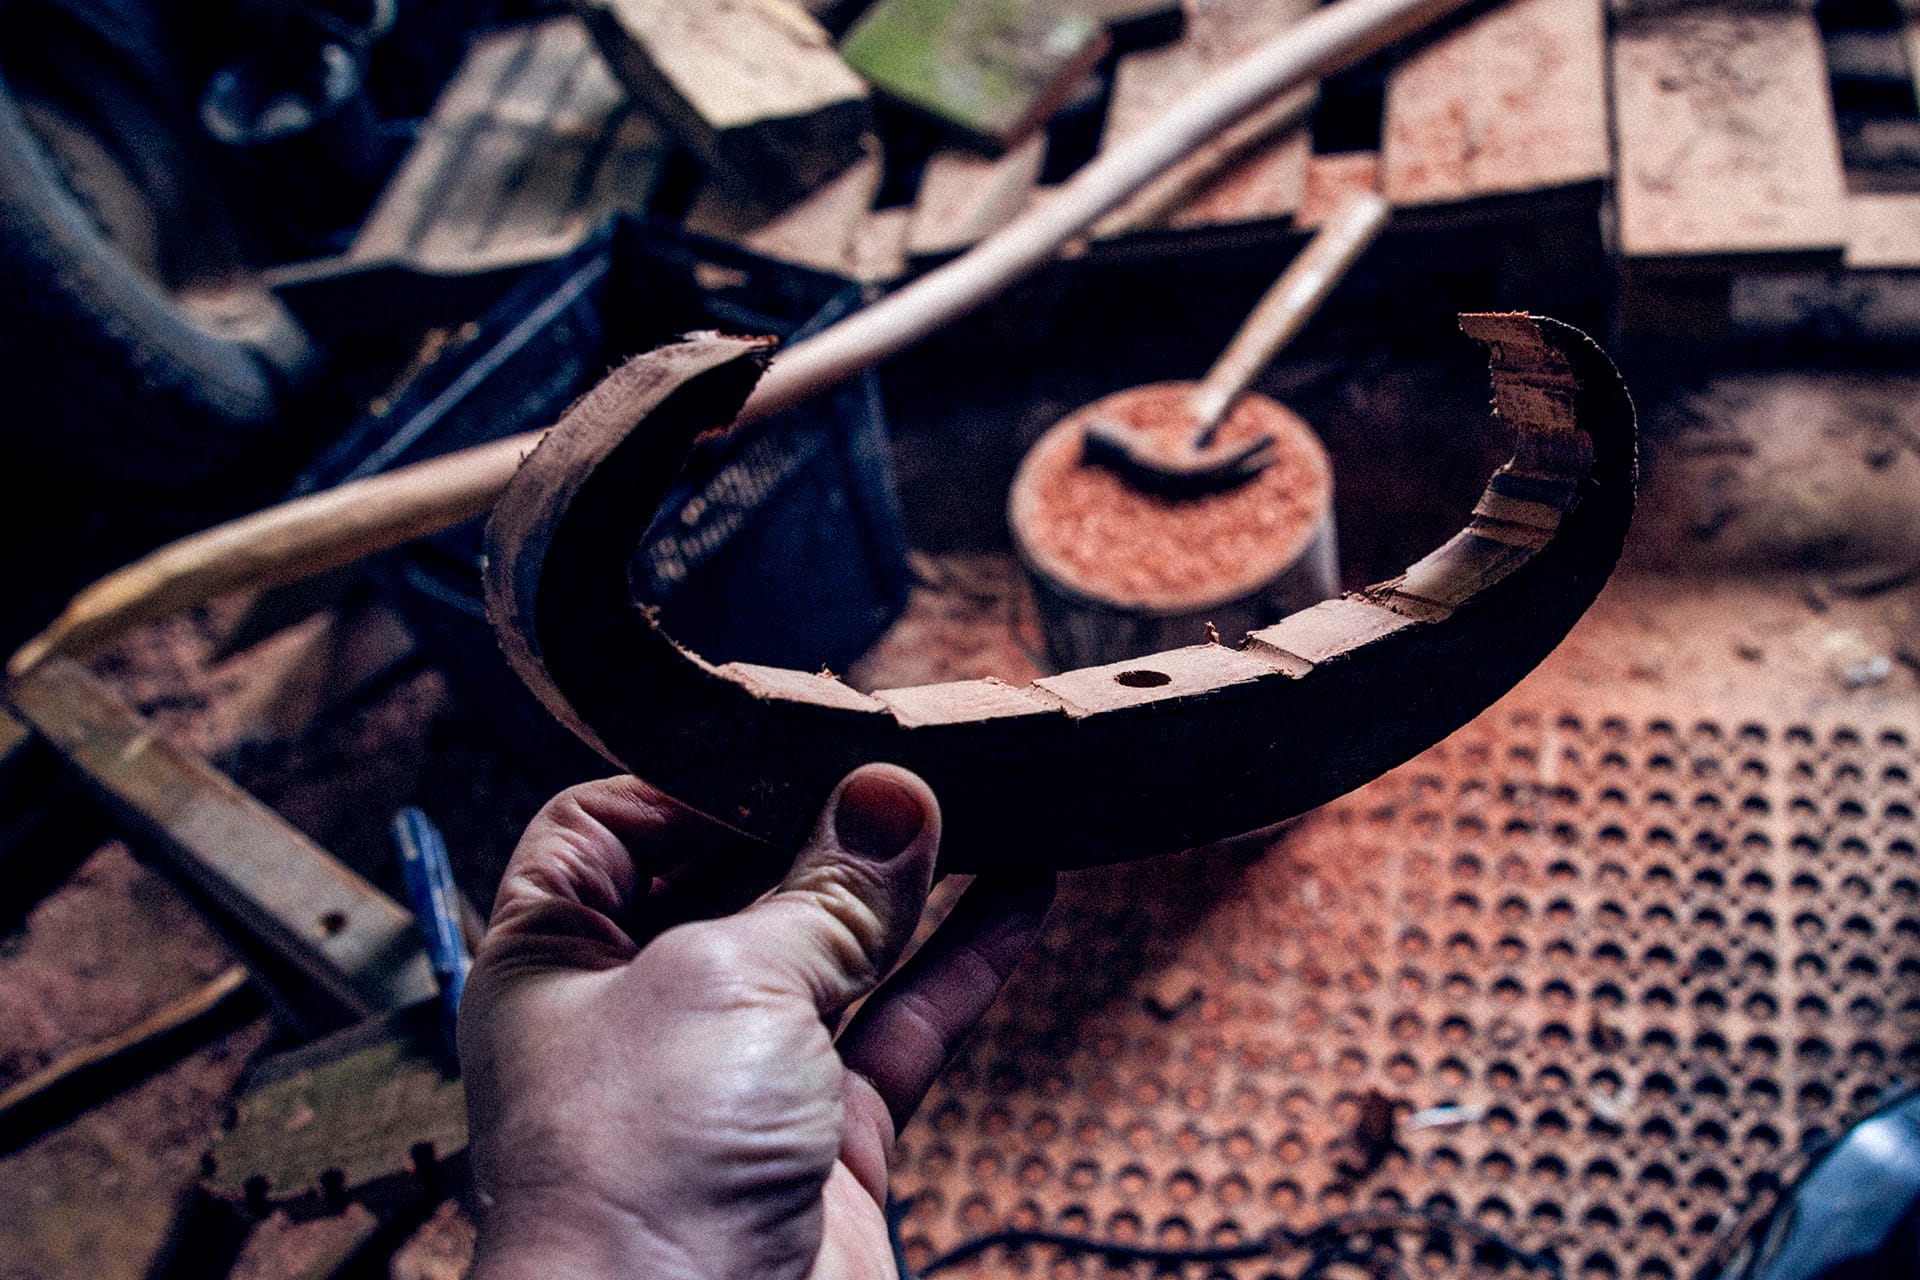
The very weak guard shape
So when I finally did snap the ends off, I decided to just work with it and reshape it using what I had. It still kind of works as a rib, or at least some sort of random bone. I drilled out the centre and used various files and a chisel to create the shape needed to fit over the tang.
Guard adjusted for strength
Handle and pommel
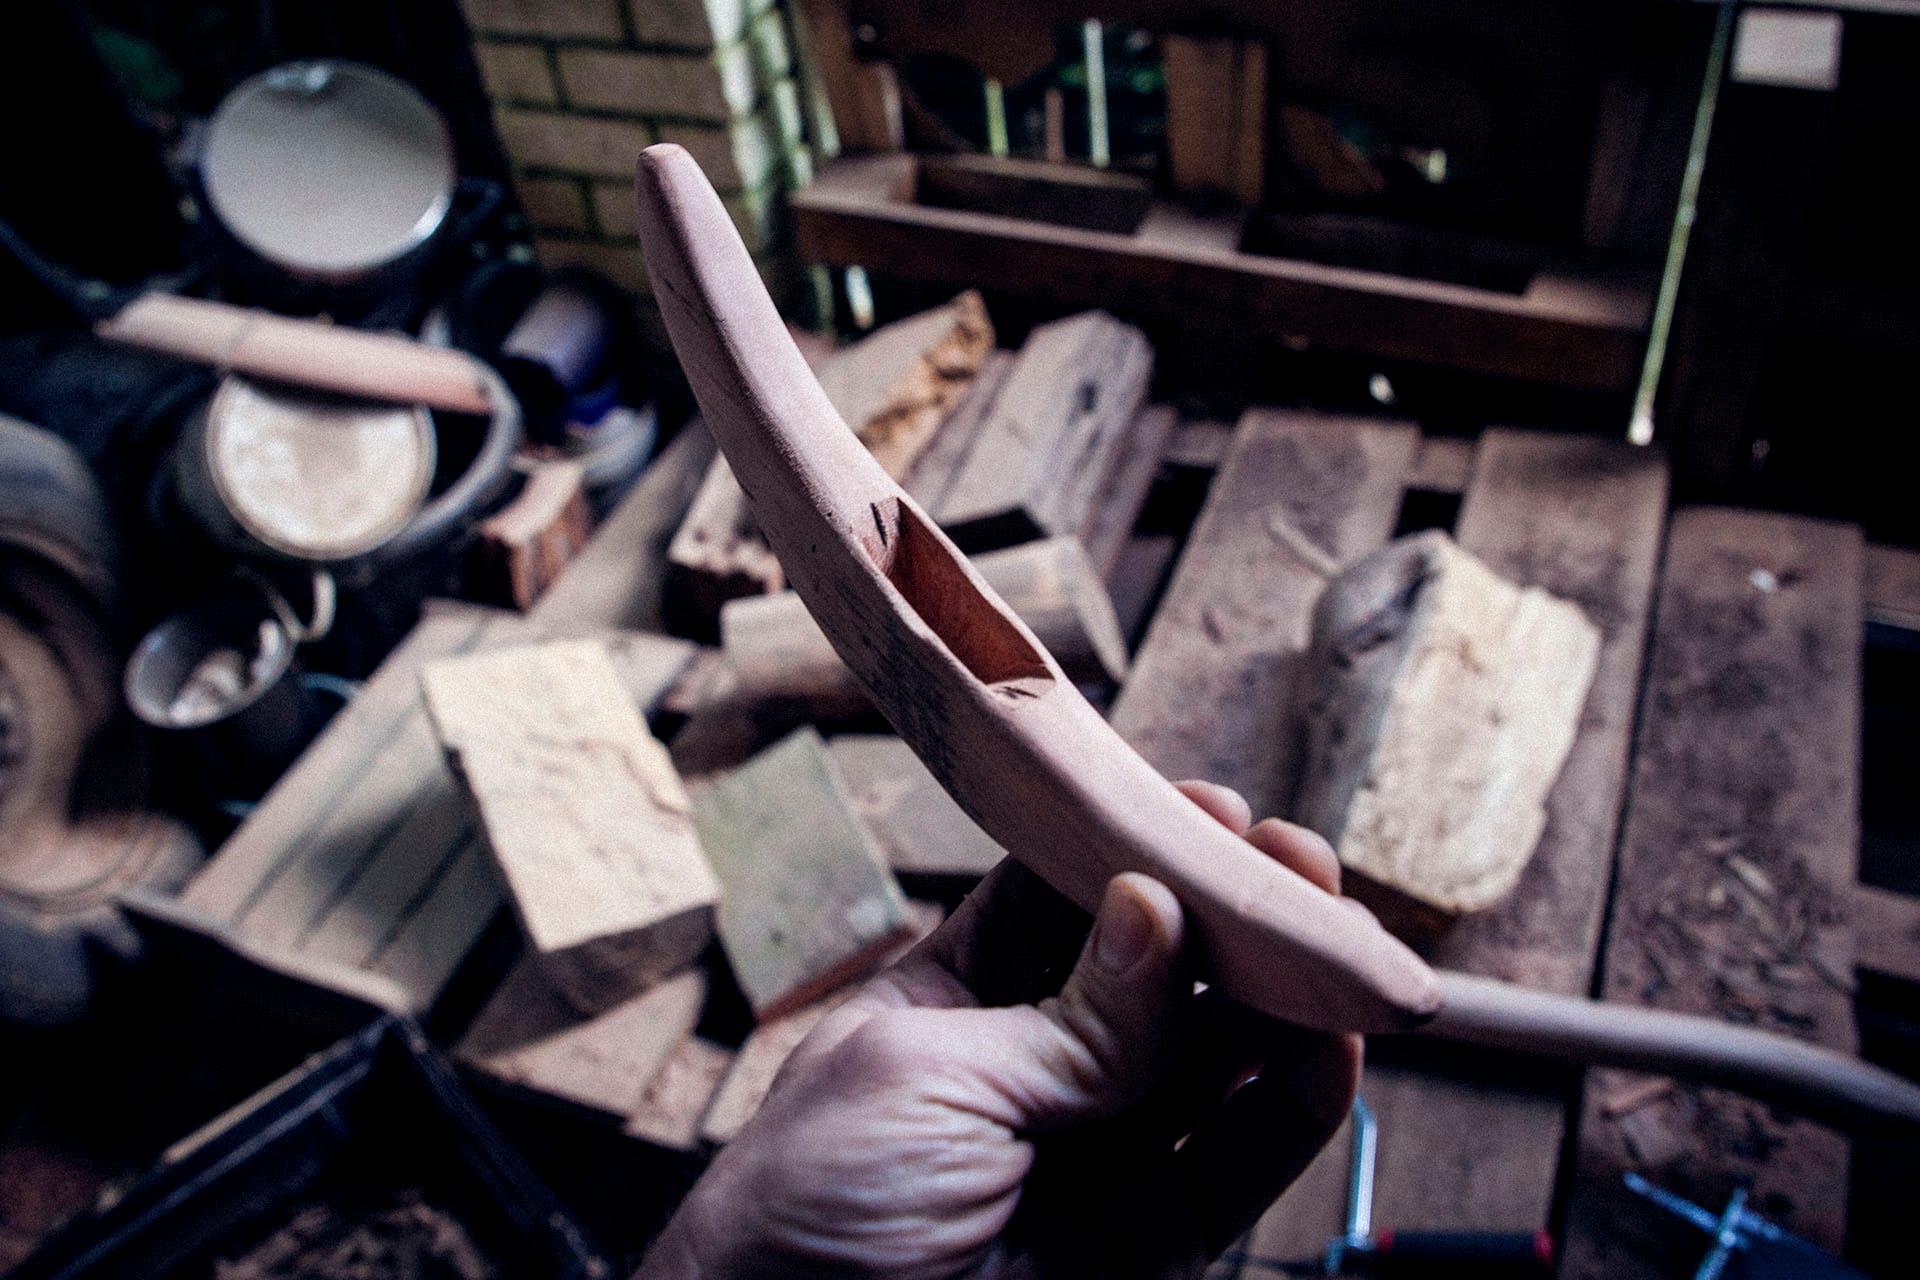
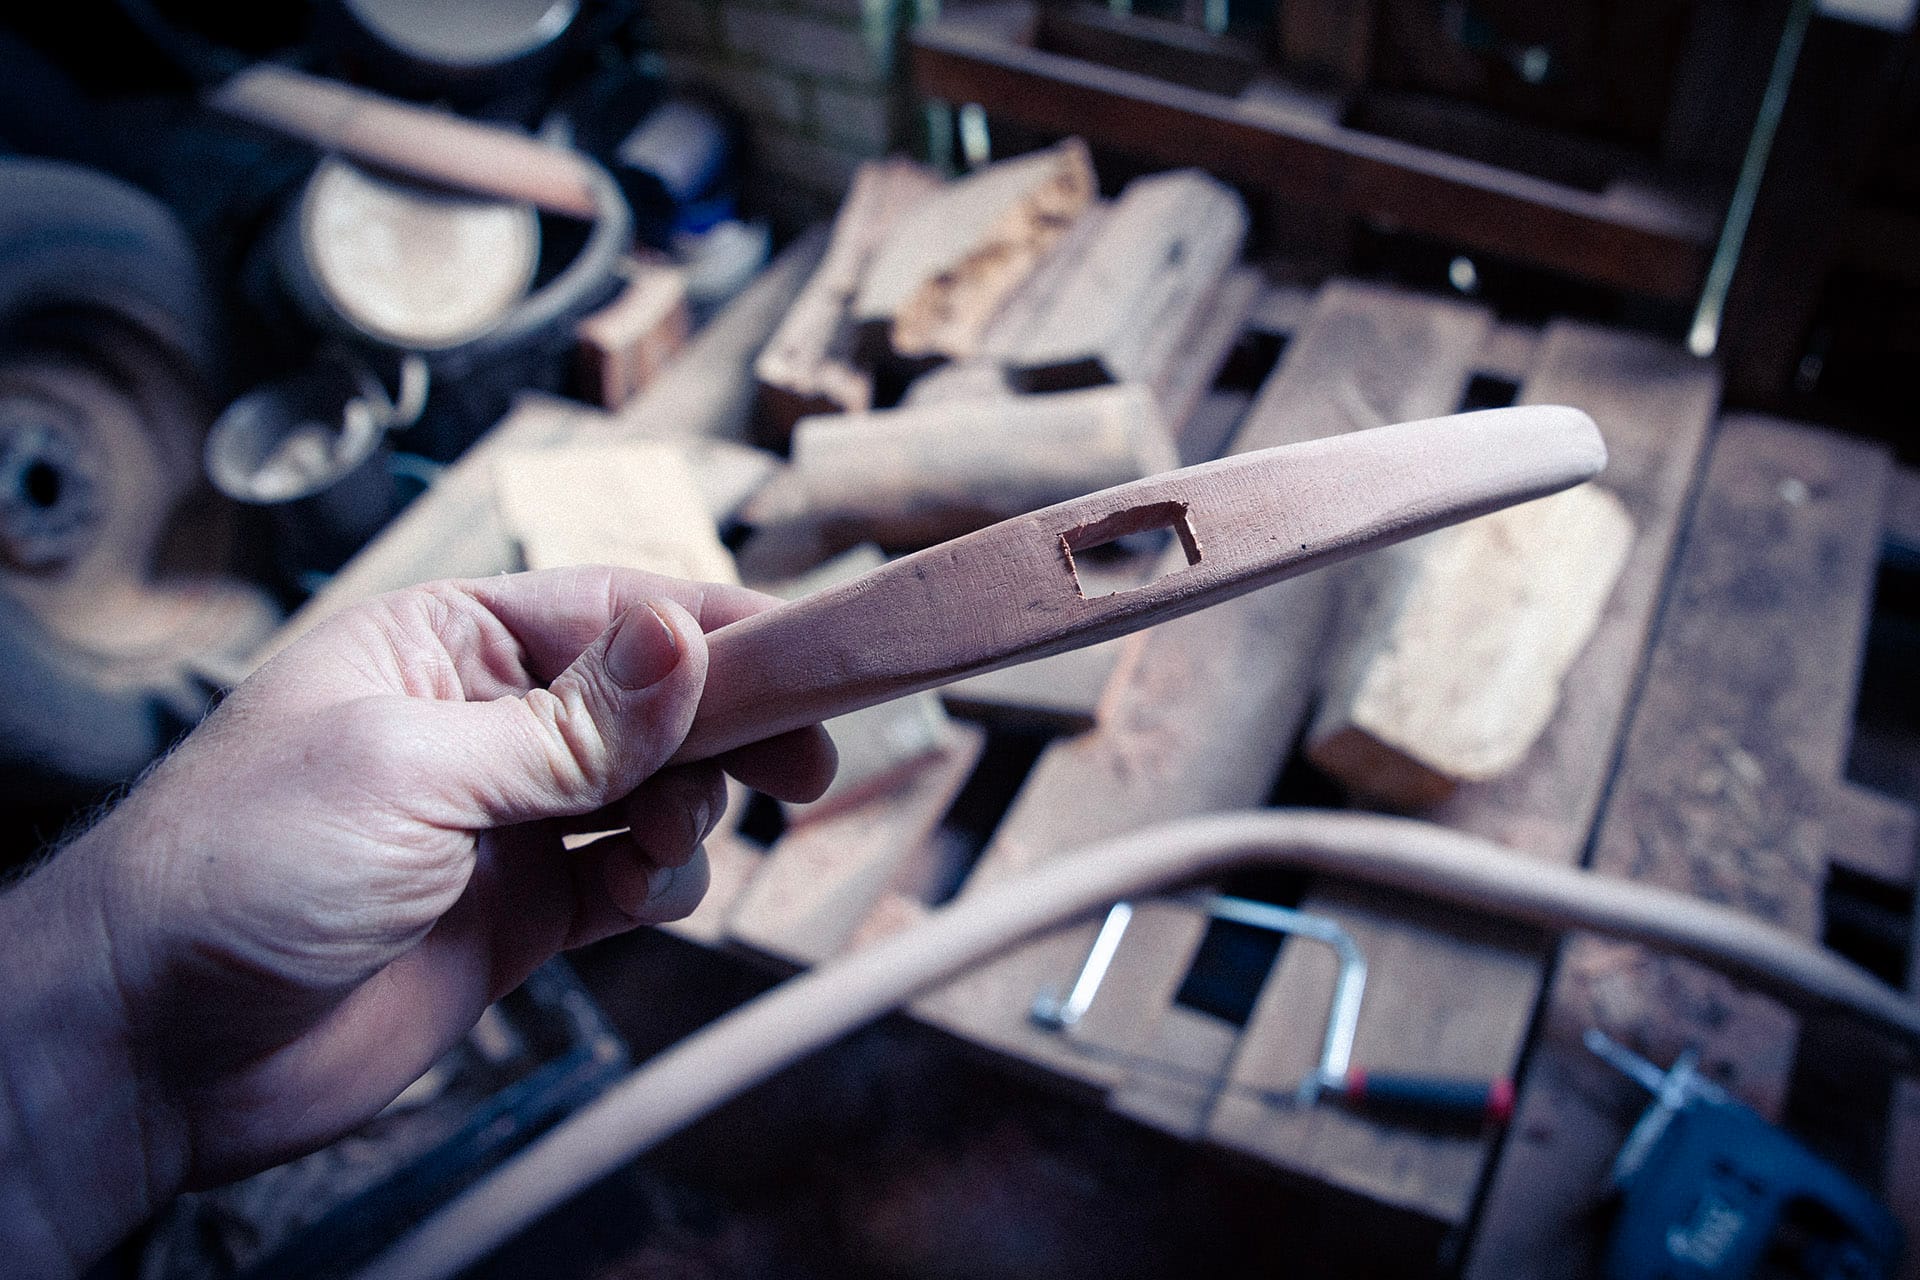
For the handle I used a scrap piece of bamboo. The original idea was to make a carved wooden handle like the dagger, however due to the deadline I used a piece of bamboo I already had lying around. Probably not the best choice, as it has the potential to split, but it was what I had to work with. The main challenge there was drilling out the centre and then filing it down with a round file.
Scrap Bamboo and my ultra neat tool pile
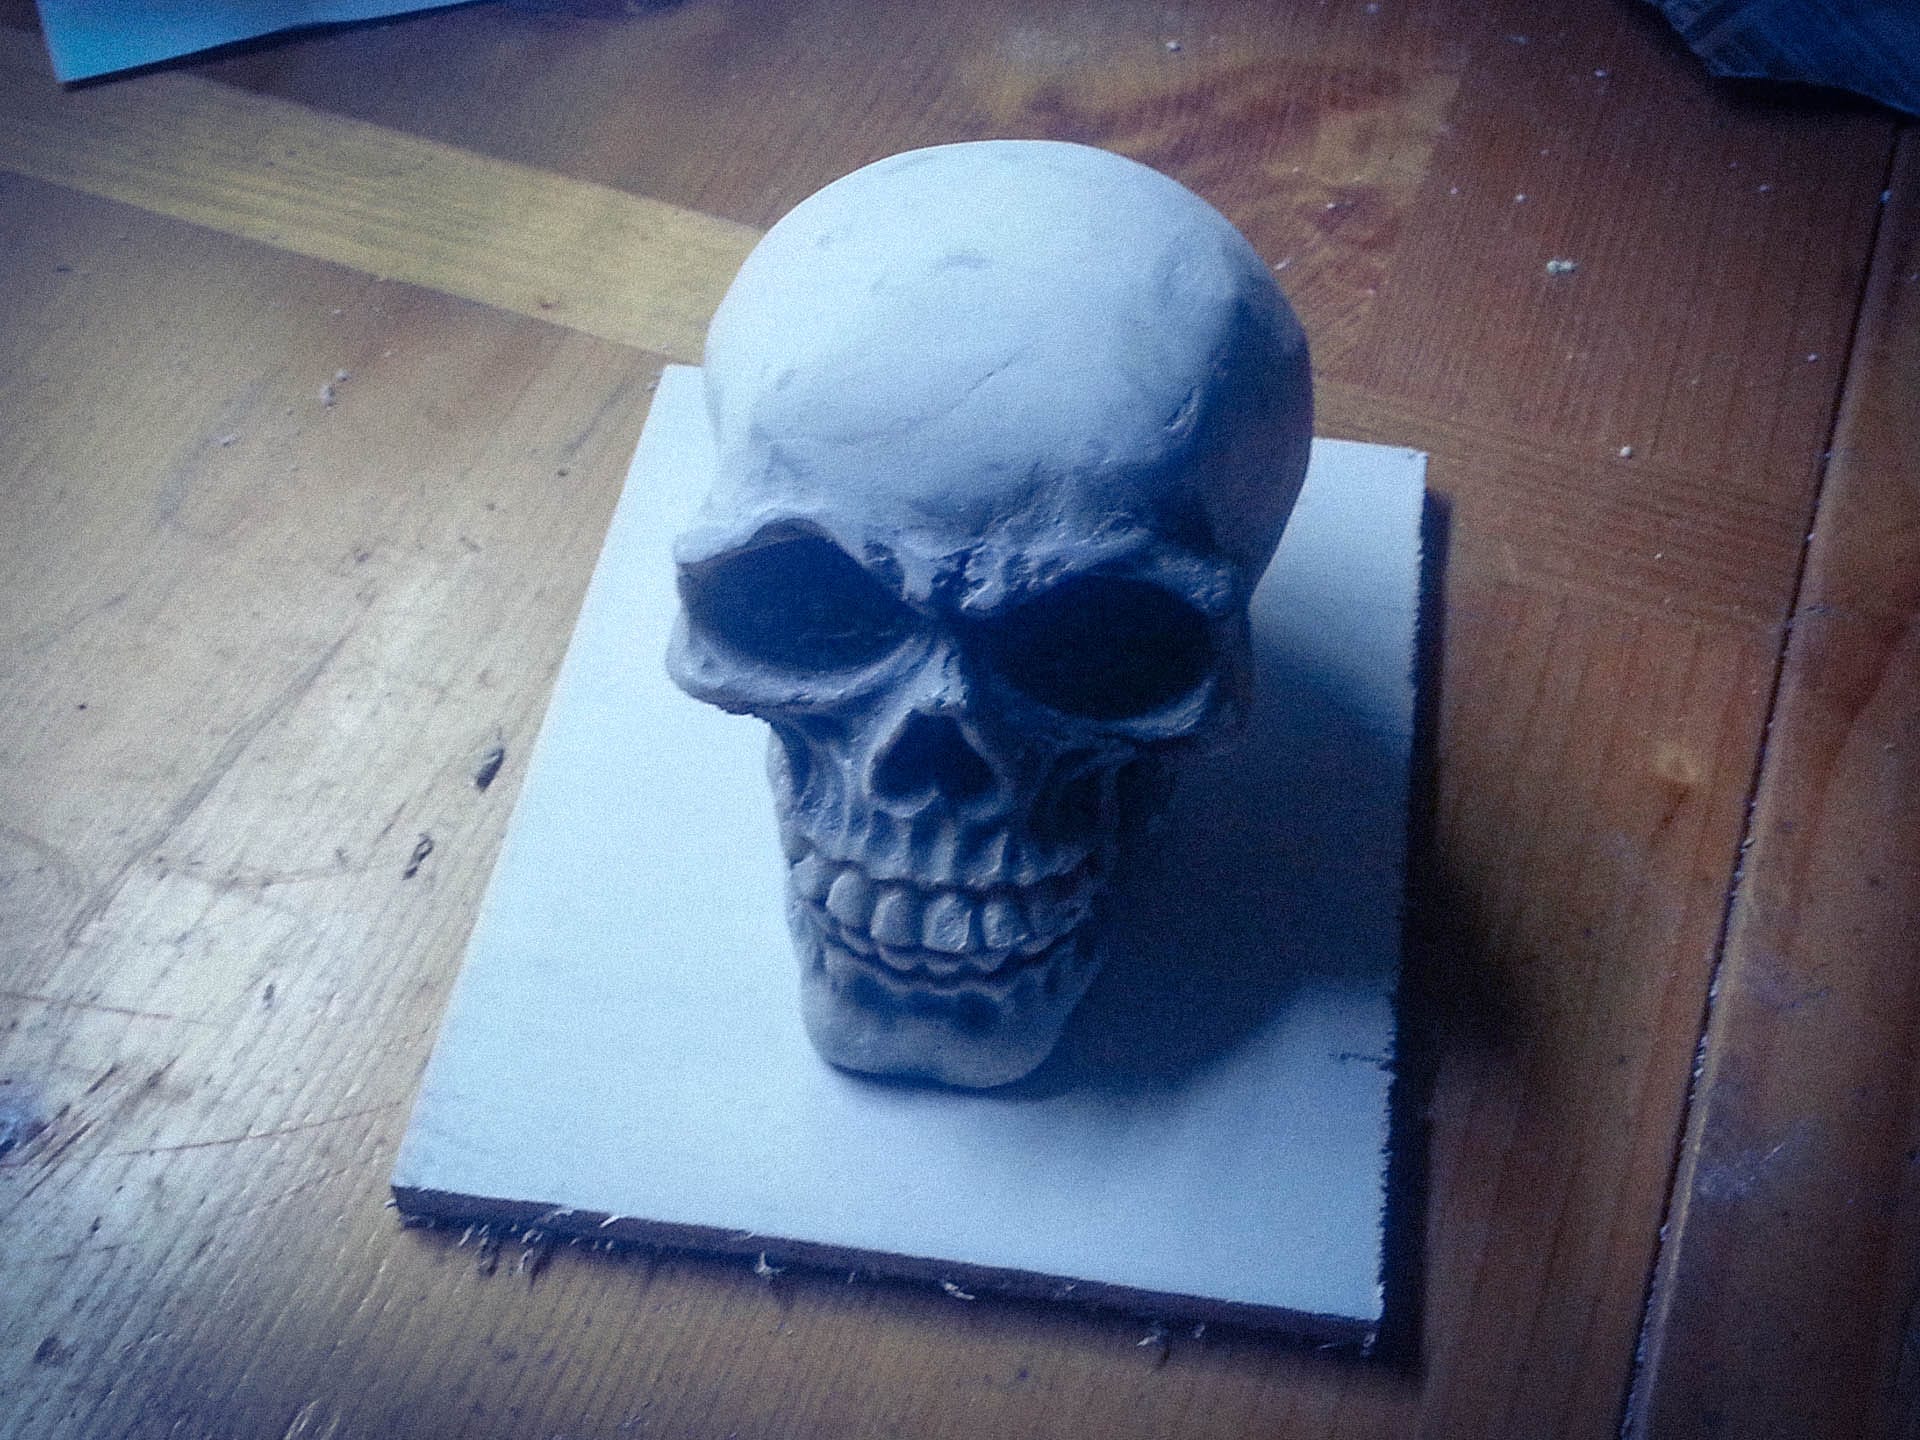
For the skull pommel, the original idea was to sculpt and cast one using Barnes Products TC-808, which is commonly used for doll heads and is super strong. But again — deadlines. So I grabbed a skull from a cheap shop for 12 bucks. It was slightly too big and had a bird on its head. Classic, right?
So I had to cut that off and fill the hole with a plaster-type compound, partly to repair it and partly to add weight, as it is a pommel after all. The handle was glued and plastered into place, then screws were put through the eye sockets to secure it. After that, I wrapped and glued on some twine I had left over from a previous project as the grip.
Pommel and handle assembly
Painting disasters
Painting the sword with special undercoat
Now while we’re on the subject of disasters and adaptation, I didn’t realise until fairly late in the day that the whole thing needed to be painted. After starting the undercoat and seeing it bloom and separate, I did a quick search and found that you can’t just paint spotted gum due to its high oil content. WTF.
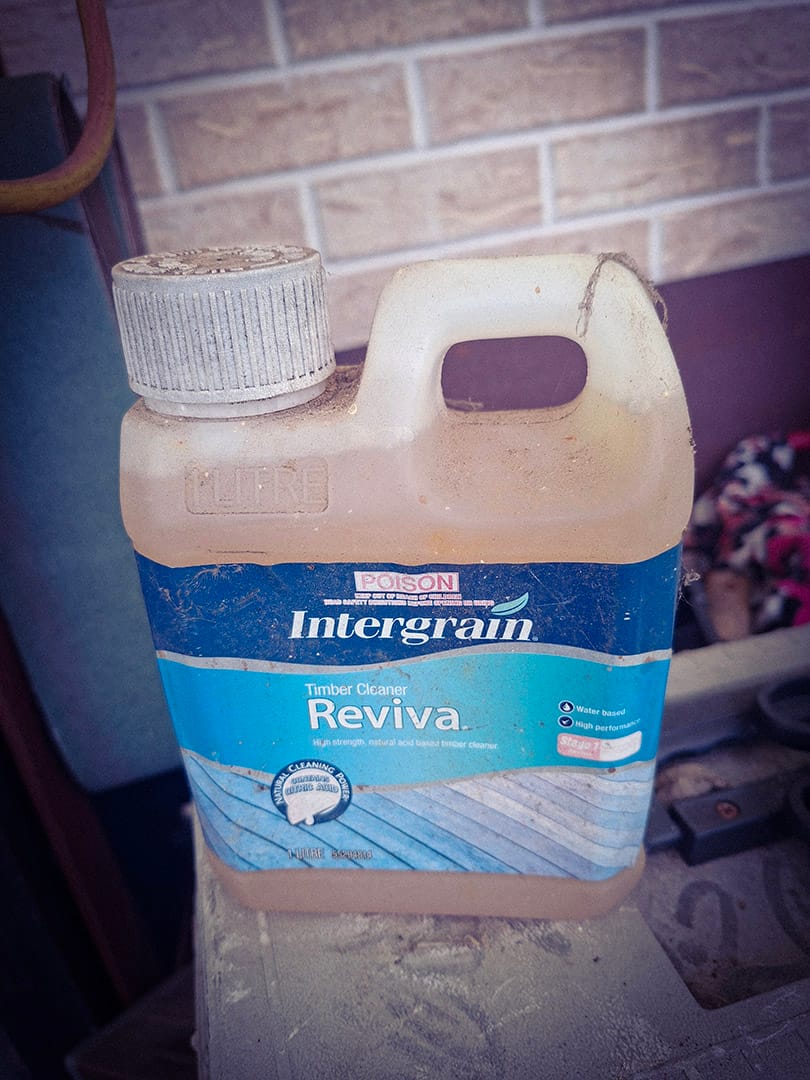
Apparently you can fix this with a special wood acid wash that removes enough oil for paint to stick. So it was off to Bunnos yet again to get the acid wash and a special undercoat to suit the timber. Seriously, if this article helps anyone avoid these problems at all, it was worth writing. The whole process became pretty stressful with the tight deadline and several trips to the hardware store, which at the time was over 45 minutes away.
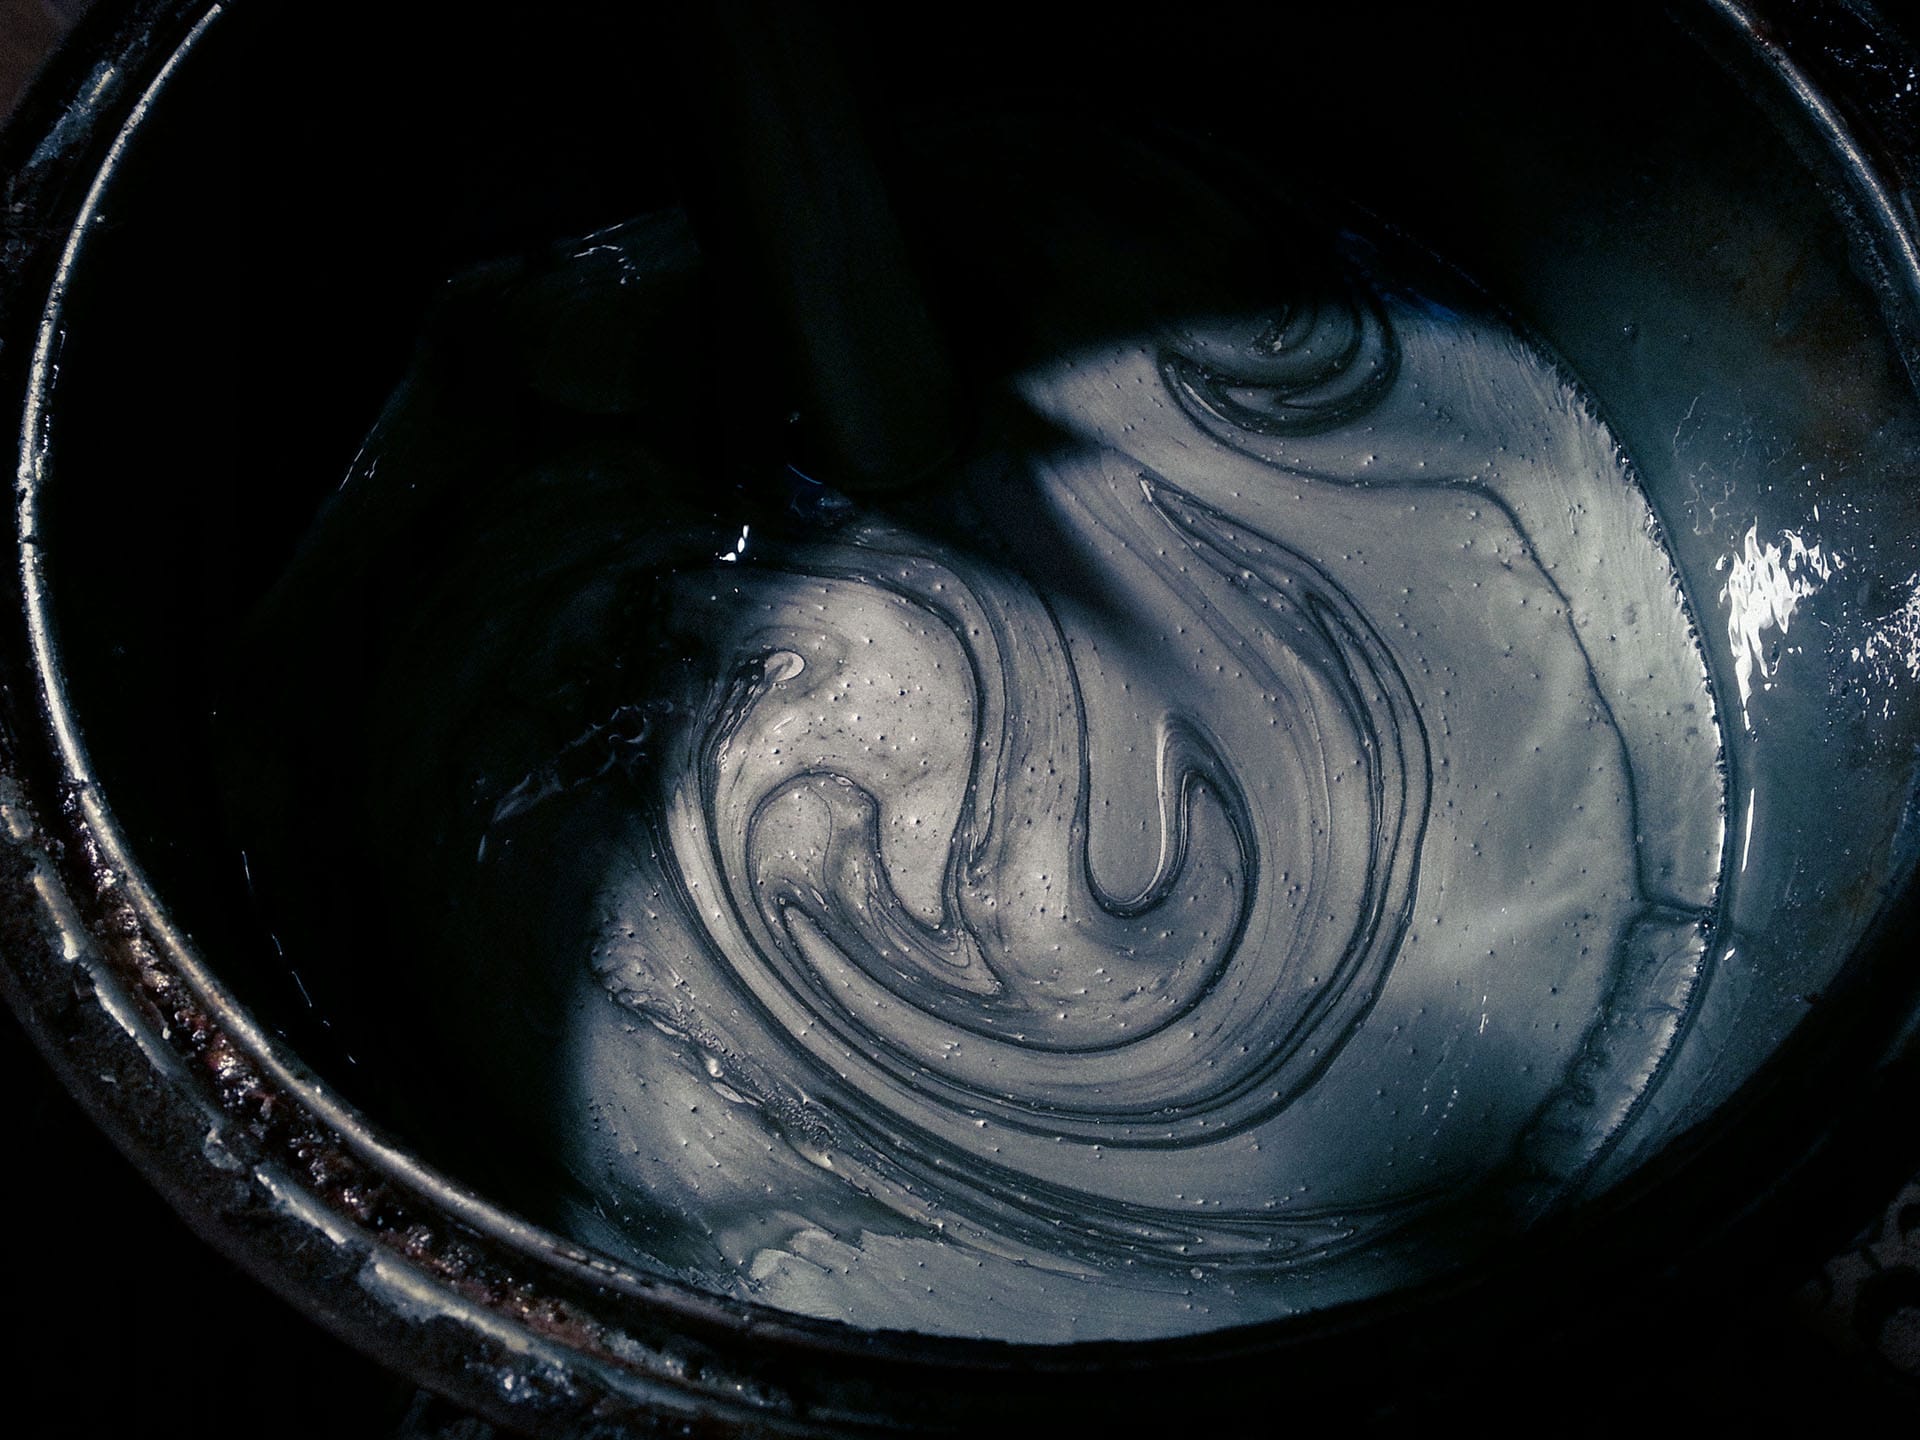
The wood acid (left), Silver Enamel (middle), the sword drying (right)
Not really having much experience painting swords, I ended up using a silver enamel, which takes days to dry in ideal conditions. We, however, lived in a rainforest on top of a mountain, where 80% humidity was normal. I probably should have used an acrylic, but I was also worried about chipping and didn’t want it all falling off on stage.
Other than that, I added some airbrushed detail to the cross guard, fuller and pommel to make it look a little worn and used.
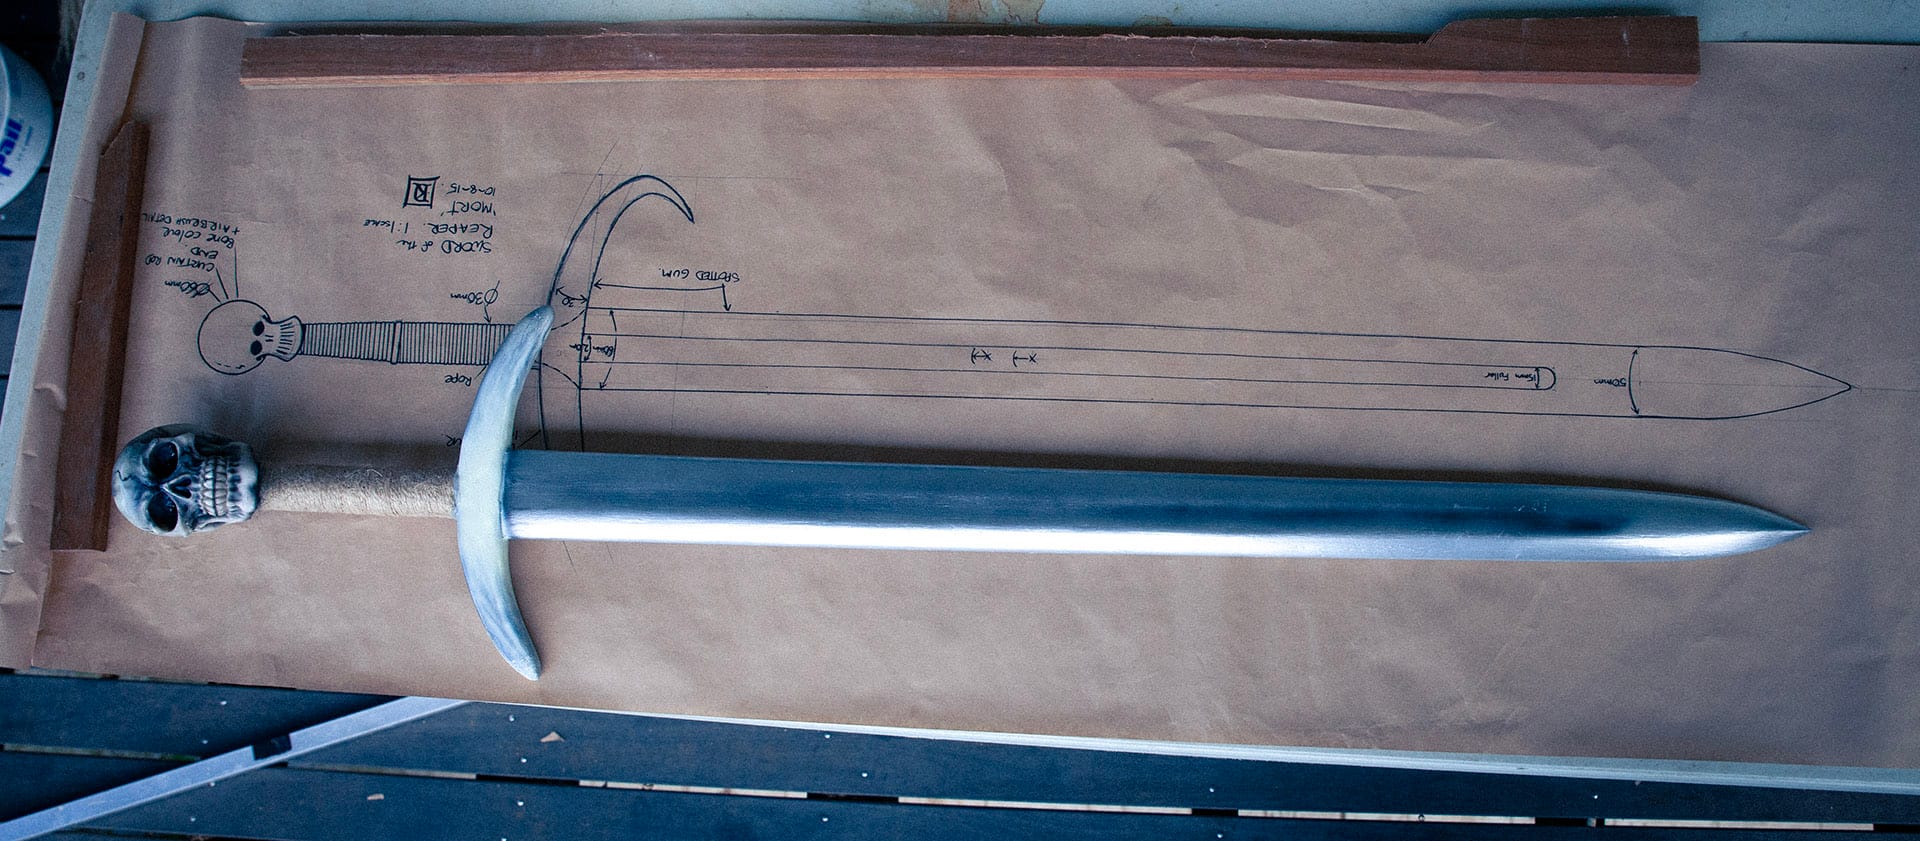
comparing the finished sword to the original design plans
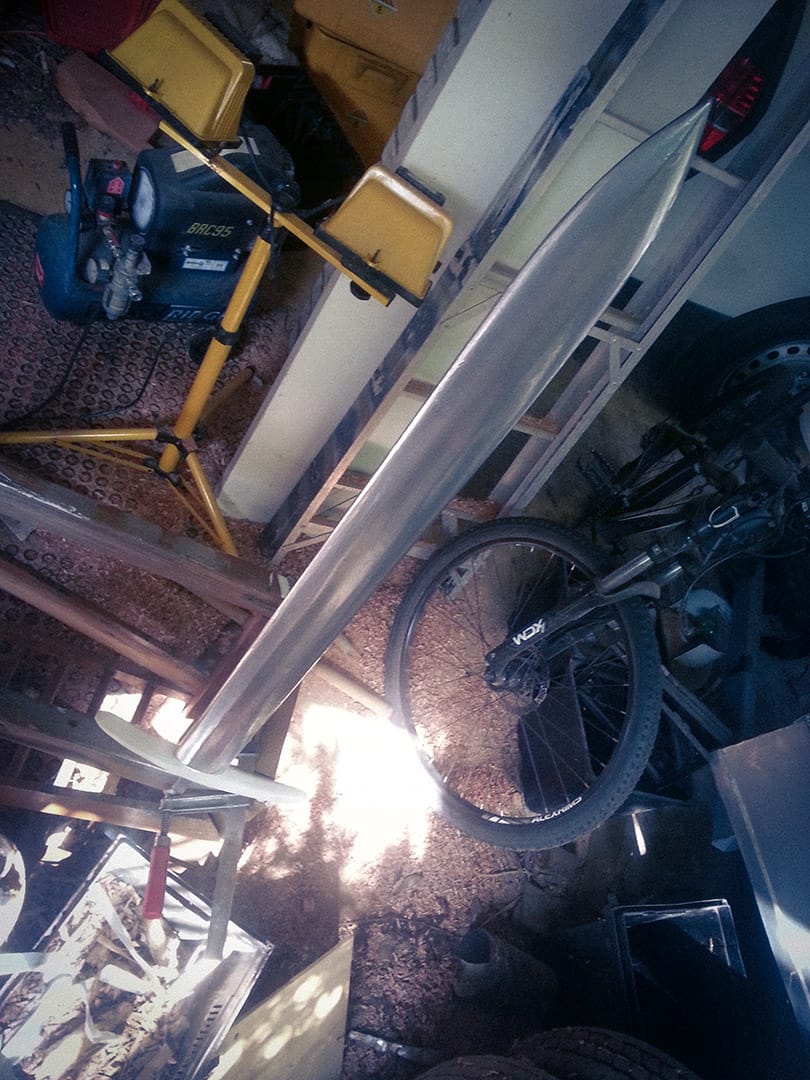
But yes, the enamel still had not dried by the time I had to take it to the theatre, so I had to devise a special hanging method to suspend the sword in the back of the van for the trip in.
Delivering the sword with wet enamel paint
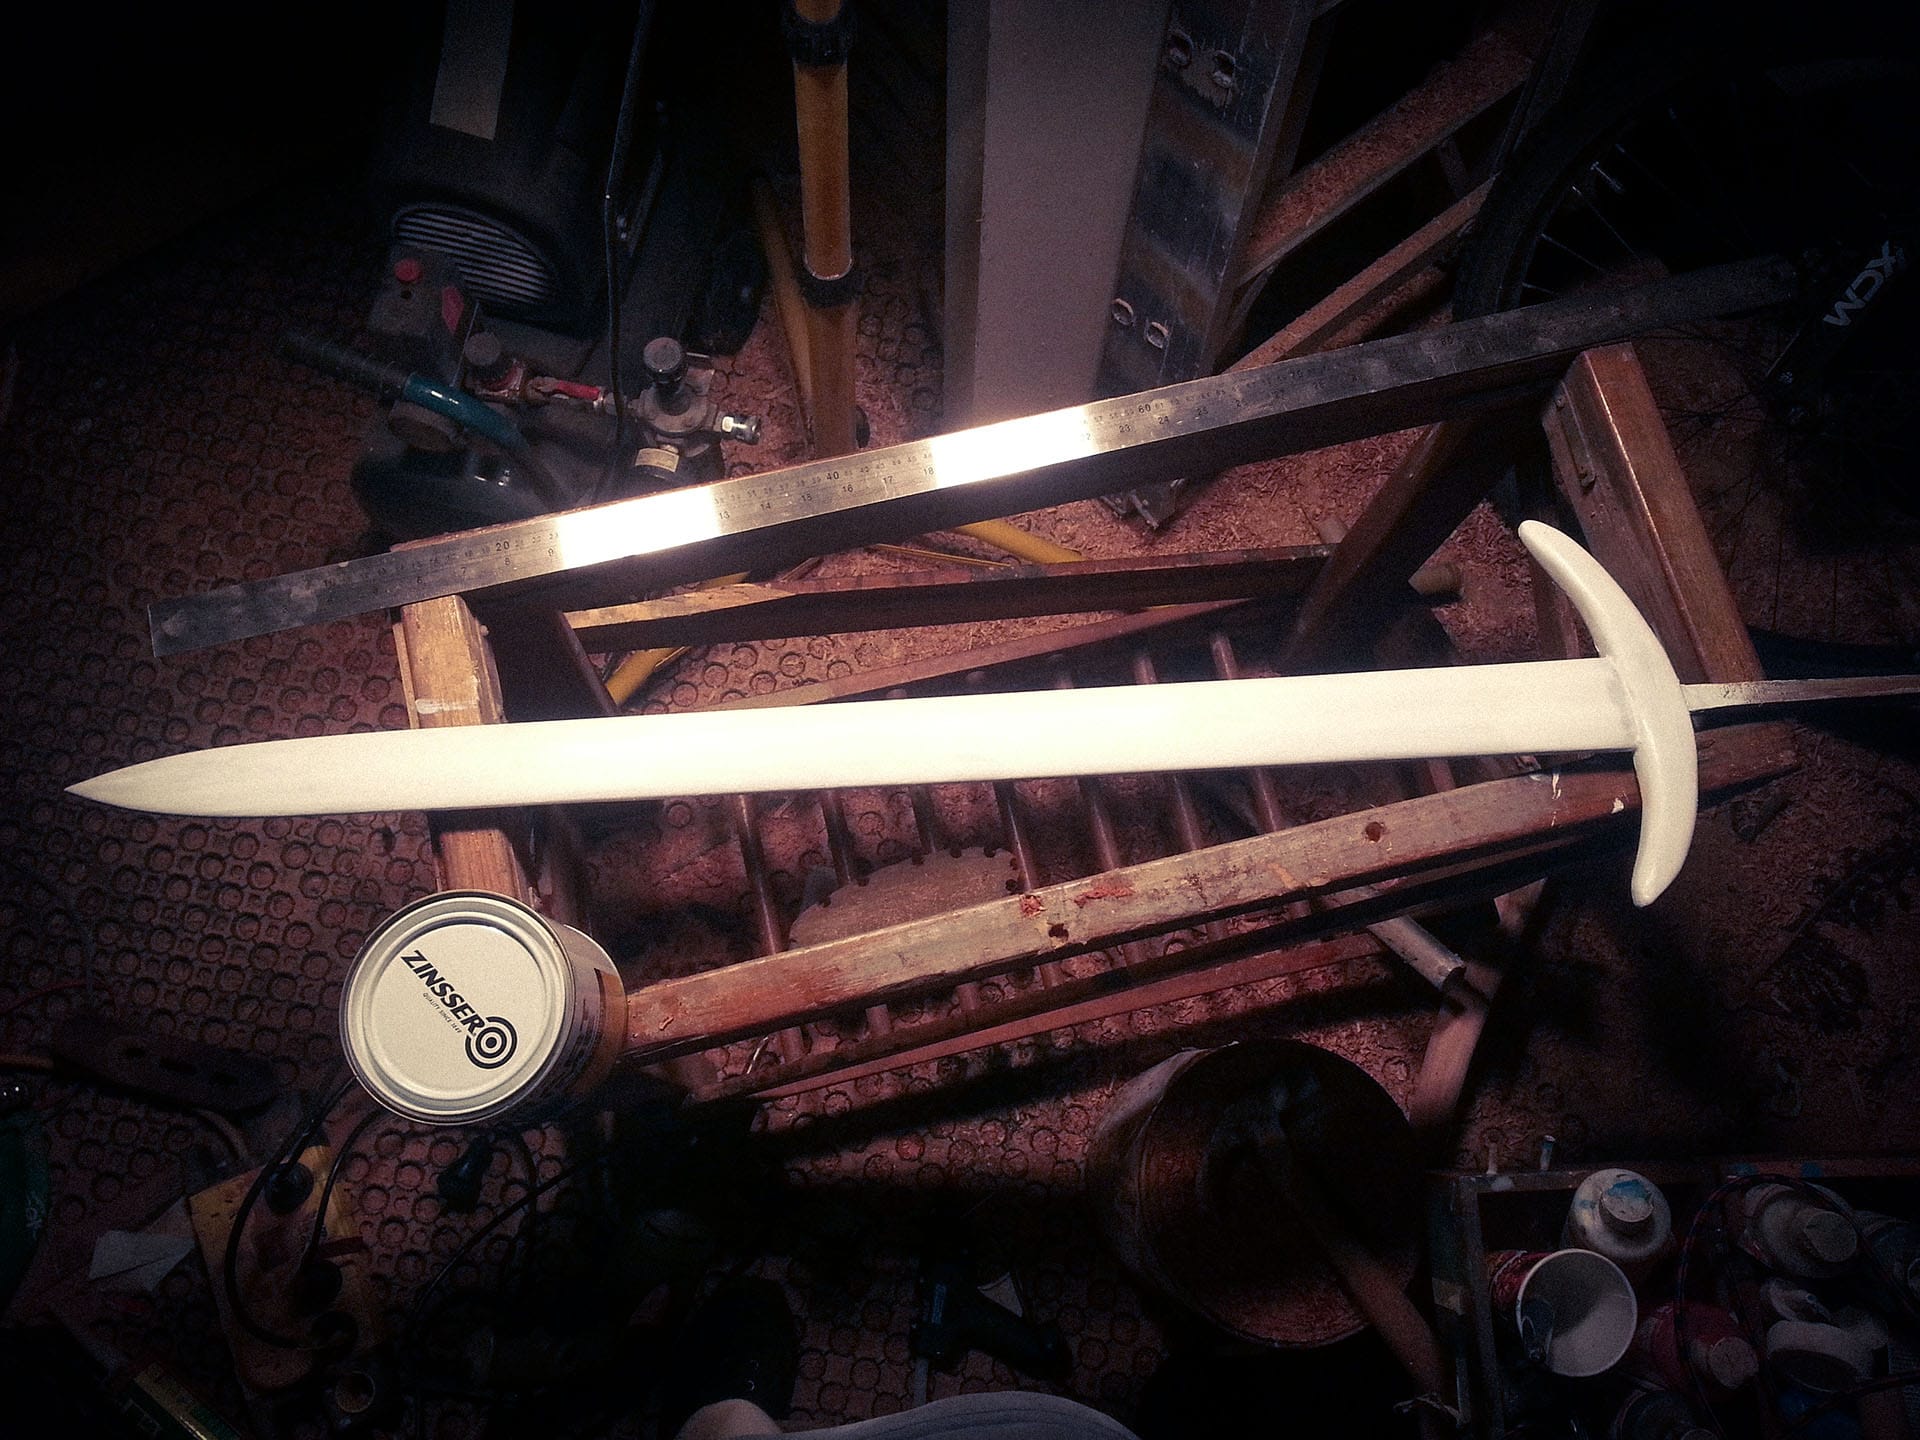
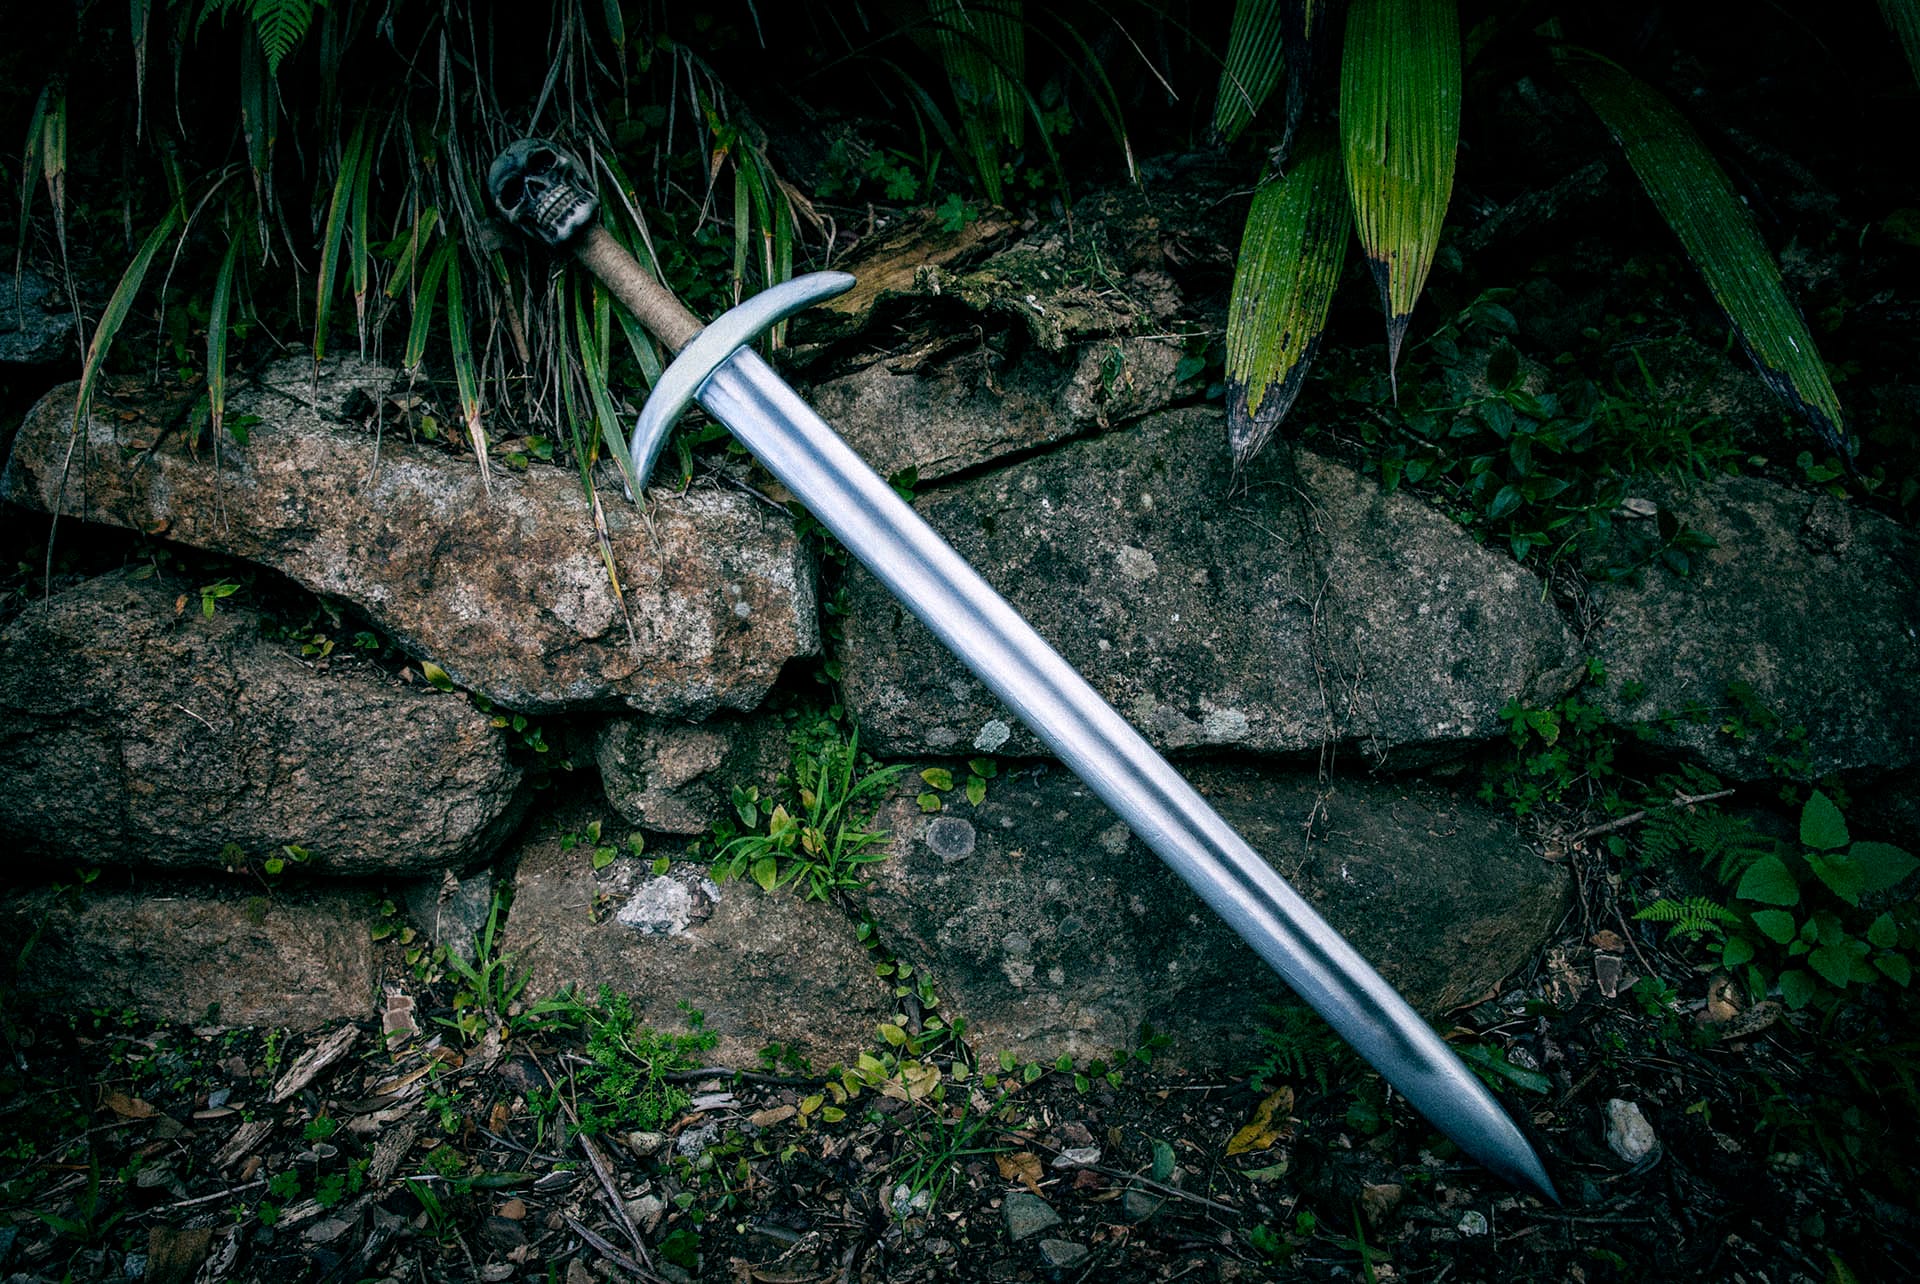
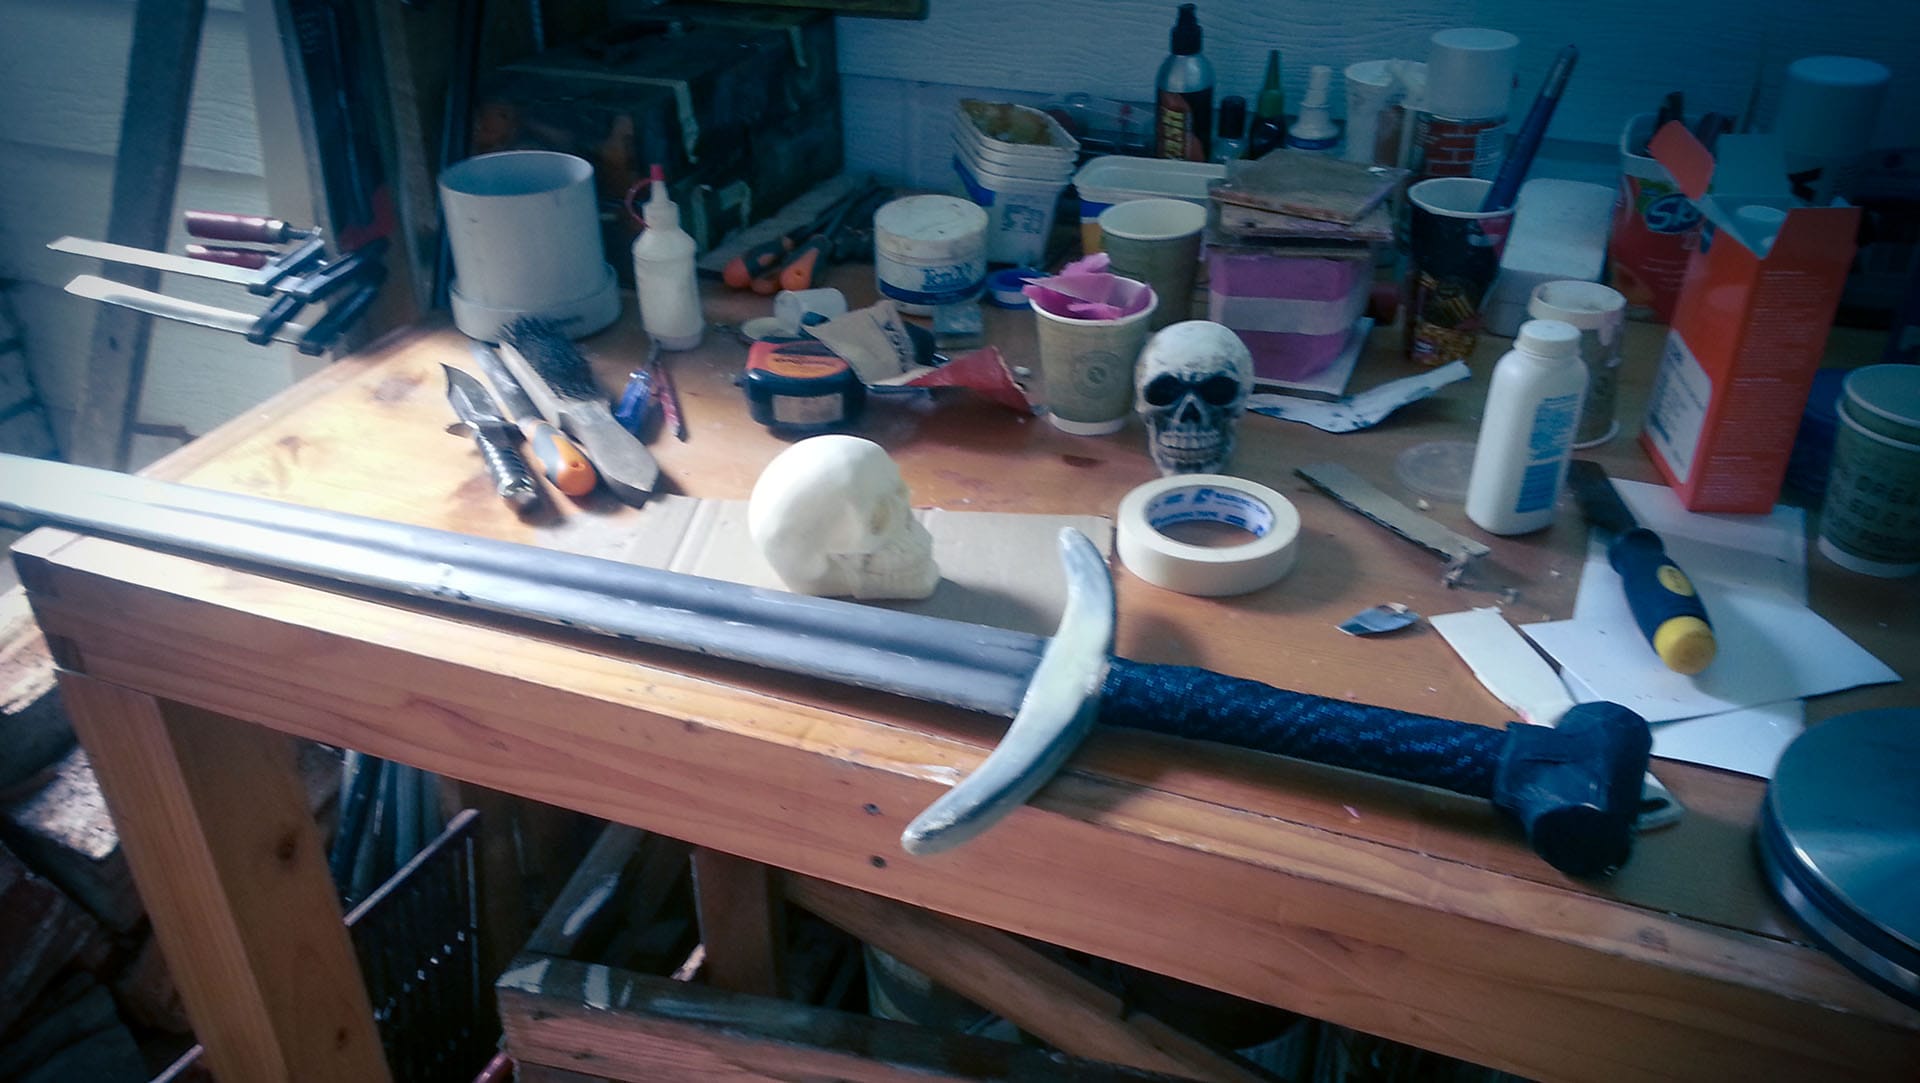
Behold, the sword of Death in all its glory… that is, until...
The completed sword in all its glory
Dress rehearsal disaster
After the dress rehearsal, I received a call where it was explained that the sword actually gets thrown across the stage and hits the floor and walls. Oh, and also gets stood on to prevent Death from picking it up. Ha ha ha. Excellent.
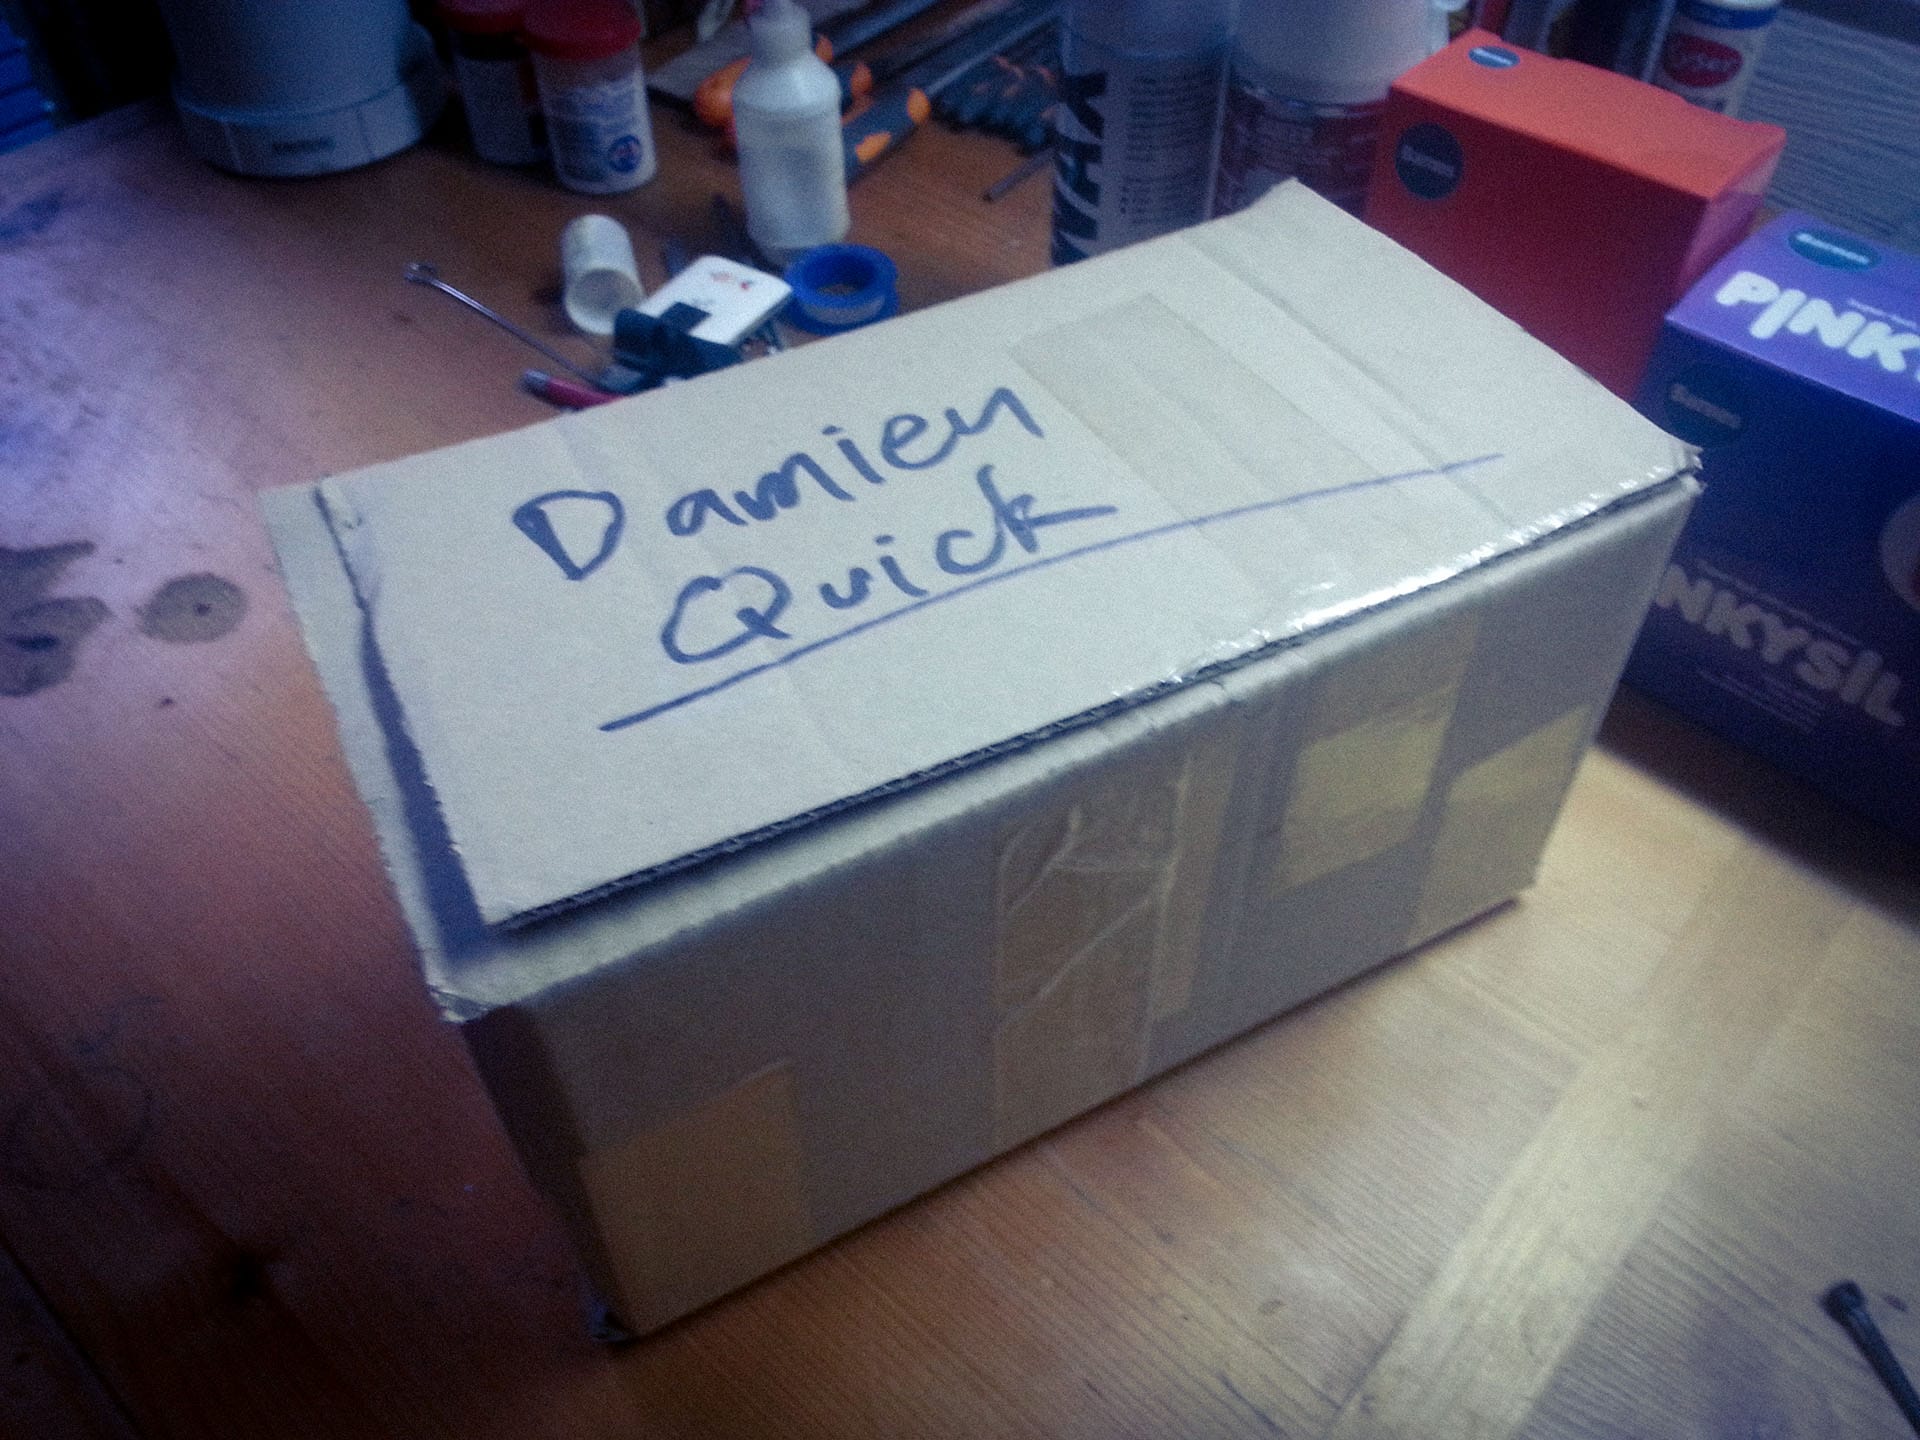
The returned package
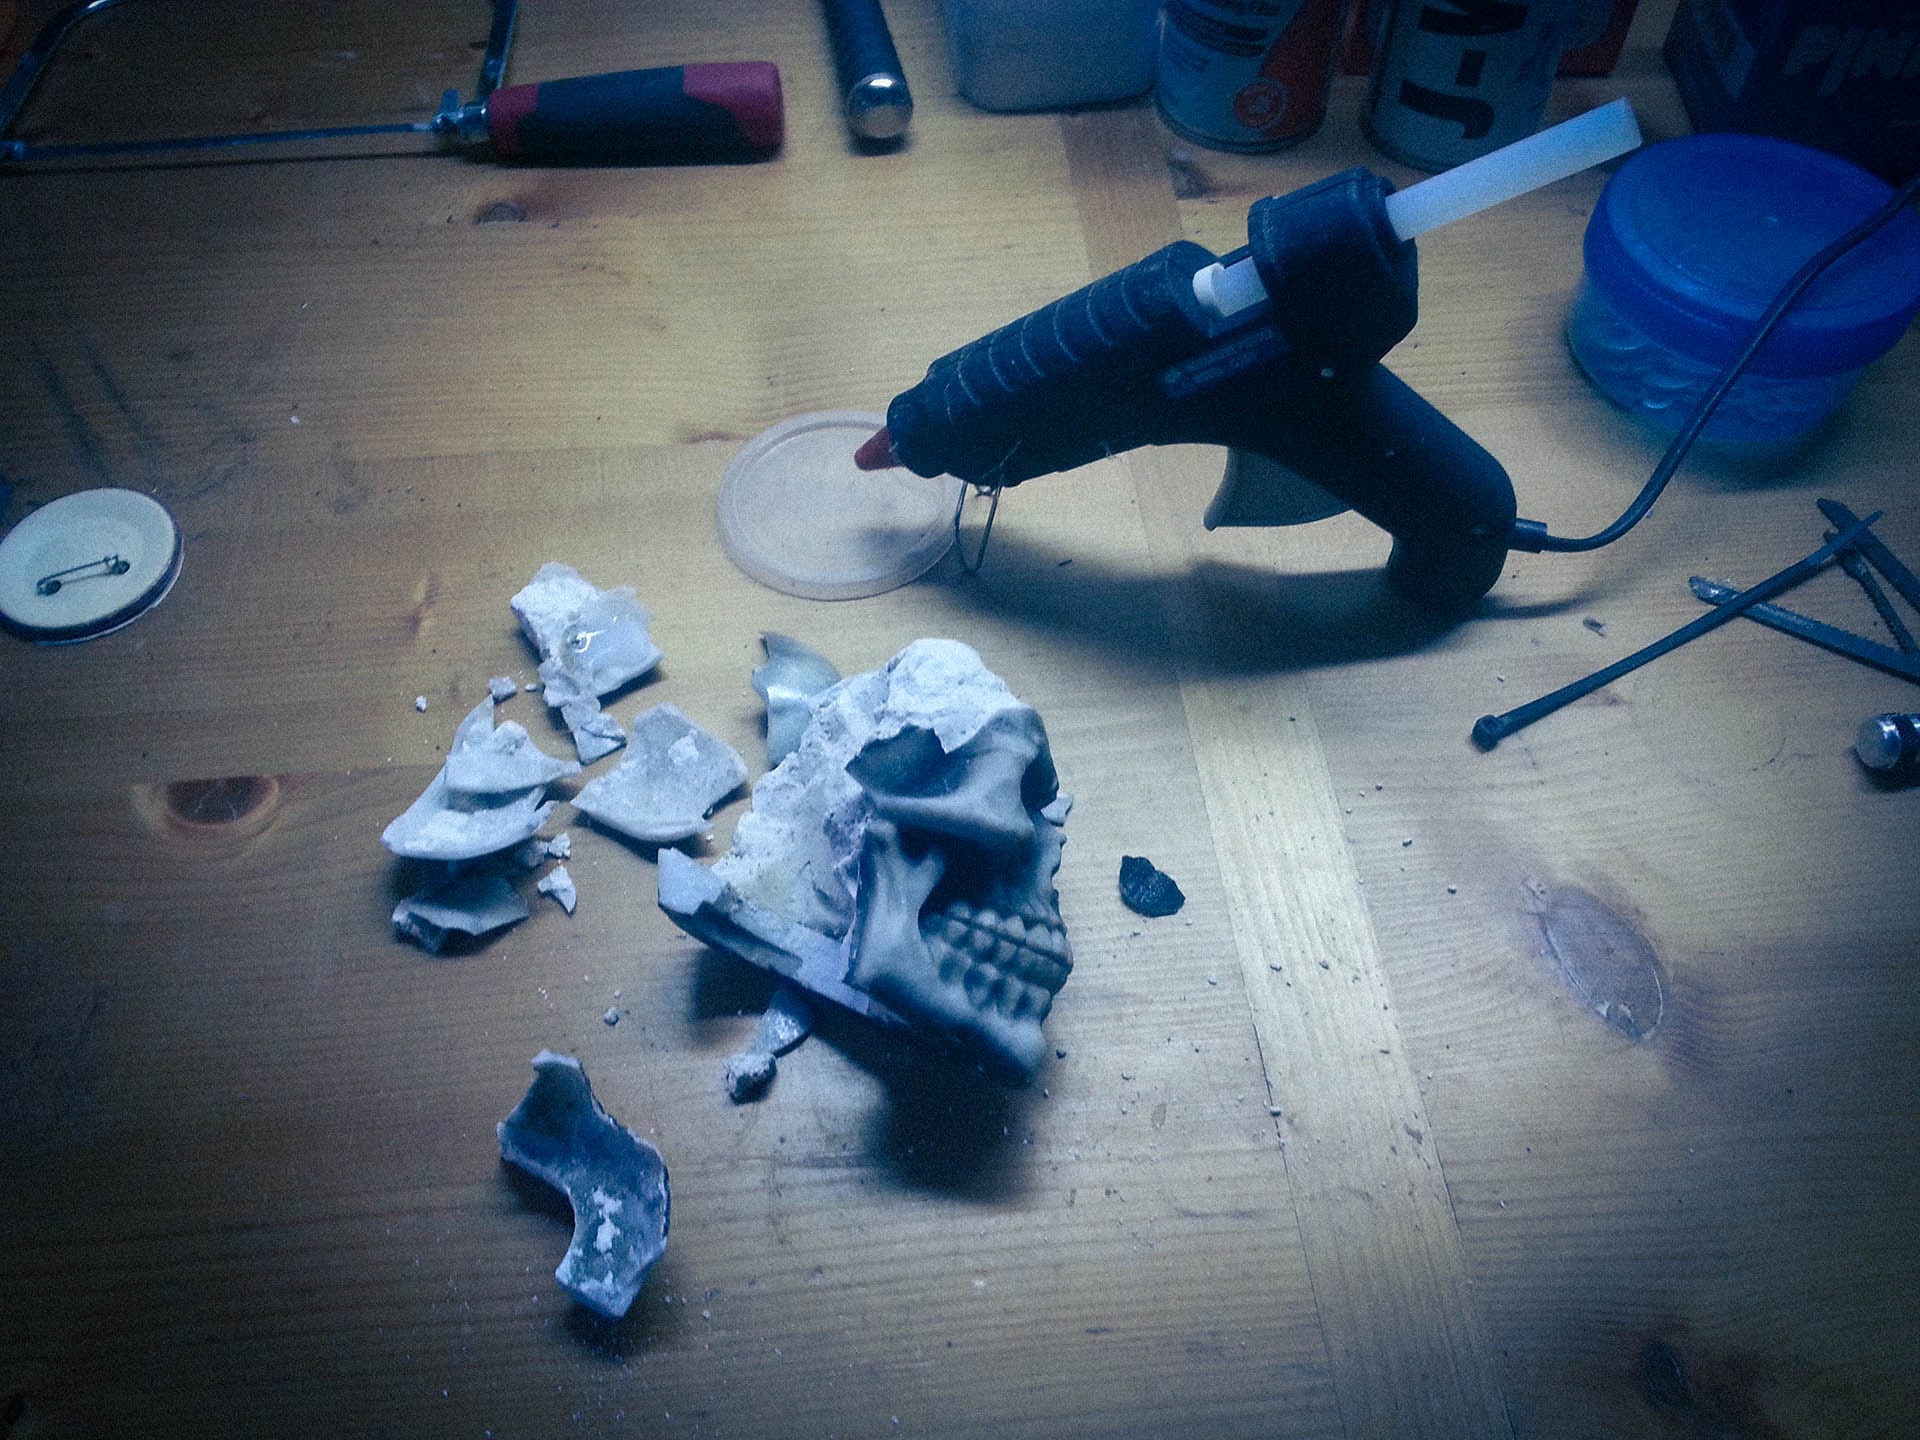
The result? A shattered $12 cheap shop skull pommel. I had originally weighted it with plaster filler and thought, “This will do the trick so long as it doesn’t hit the deck or anything.” Lol.
The damage is quite severe
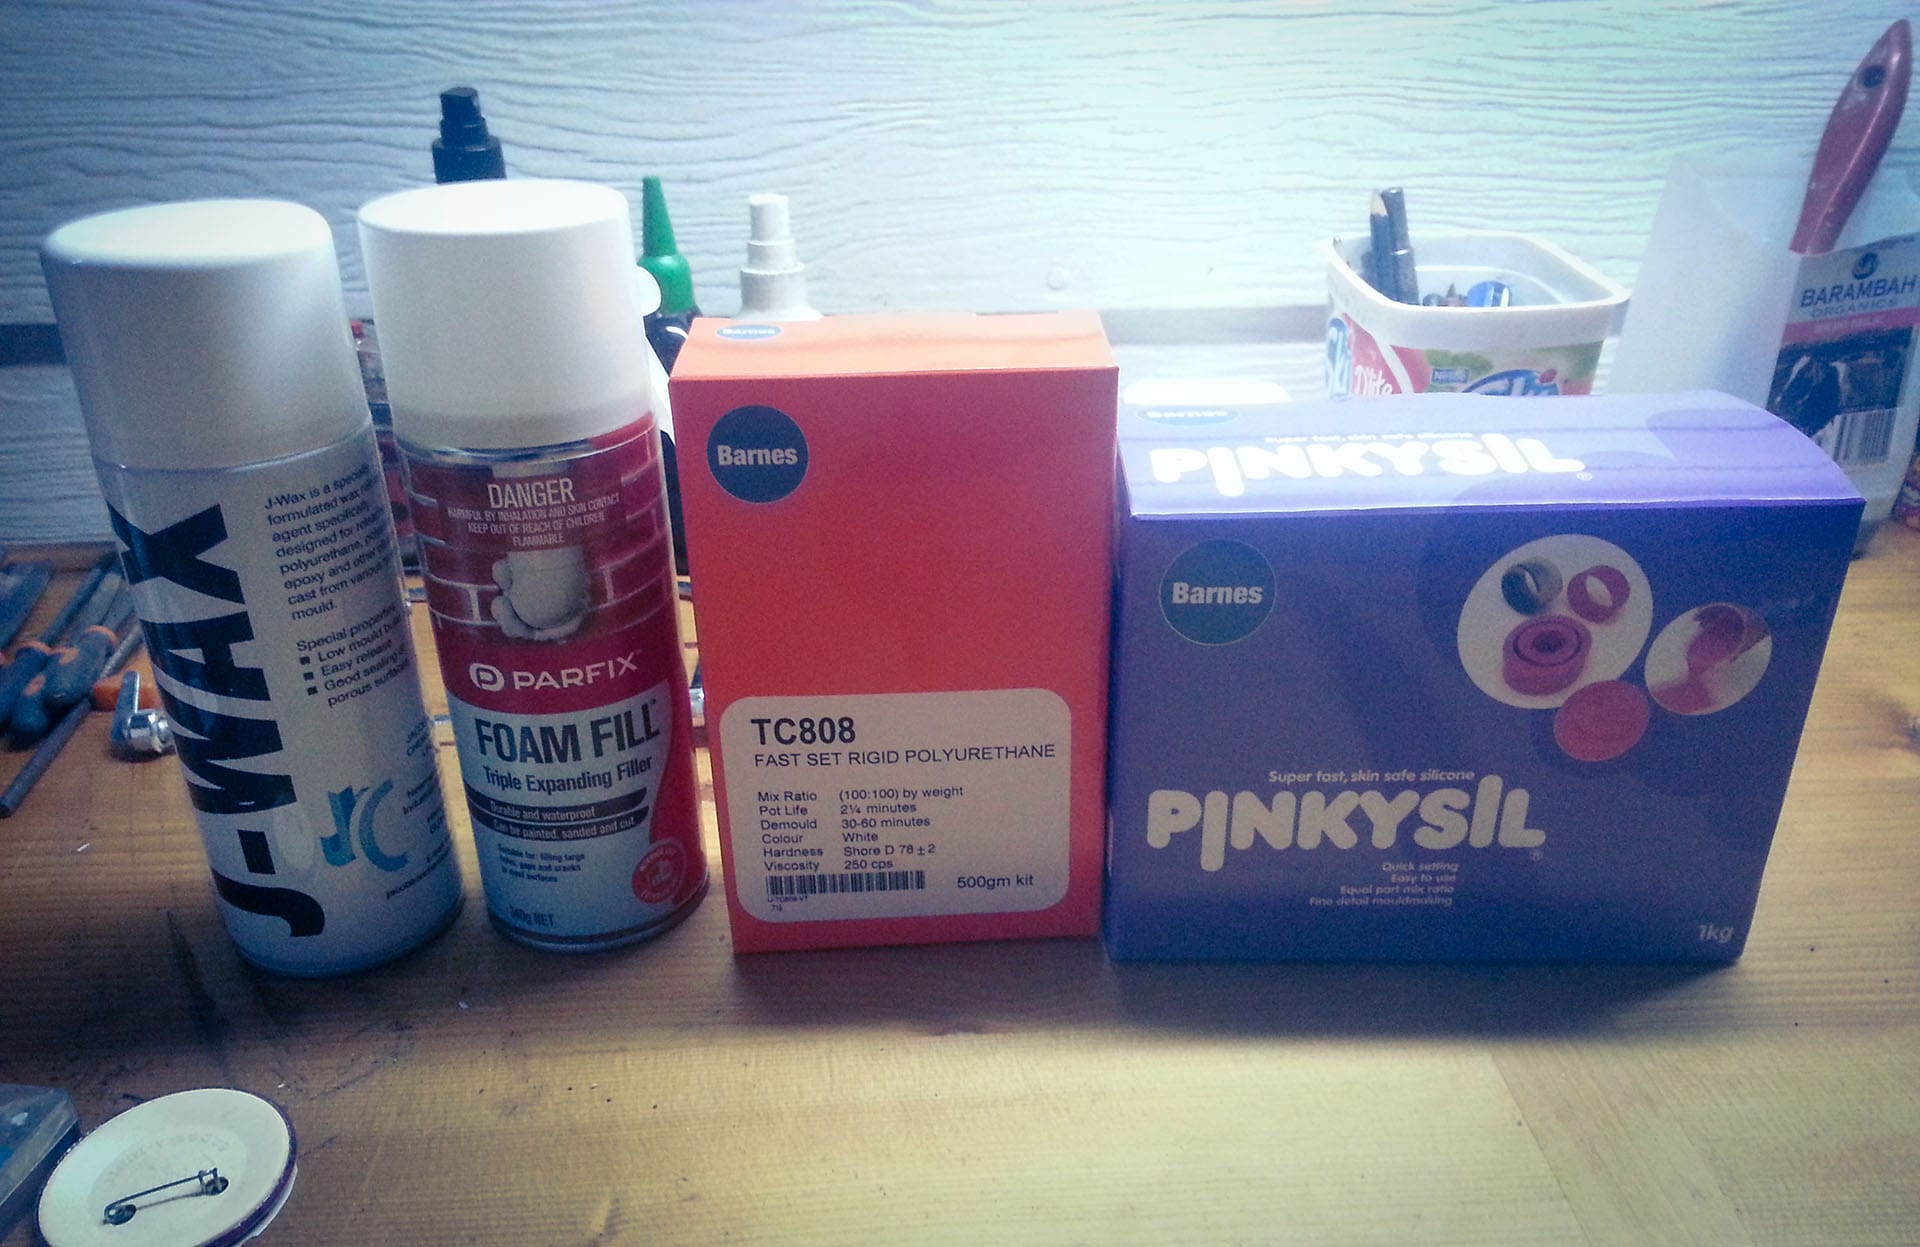
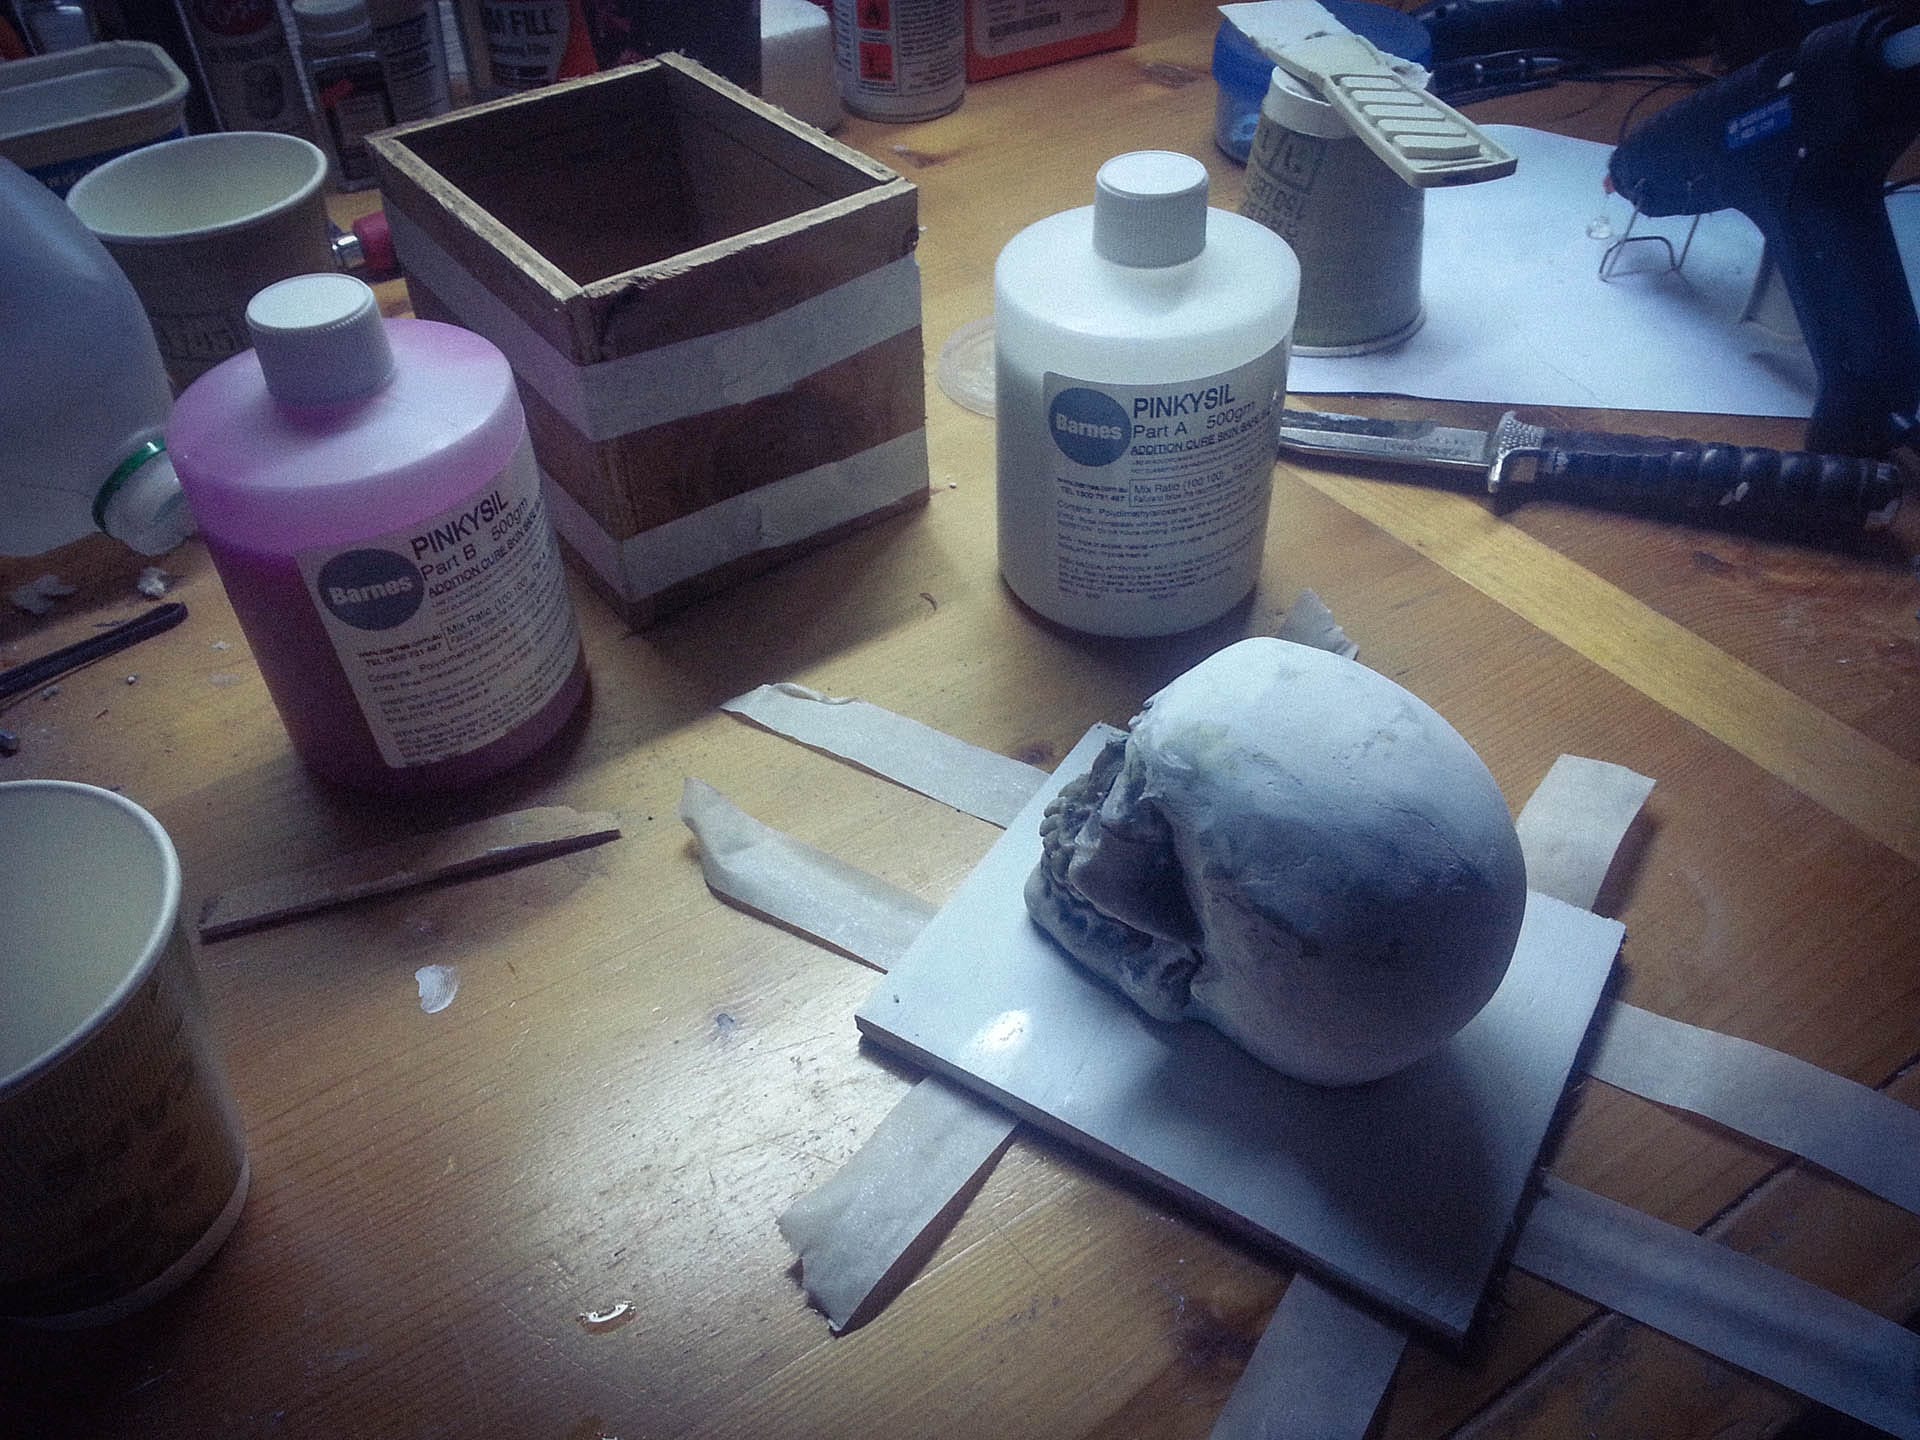
So now I had about three days to get a new skull made, and one that could handle heavy blows every night of the show for a few months. Back to the original plan. I was going to have to repair the old skull, make a mould from that, and recast it using TC-808. So it was another 'quick' trip to the Barnes Products store for Pinkysil, J-Wax, foam filler, and my old favourite, TC-808.
The Barnes products bounty
Rebuilding the skull
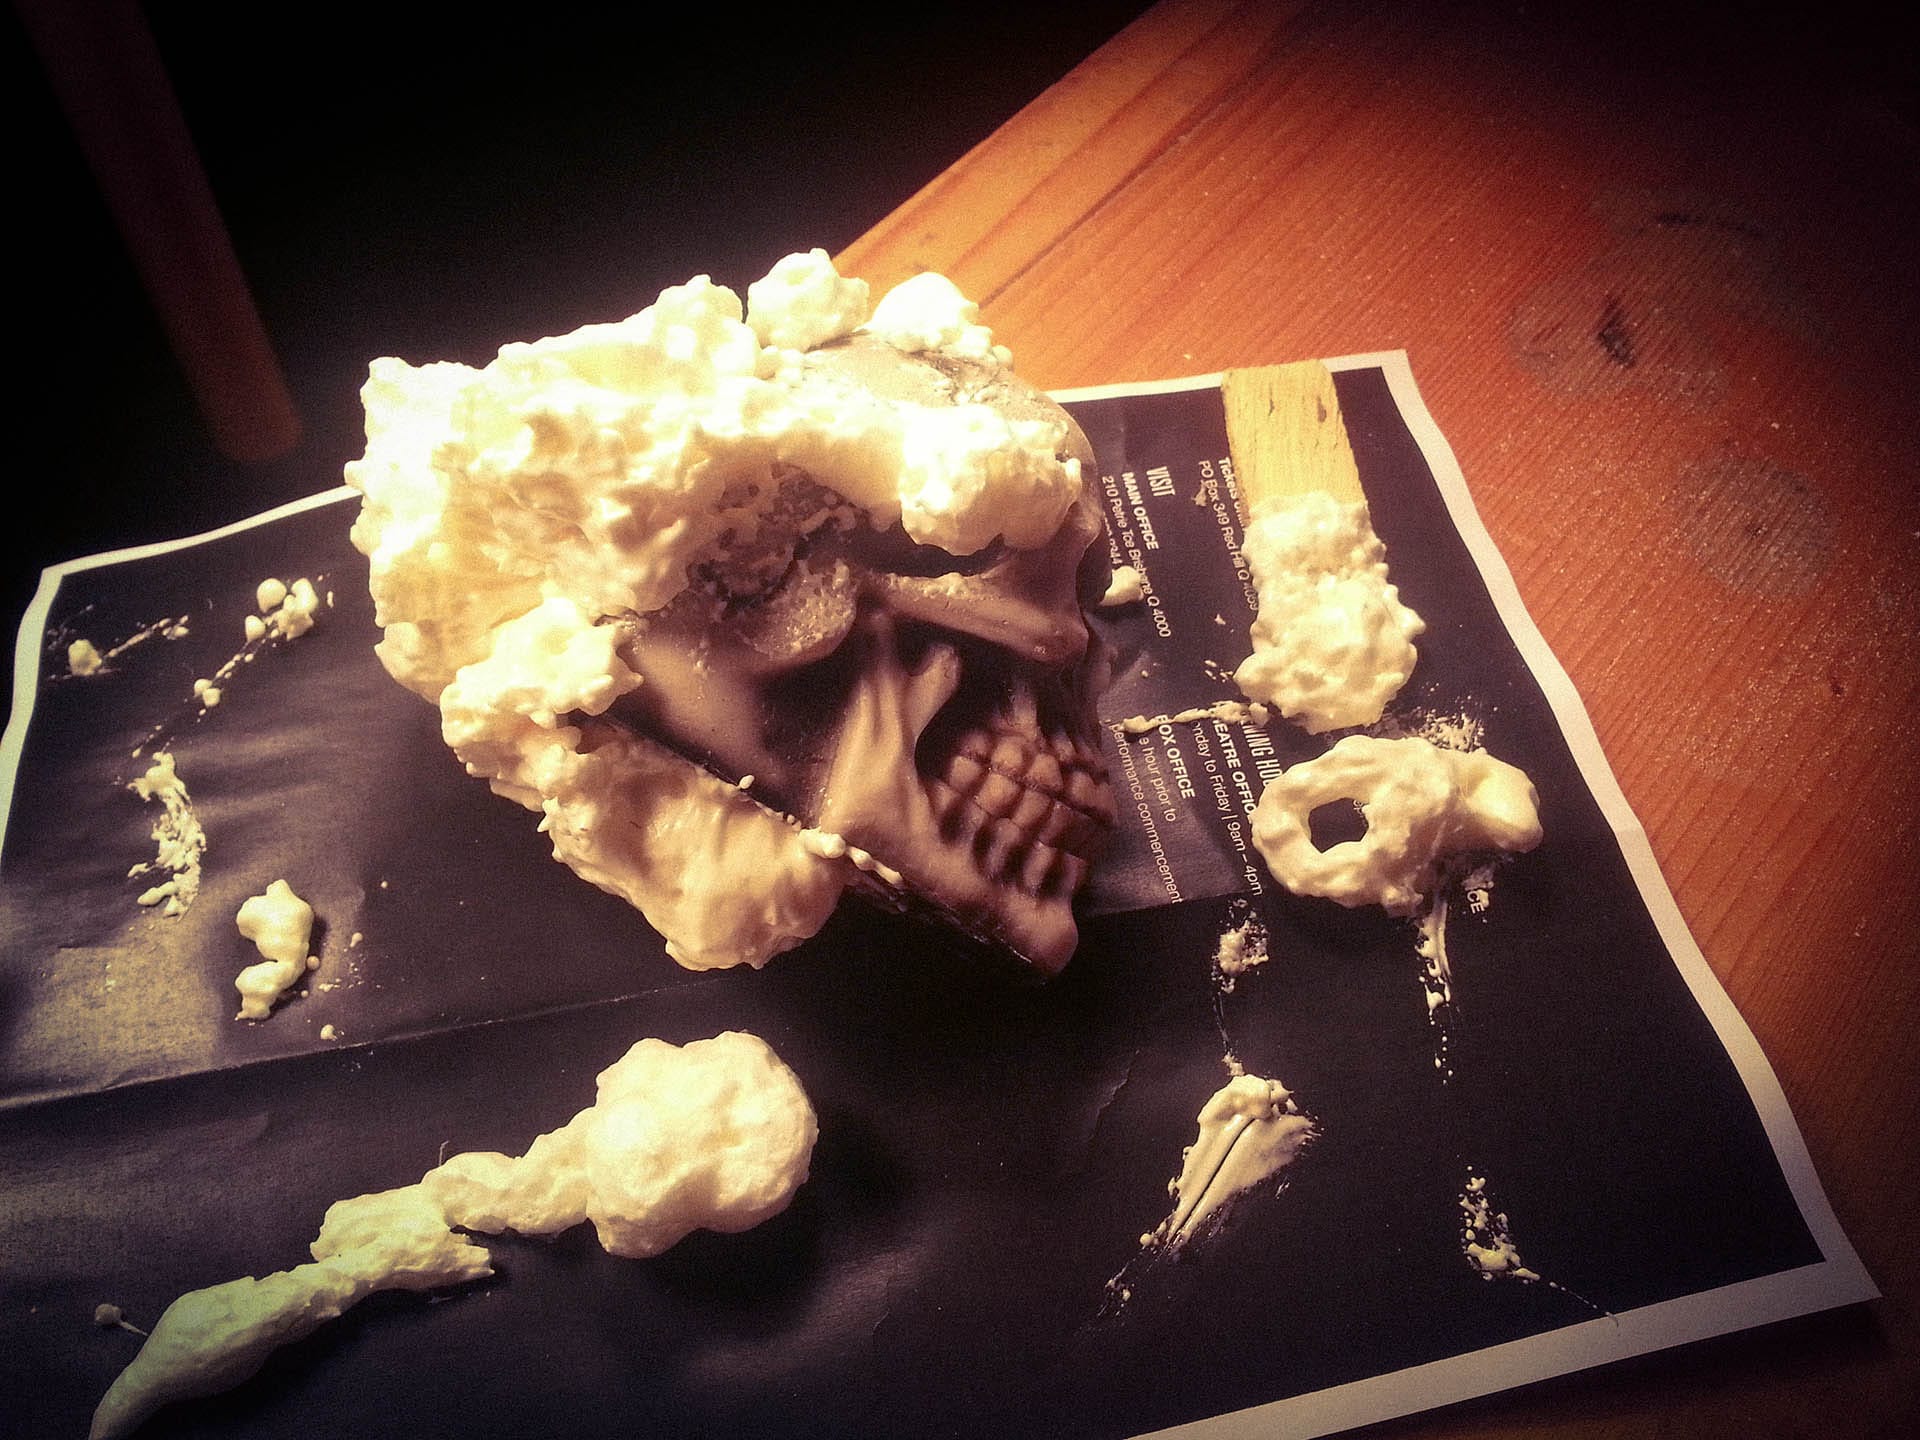
I started by repairing the original skull using hot glue to bond all the jigsaw puzzle pieces back together, then filled the larger gaps with foam filler as it dries fast and is easy to cut and sand. Once the skull was sanded back, I filled the smaller holes with a light coat of plaster and sanded that smooth as well.
That spray foam expands A LOT!
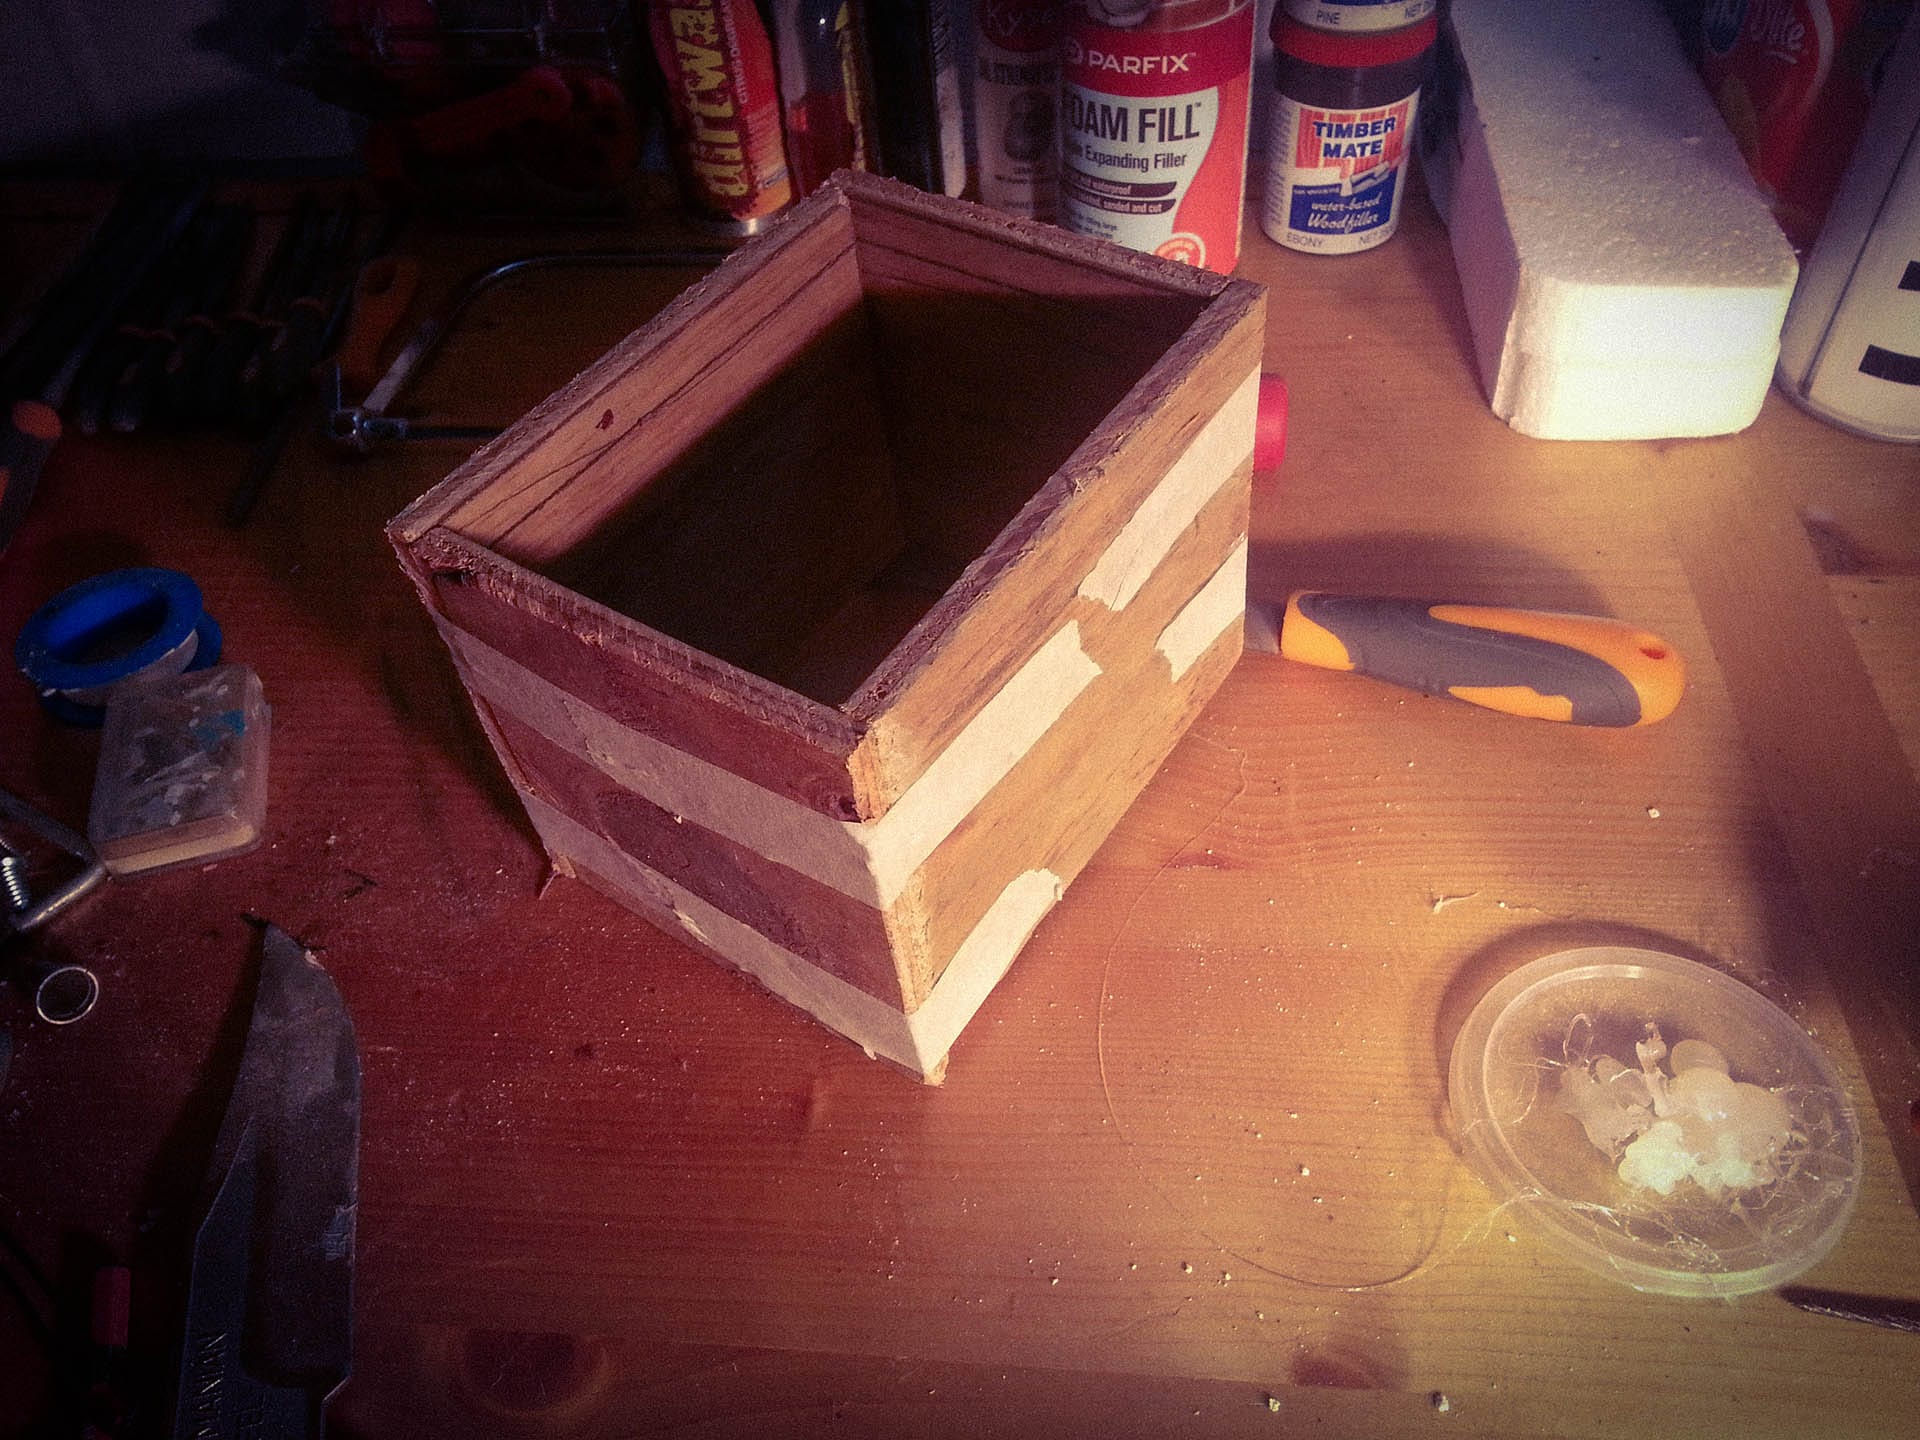
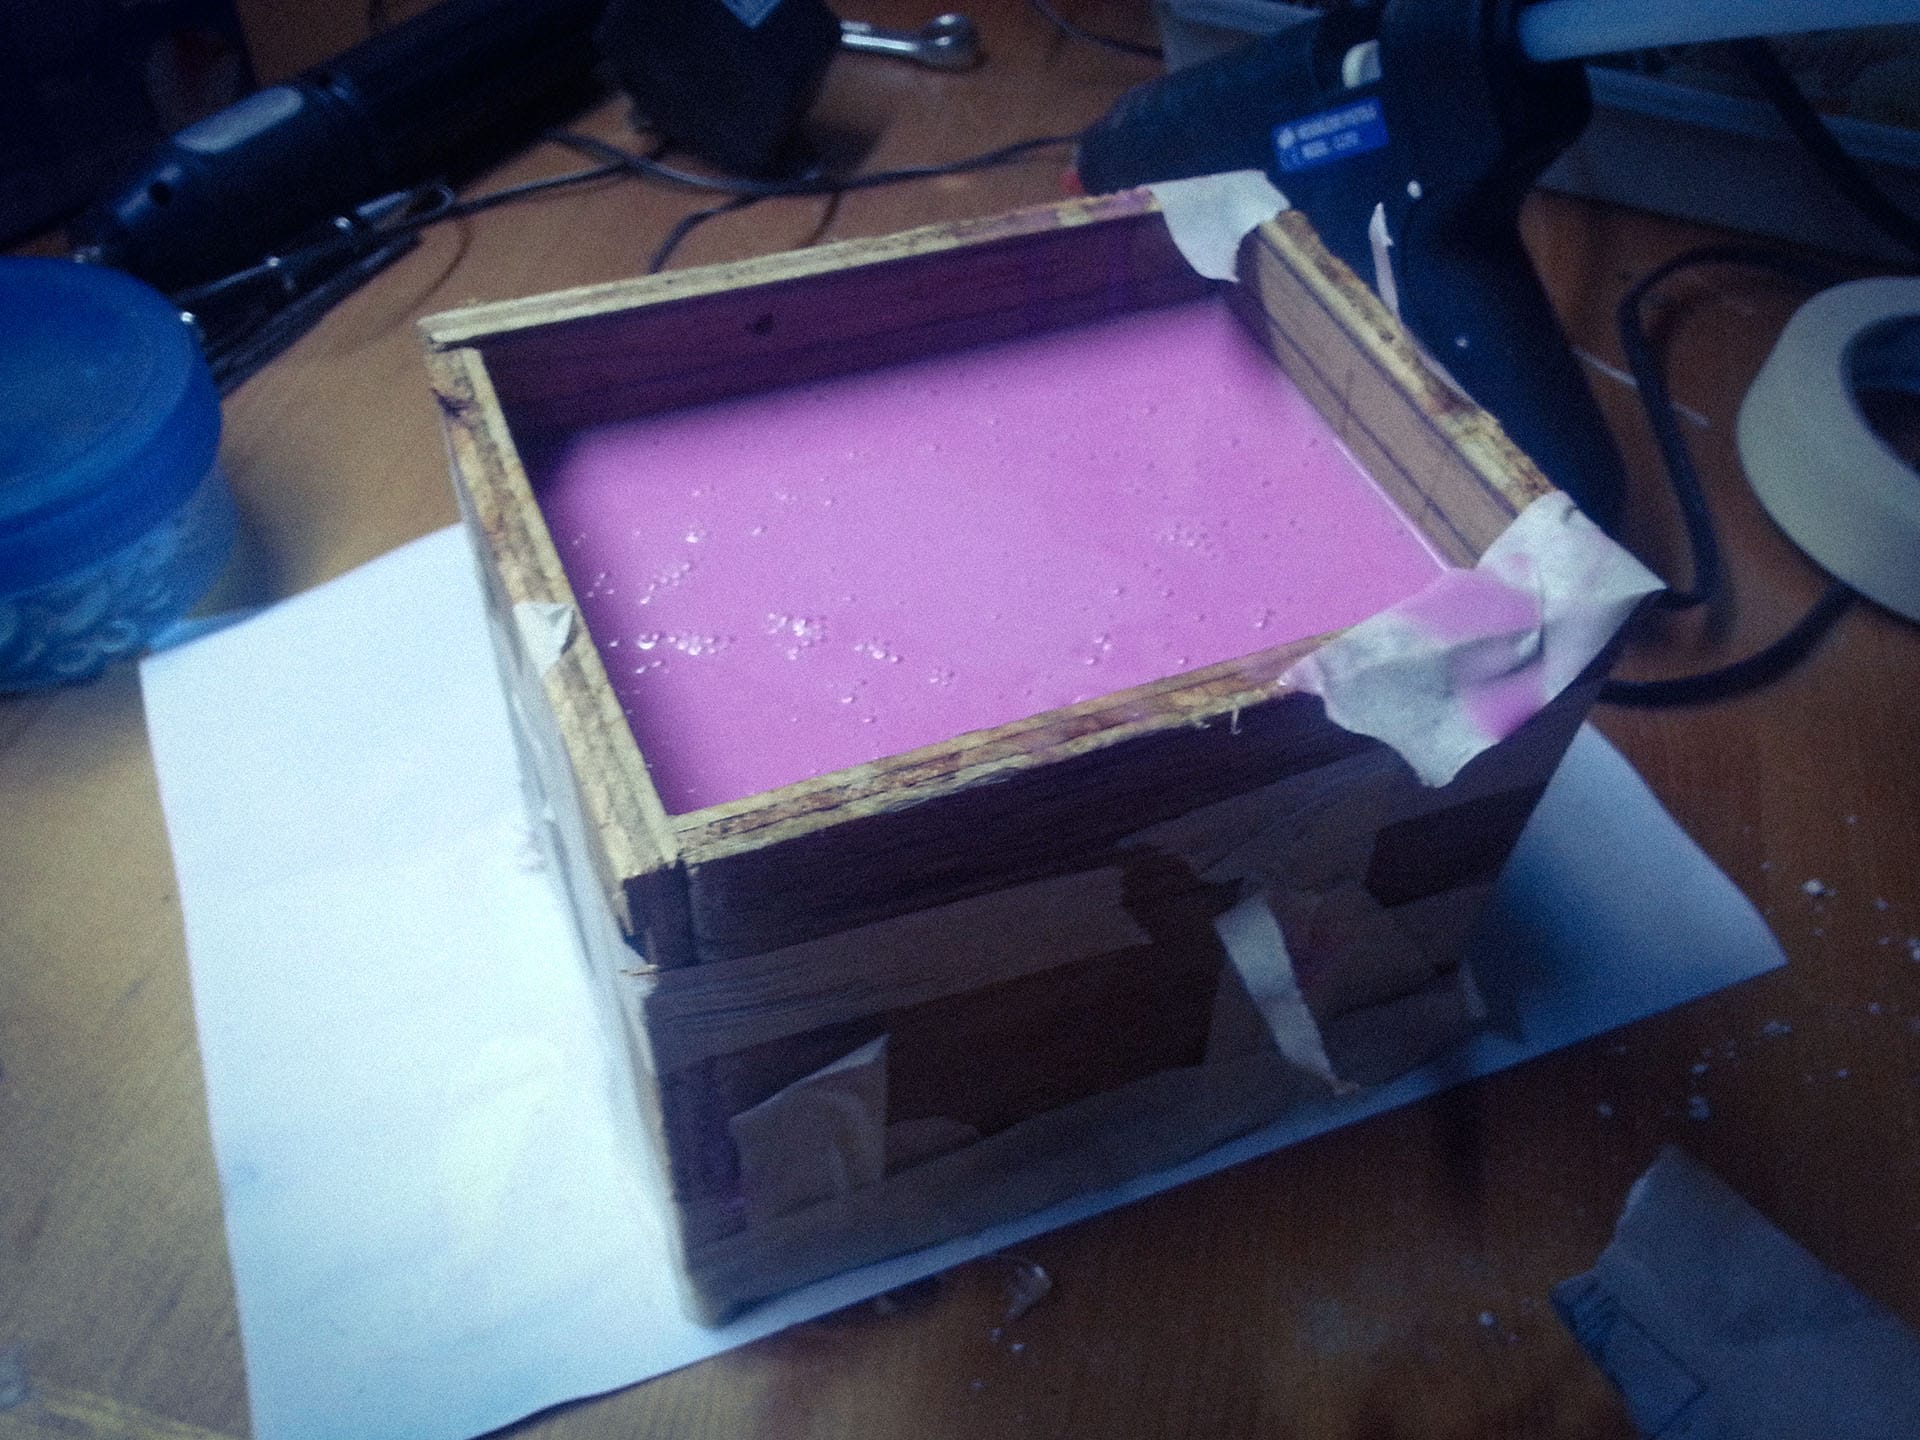
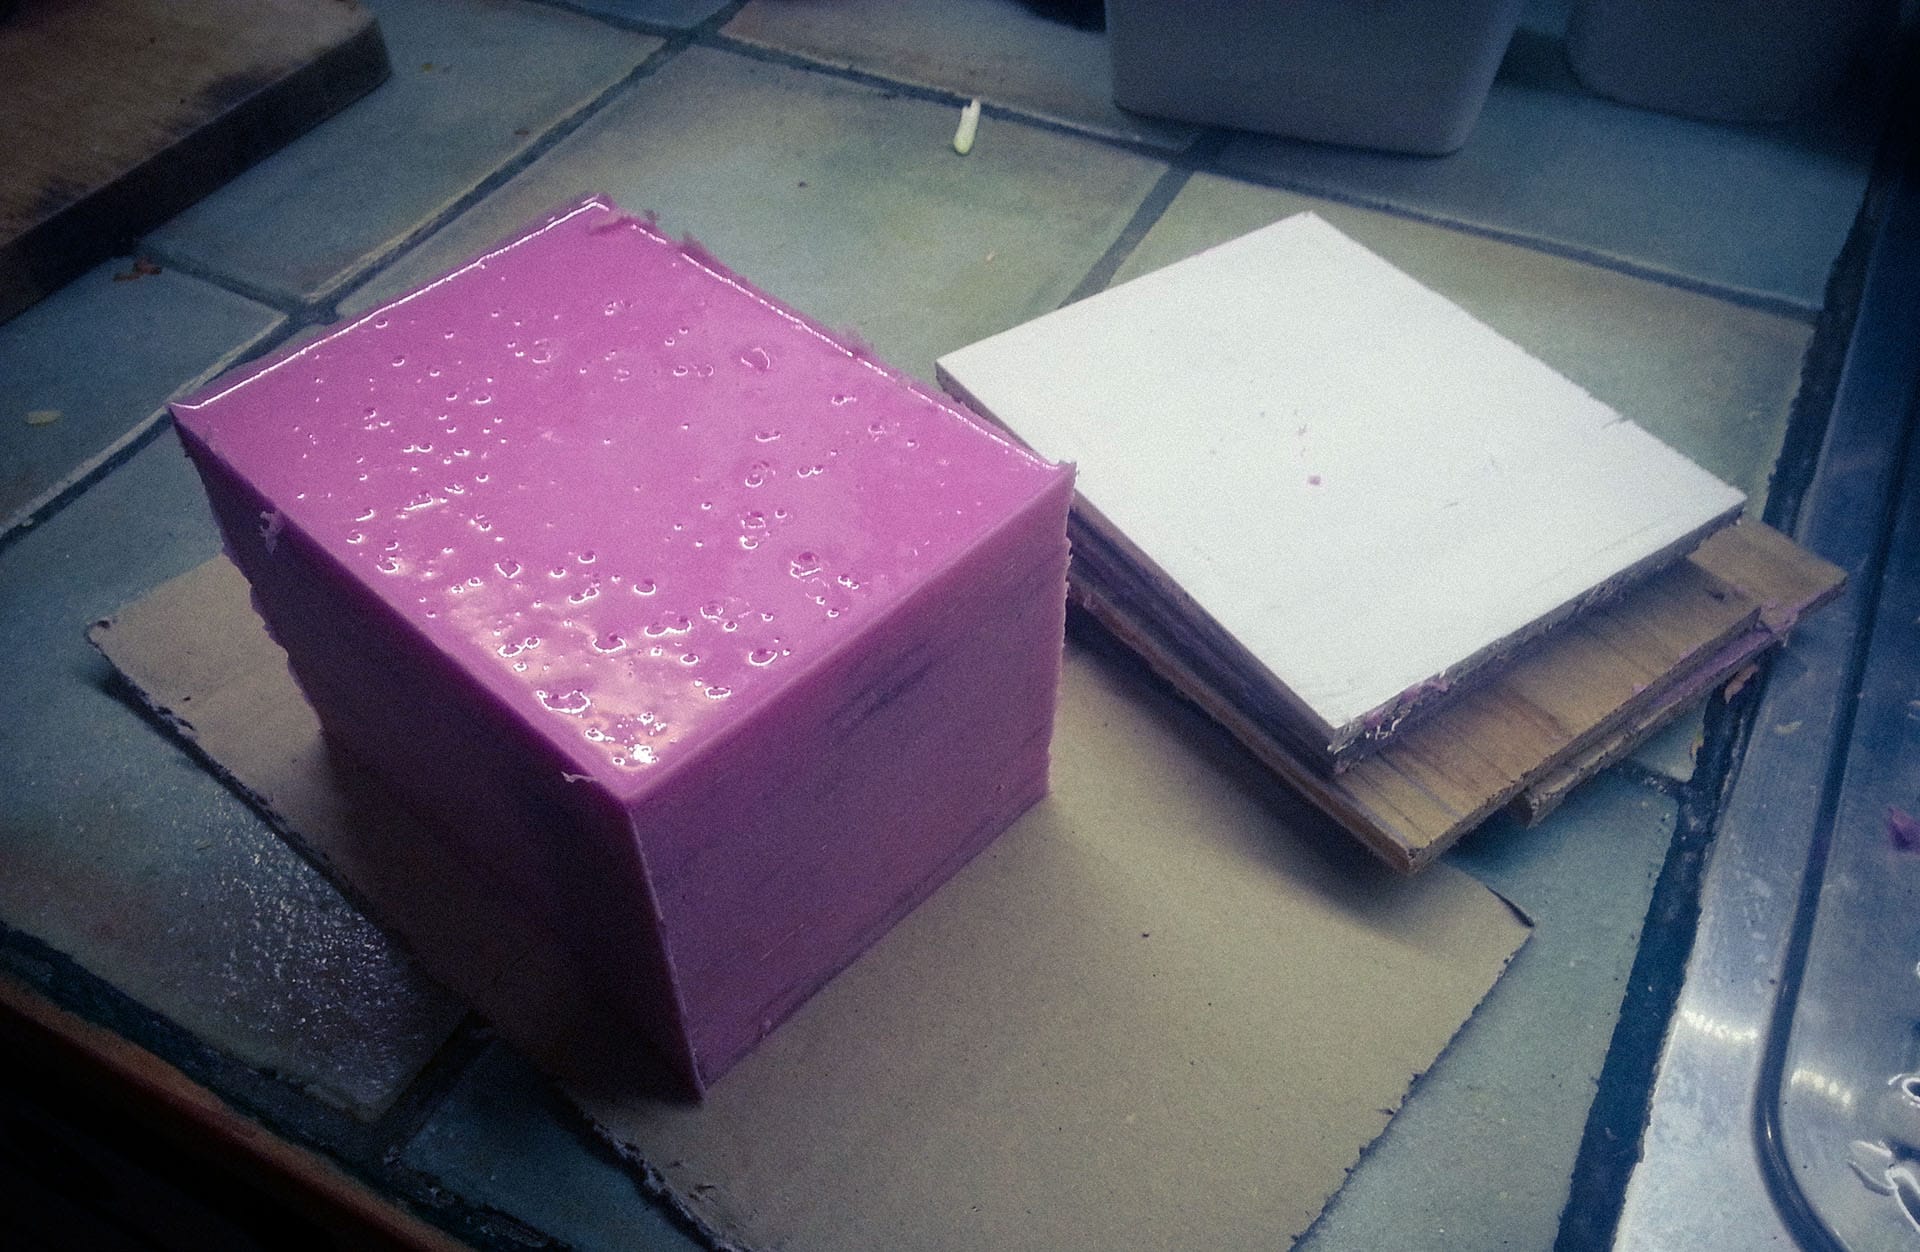
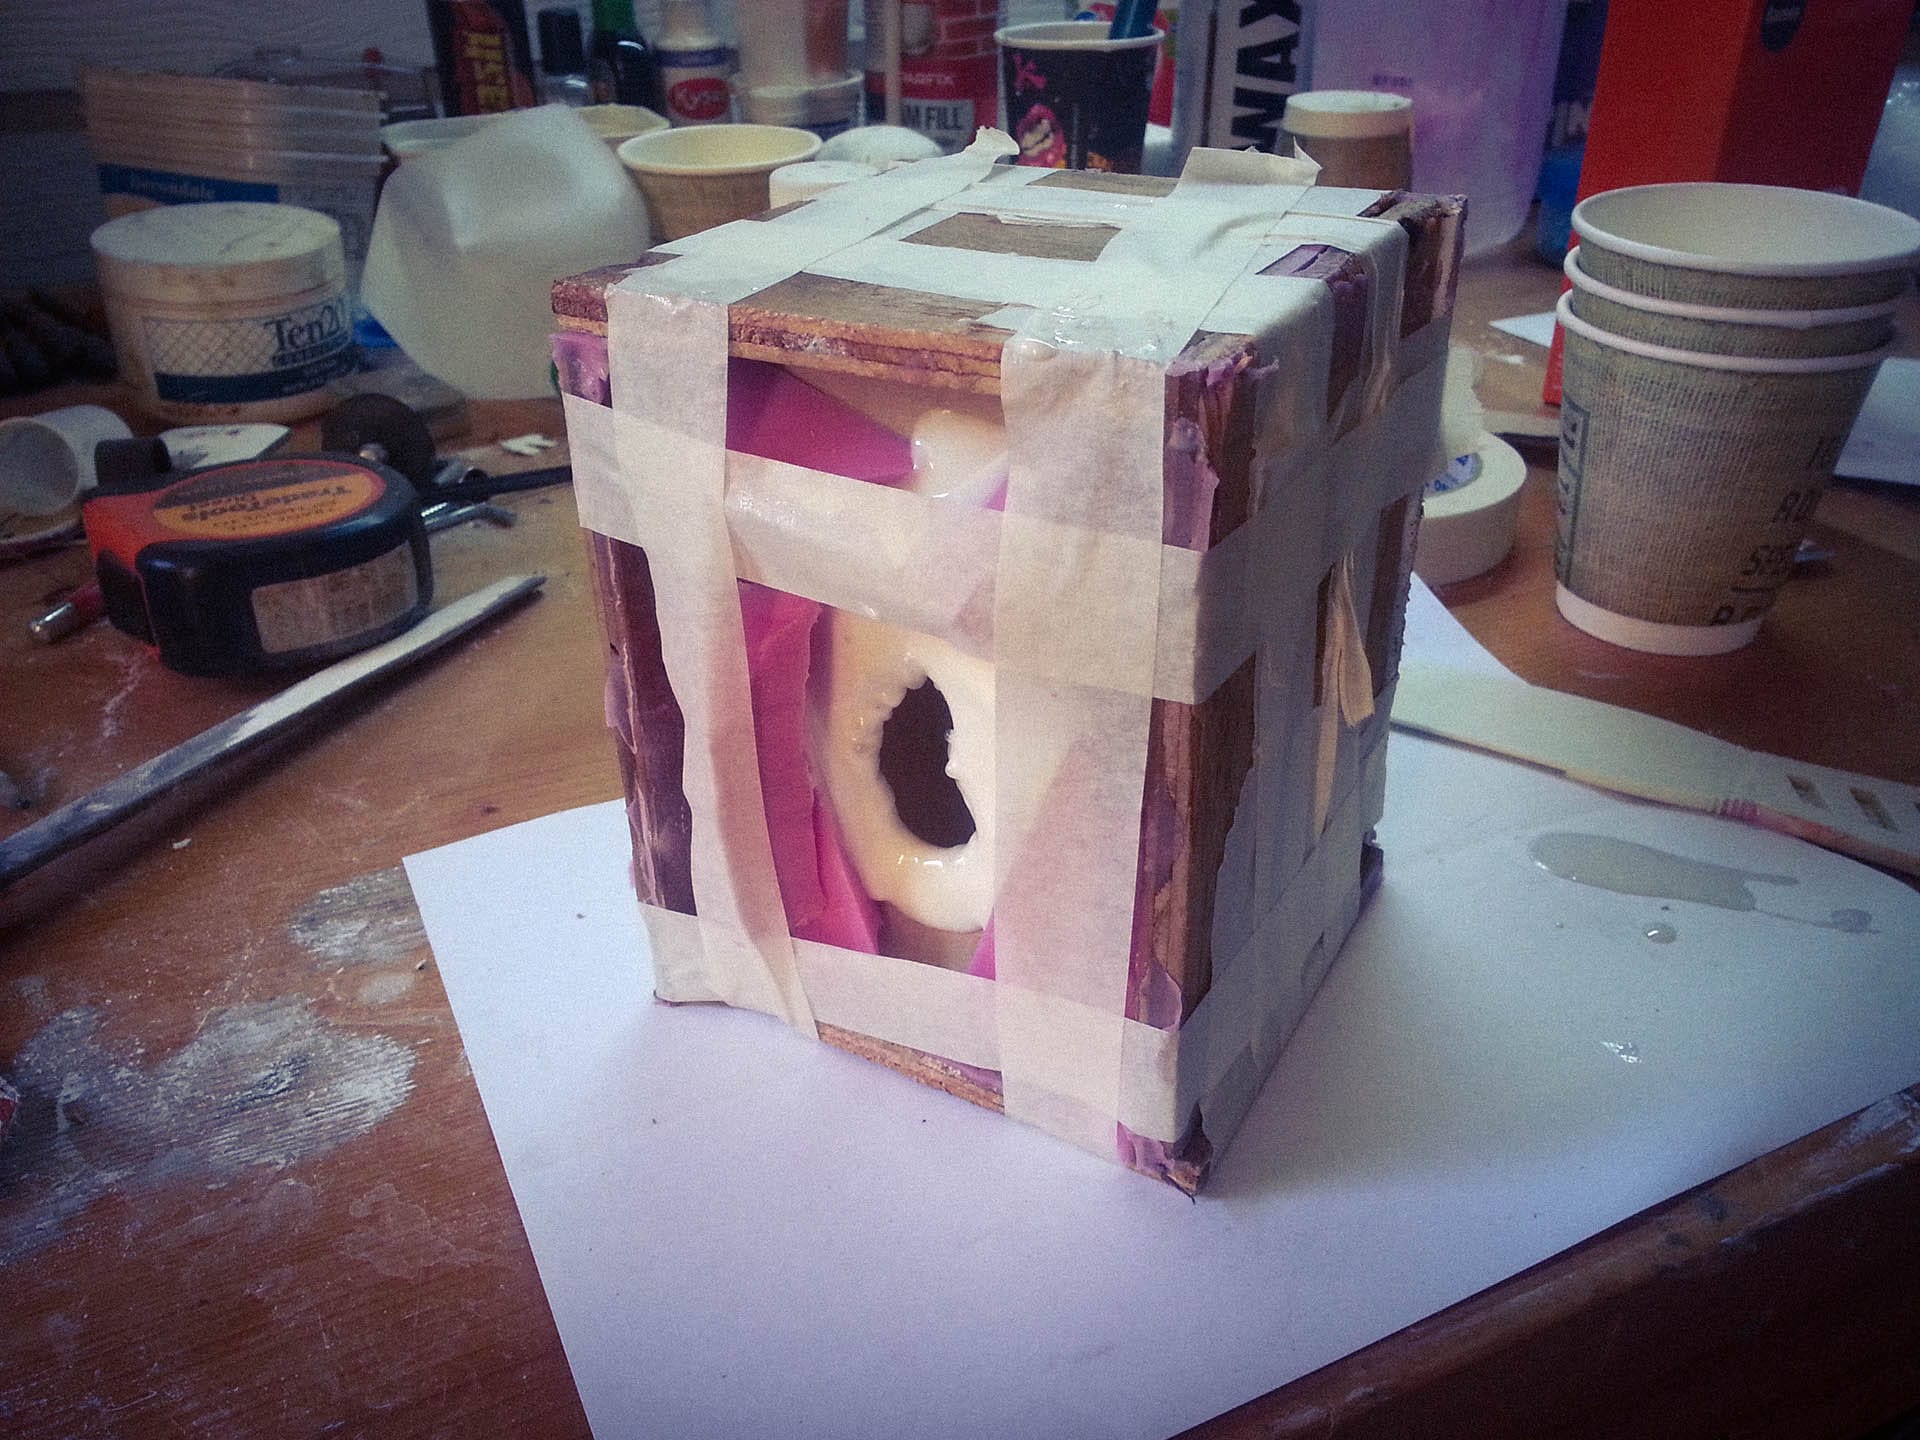
I then built a tiny box just big enough to fit the skull and used Pinkysil to make a mould of it. Pinkysil is a silicone-based two-part casting product from Barnes. It’s great for copying items like this, and I still have the mould to this day, although I only ever used it that one time.
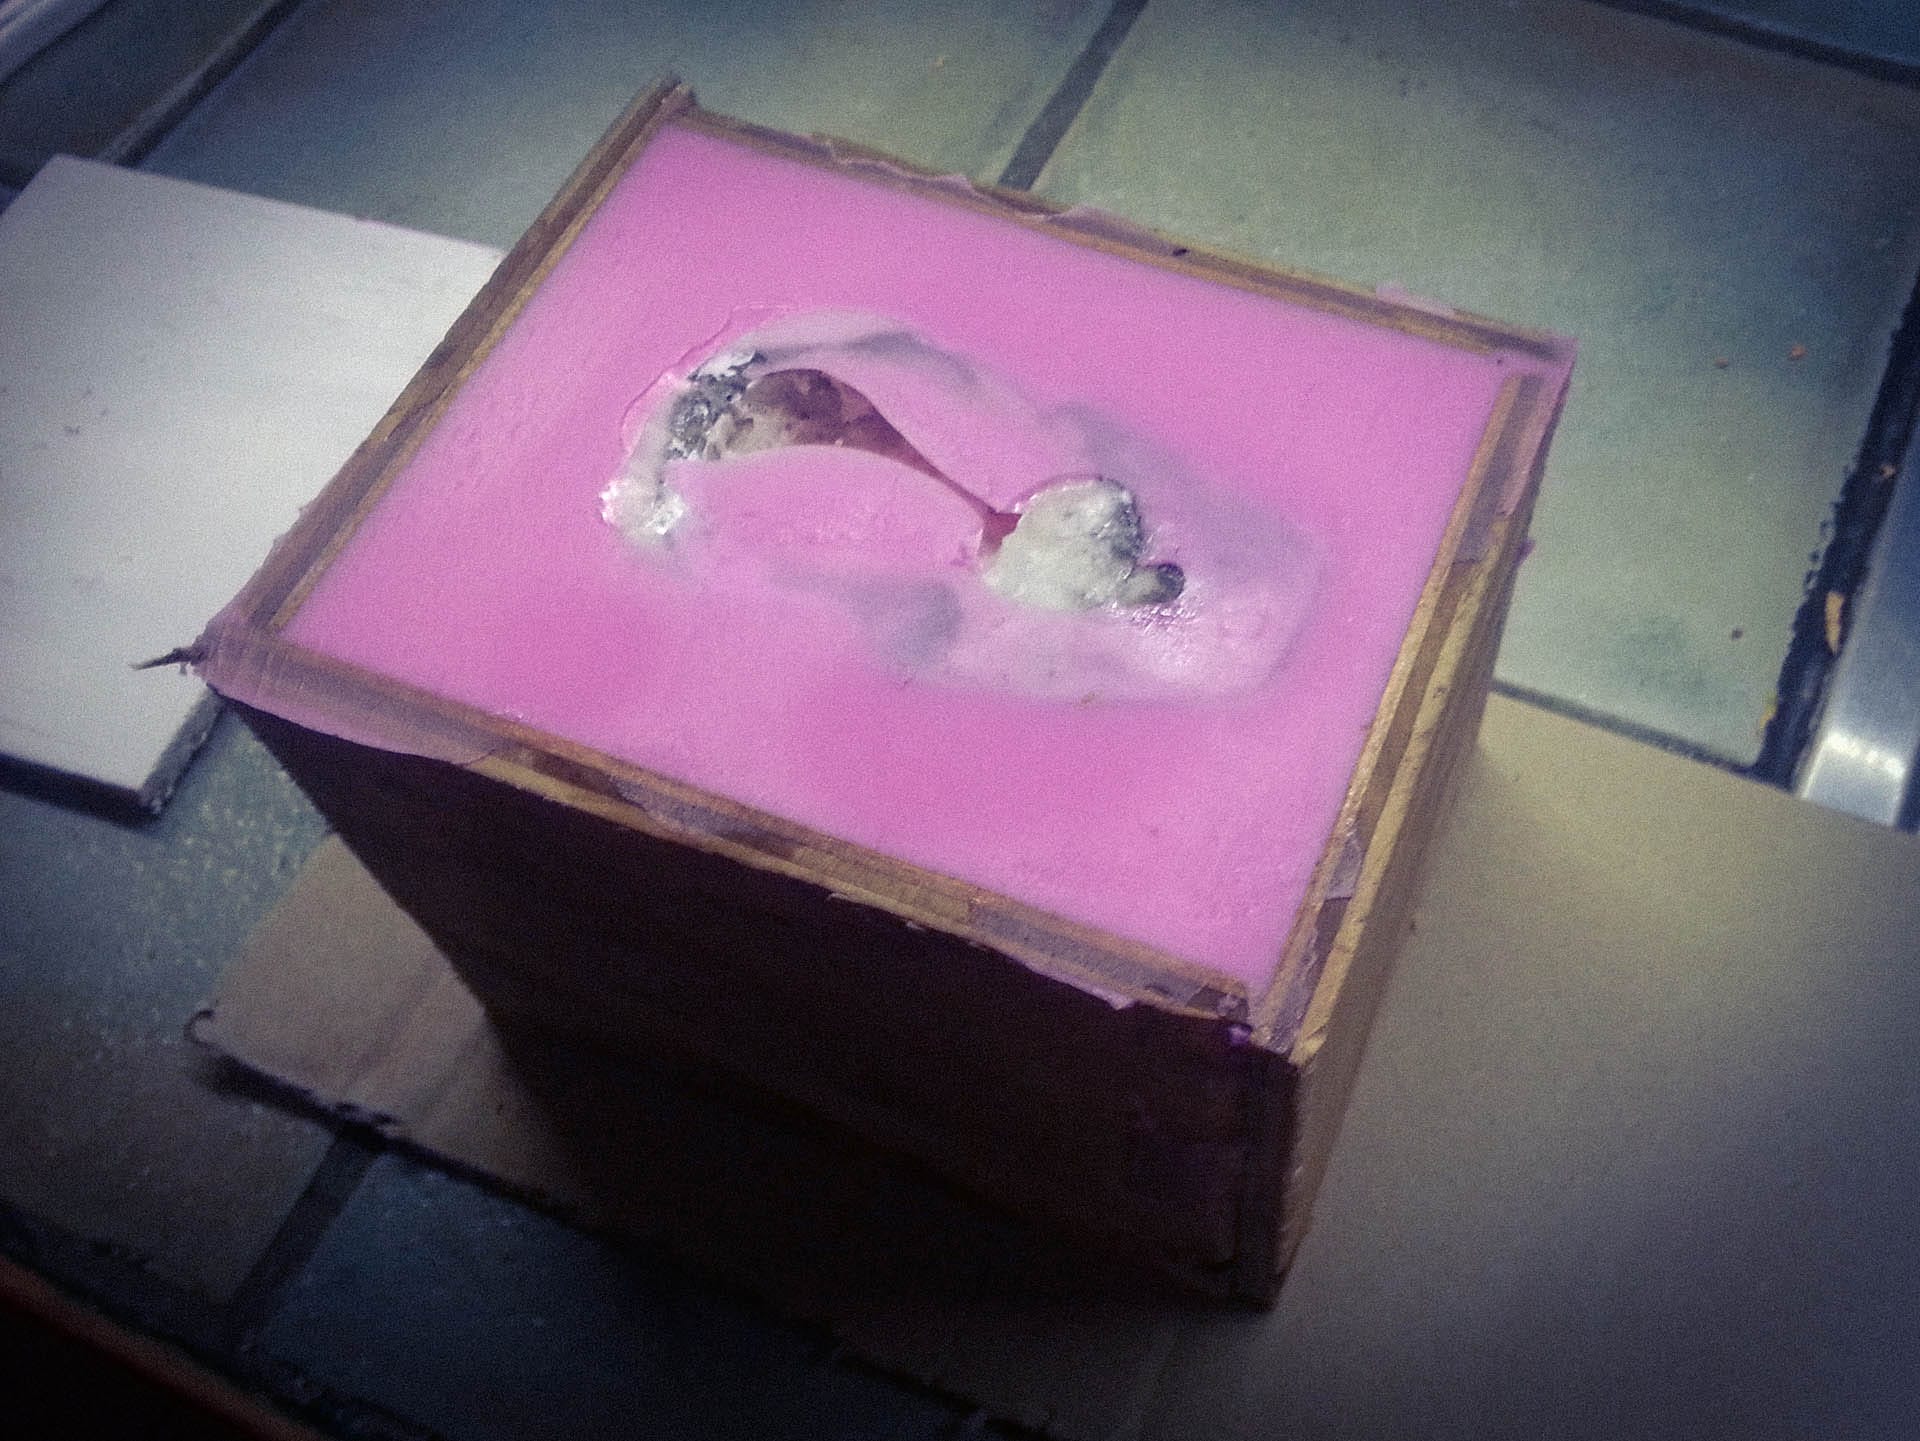
The repaired skull ready for casting
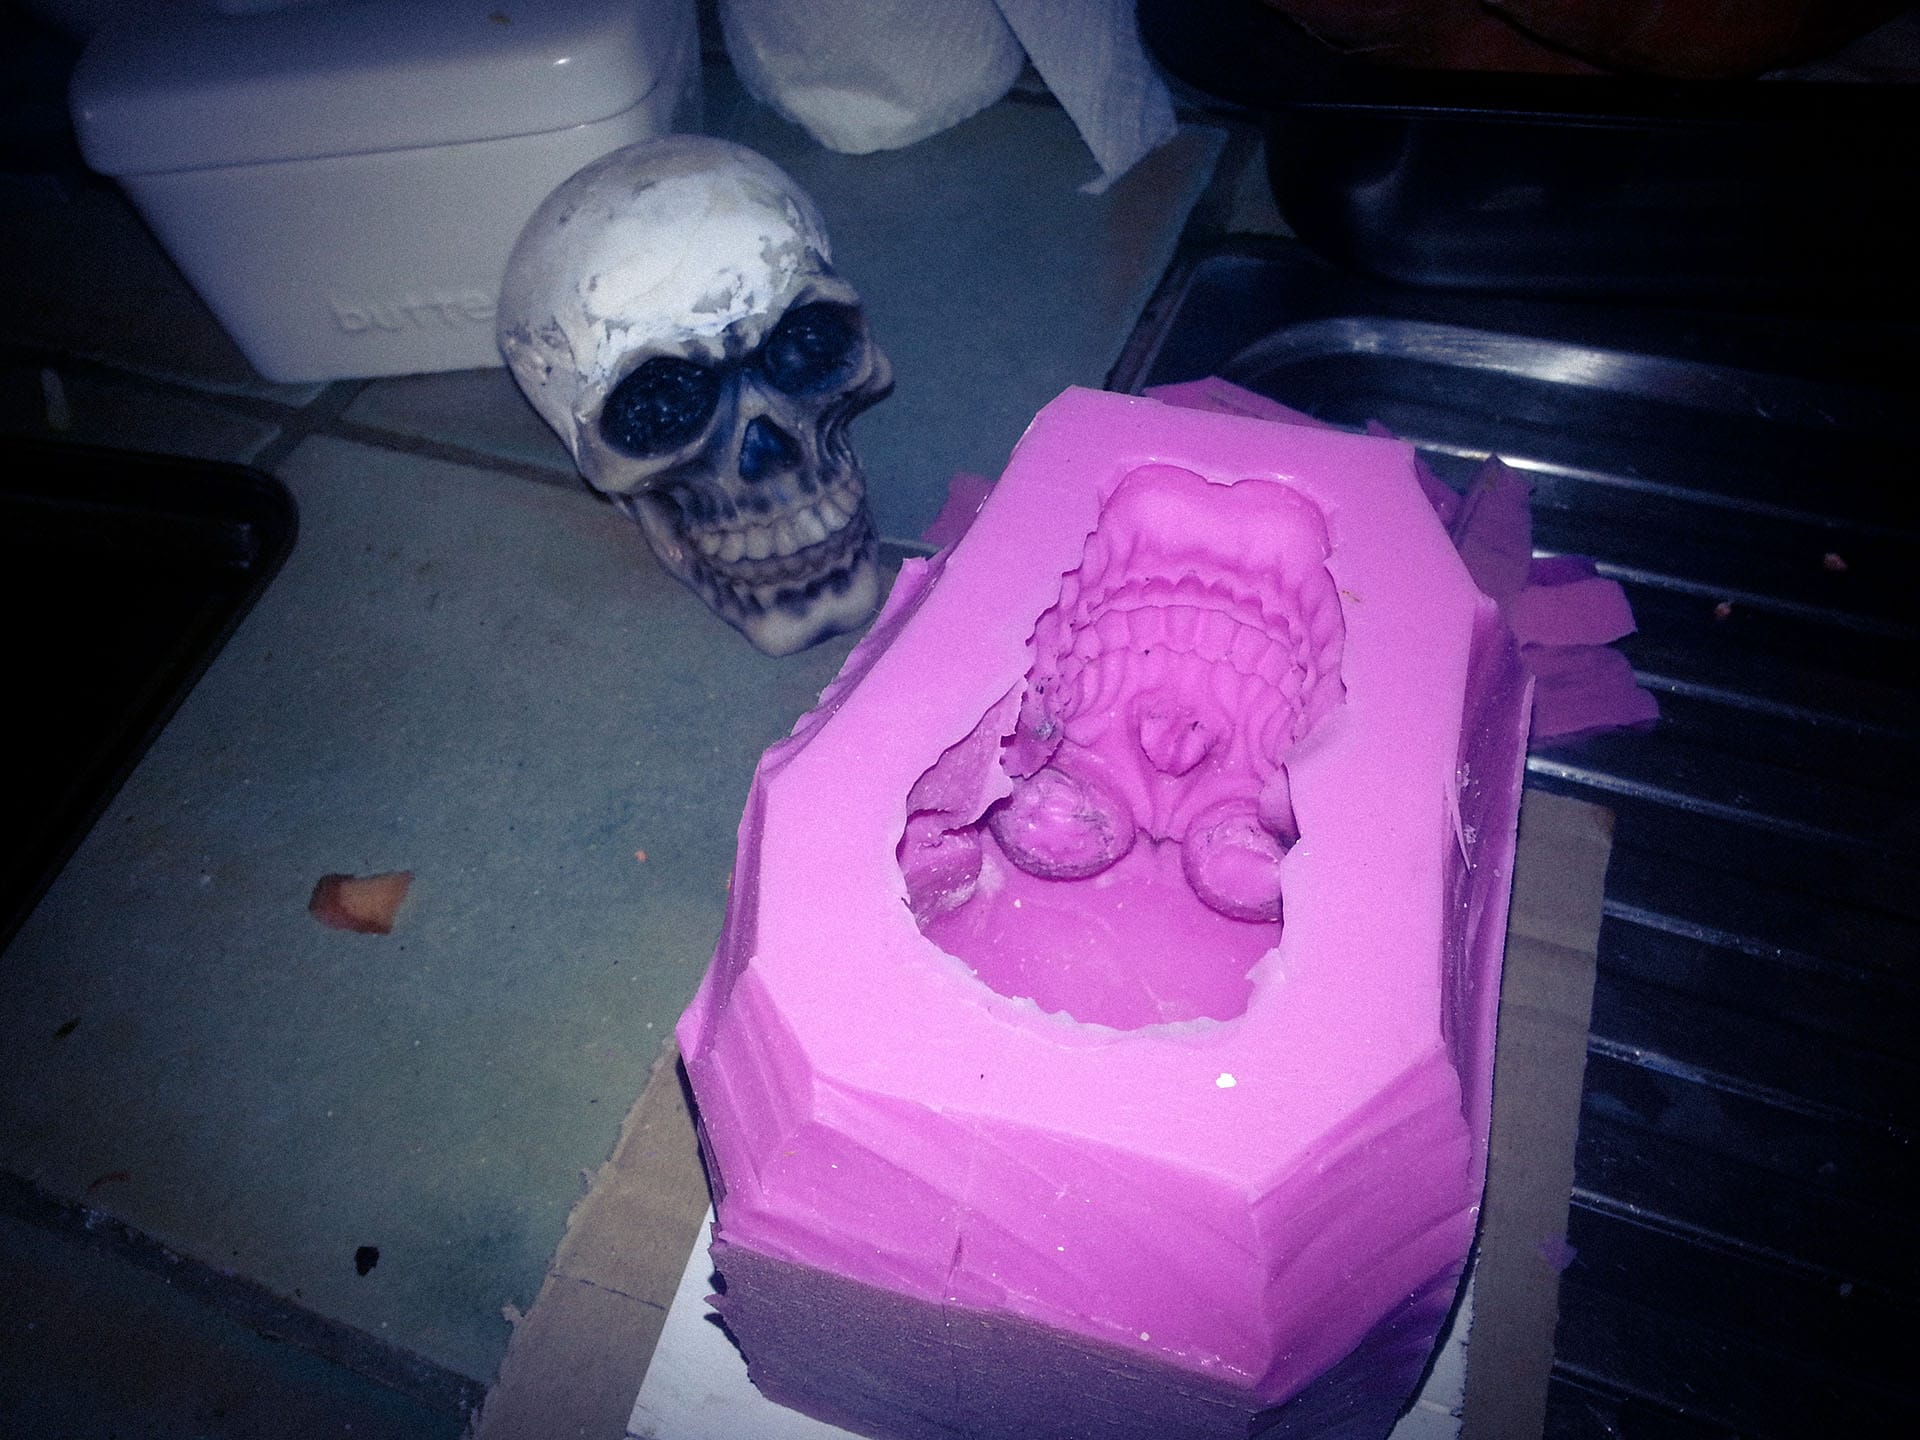
Once it had set, I trimmed the outside of the mould down a bit to allow enough flex to remove the skull, which popped out with a little gentle persuasion.
The casting process
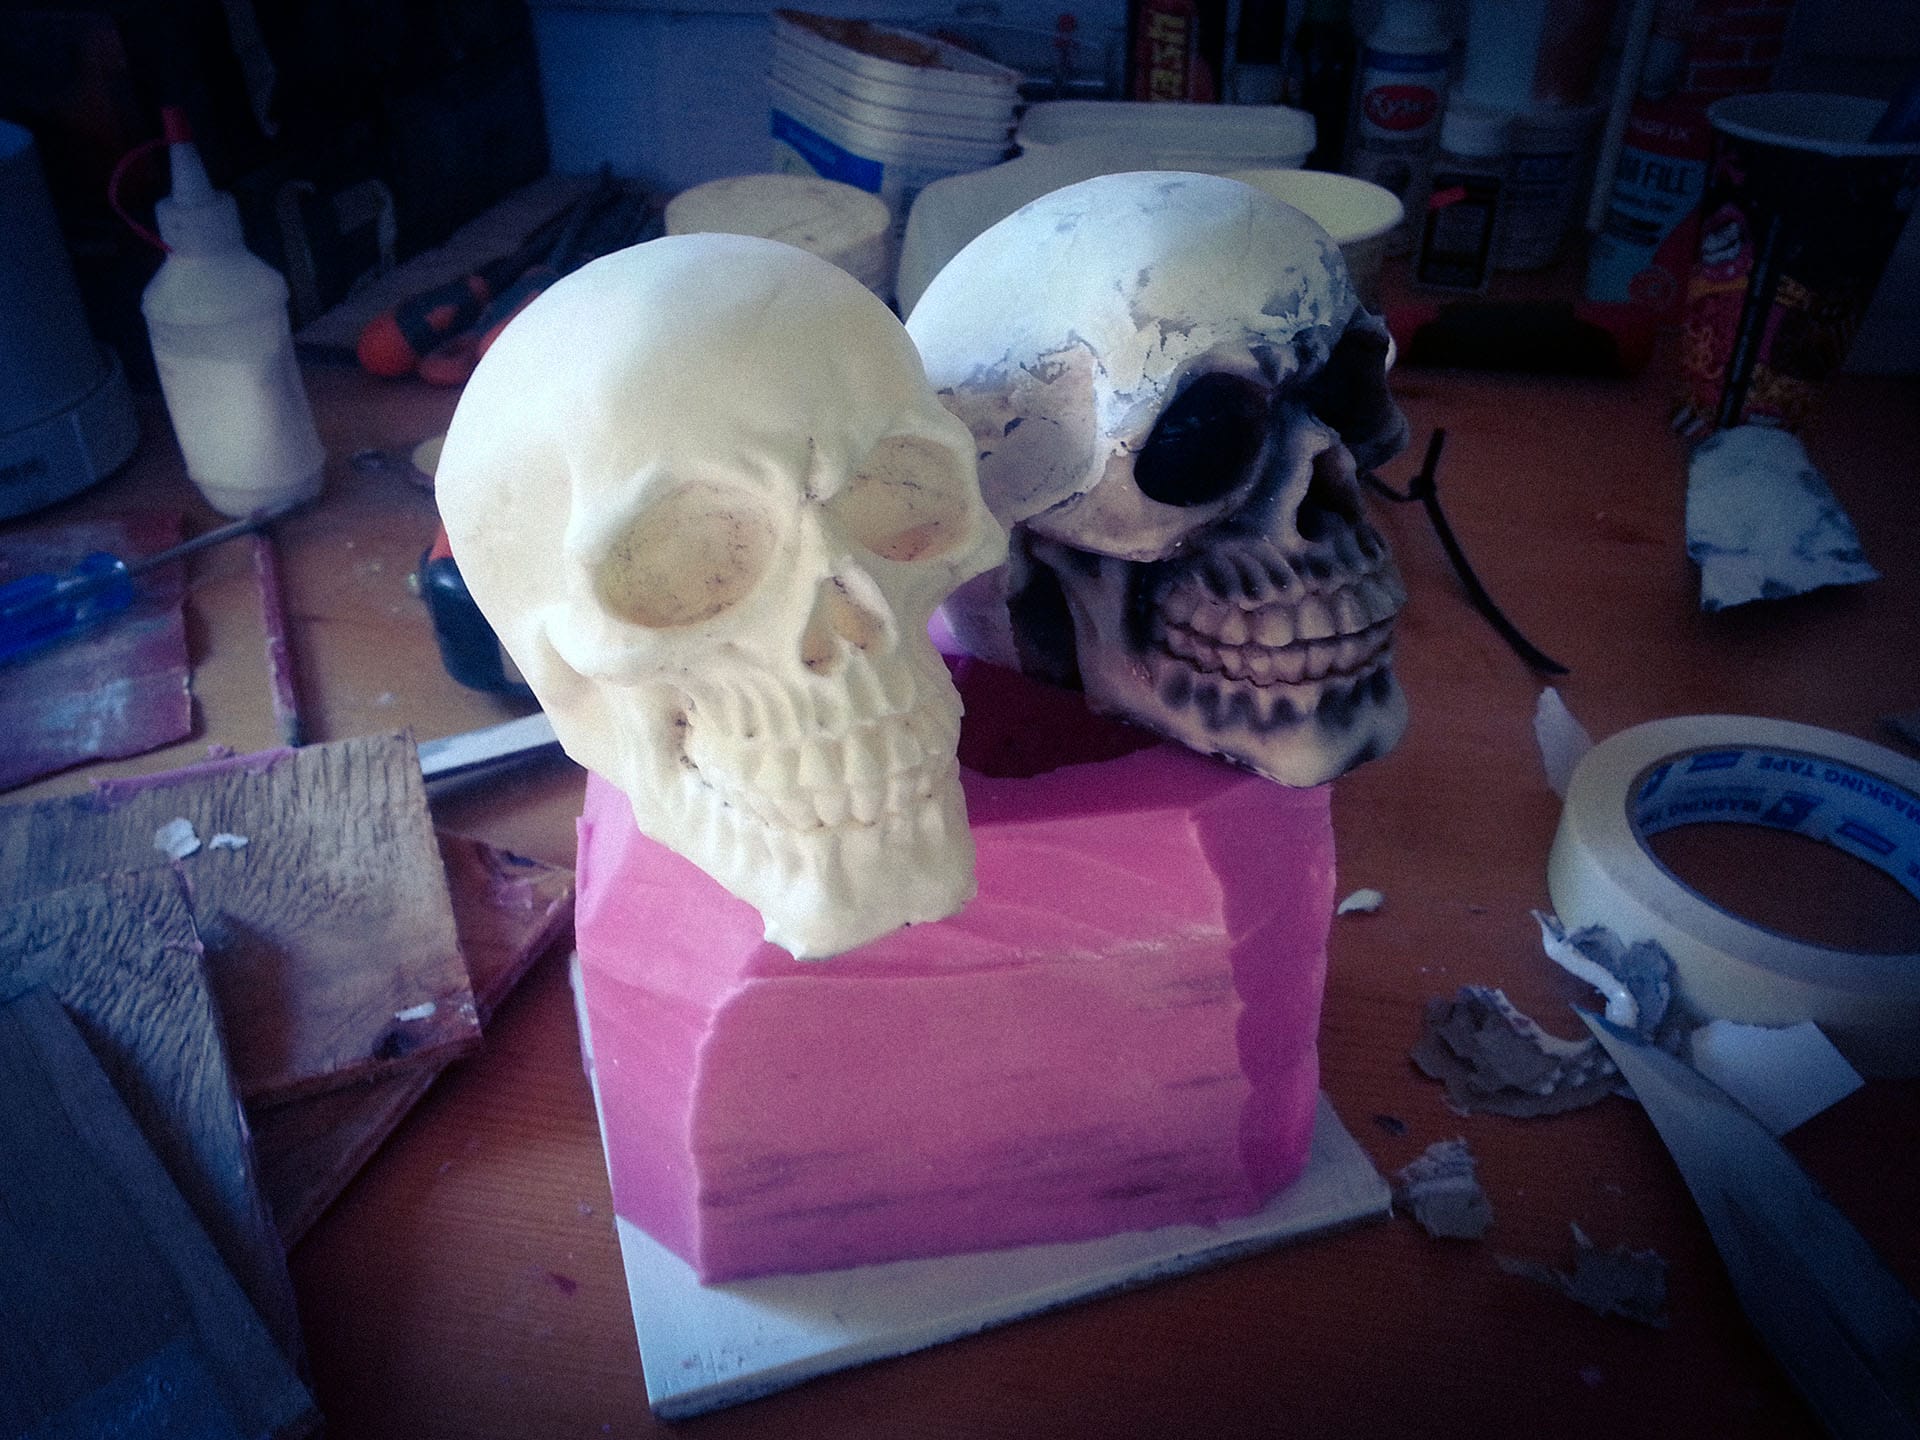
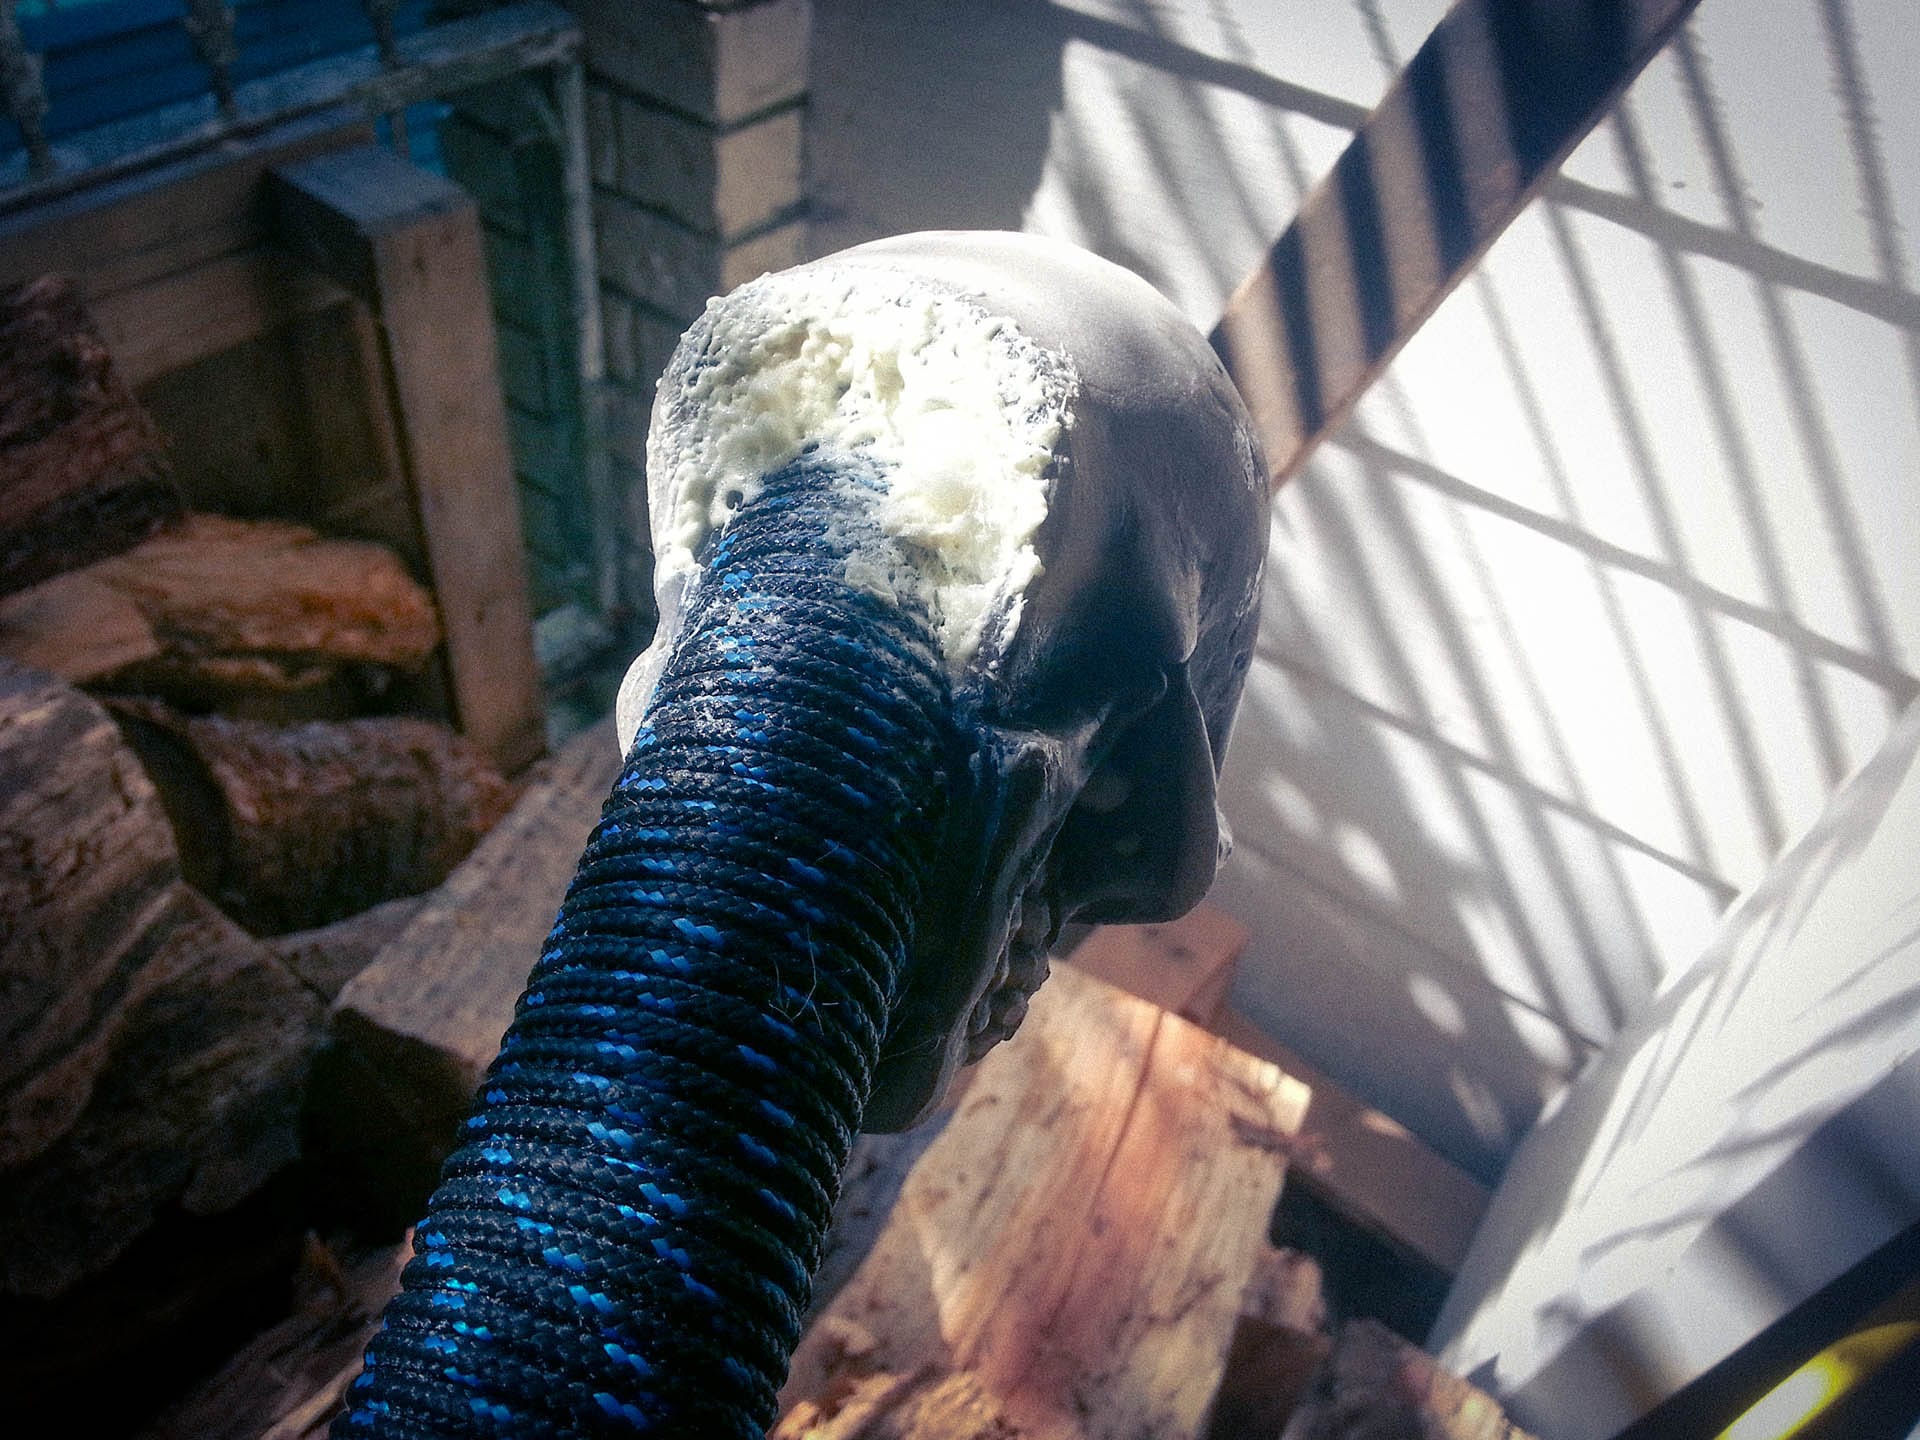
The Pinkysil did a great job of preserving the detail, sanding marks and all. Then it was on to the TC-808. I remembered this stuff from my days making RC car parts with it. Nice and strong. The copy turned out well, so with a little airbrushing, a lot of glue, some more secure screws, and then packing it with big nuts, bolts and spray foam, it was ready to go.
The sword as it was returned from the theatre
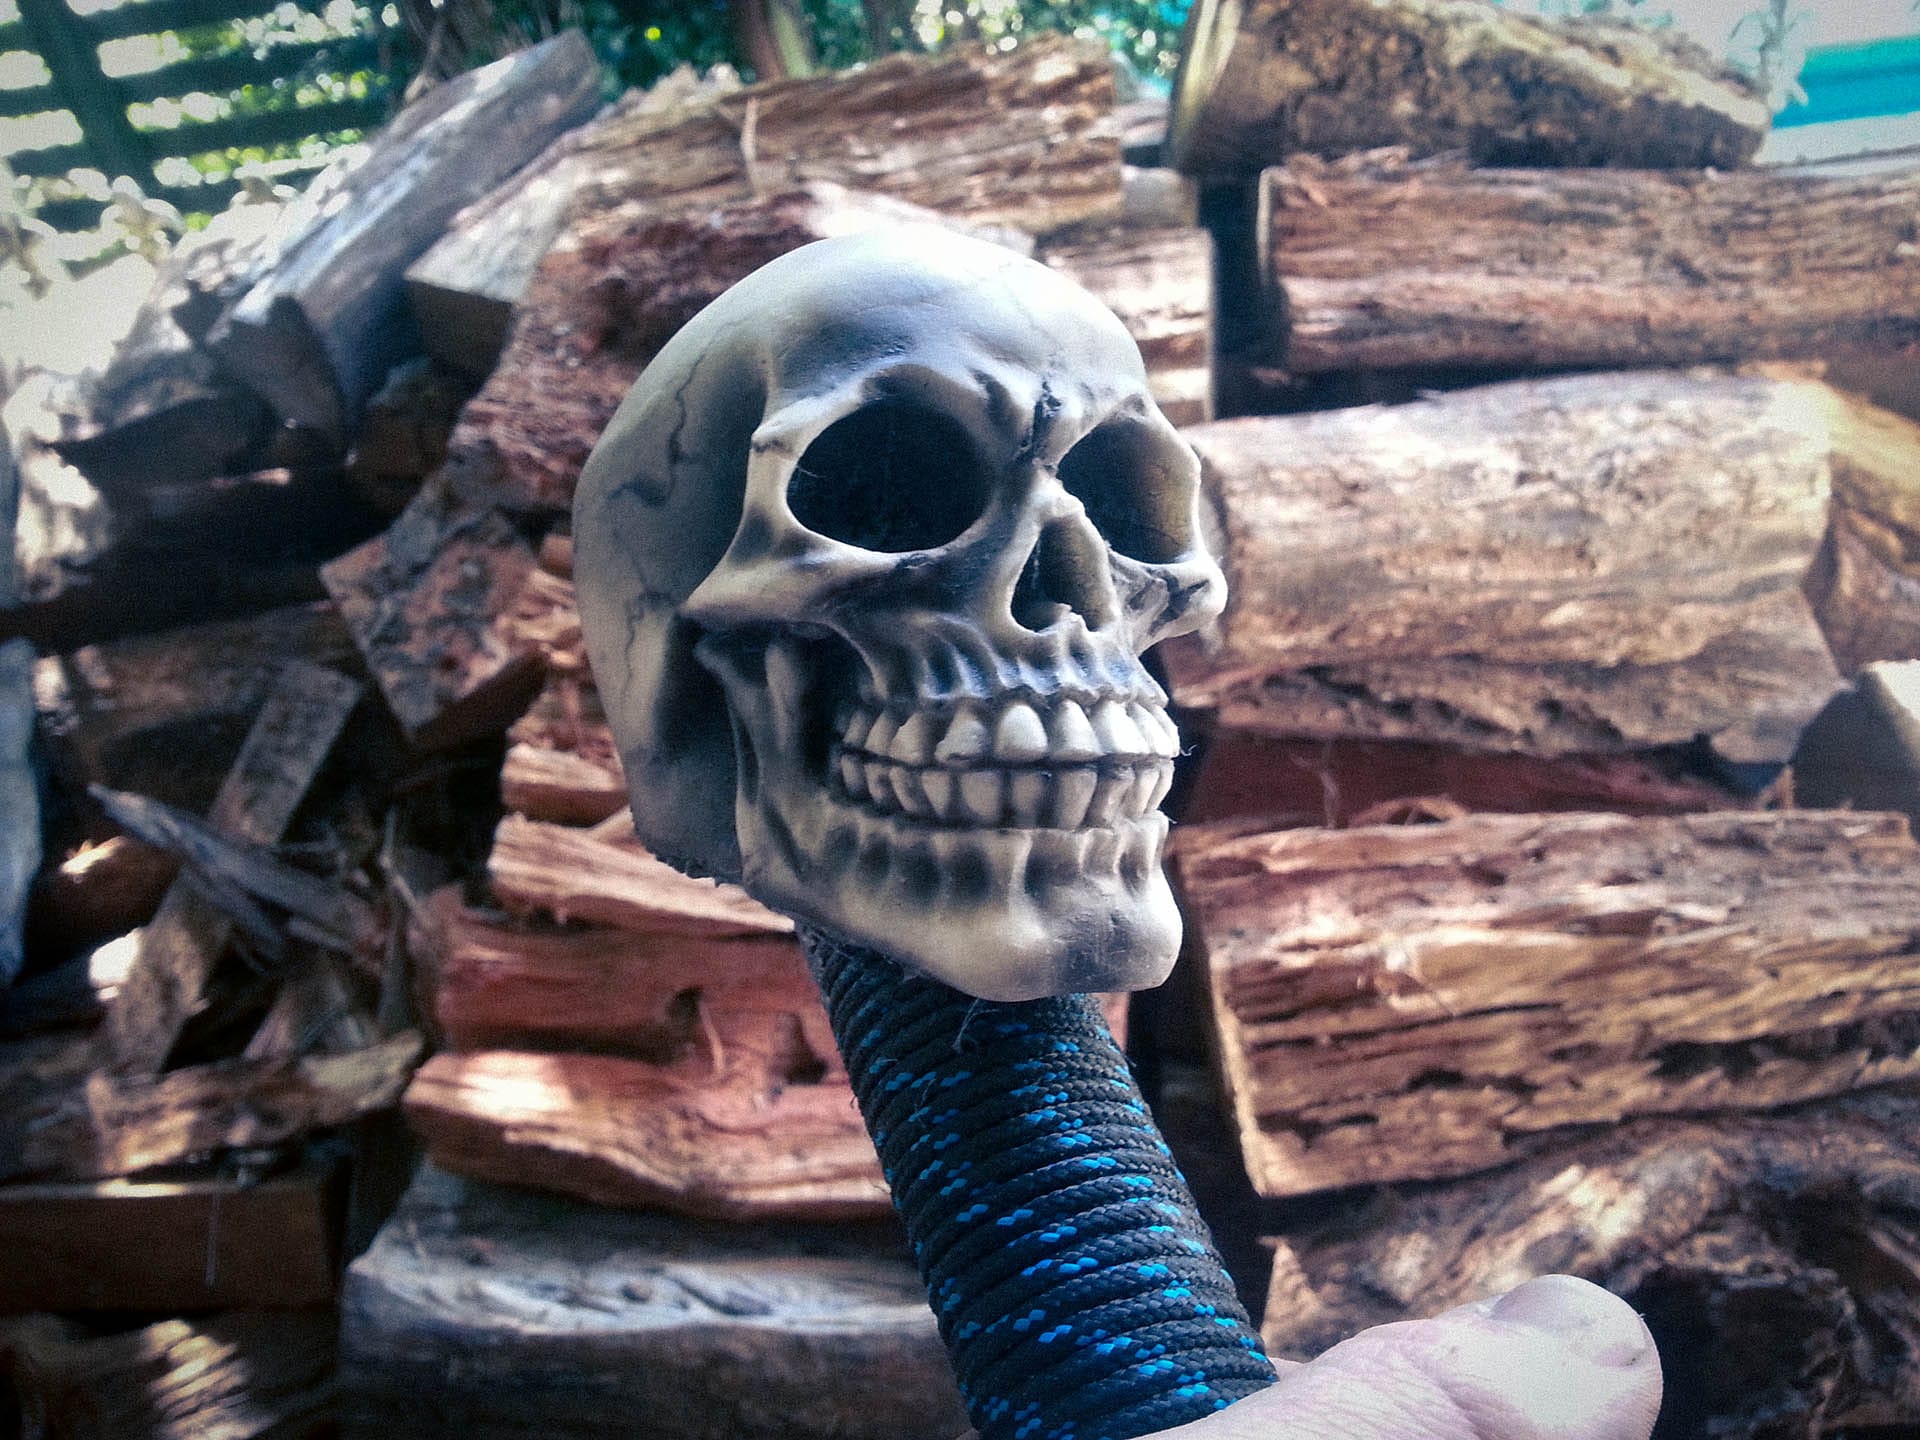
The theatre set builder had also replaced my dodgy twine grip with a much more appropriate thick blue-black rope, which looked far better. I hadn’t really considered that the thin string I used originally would look pretty weak from a distance on stage.
The new skull all good to go
I also deliberately cast the back of the skull thicker so it could handle harder hits. Thankfully, that did the job, and it lasted the entirety of the show, although it did require some extra attention from the theatre props department.
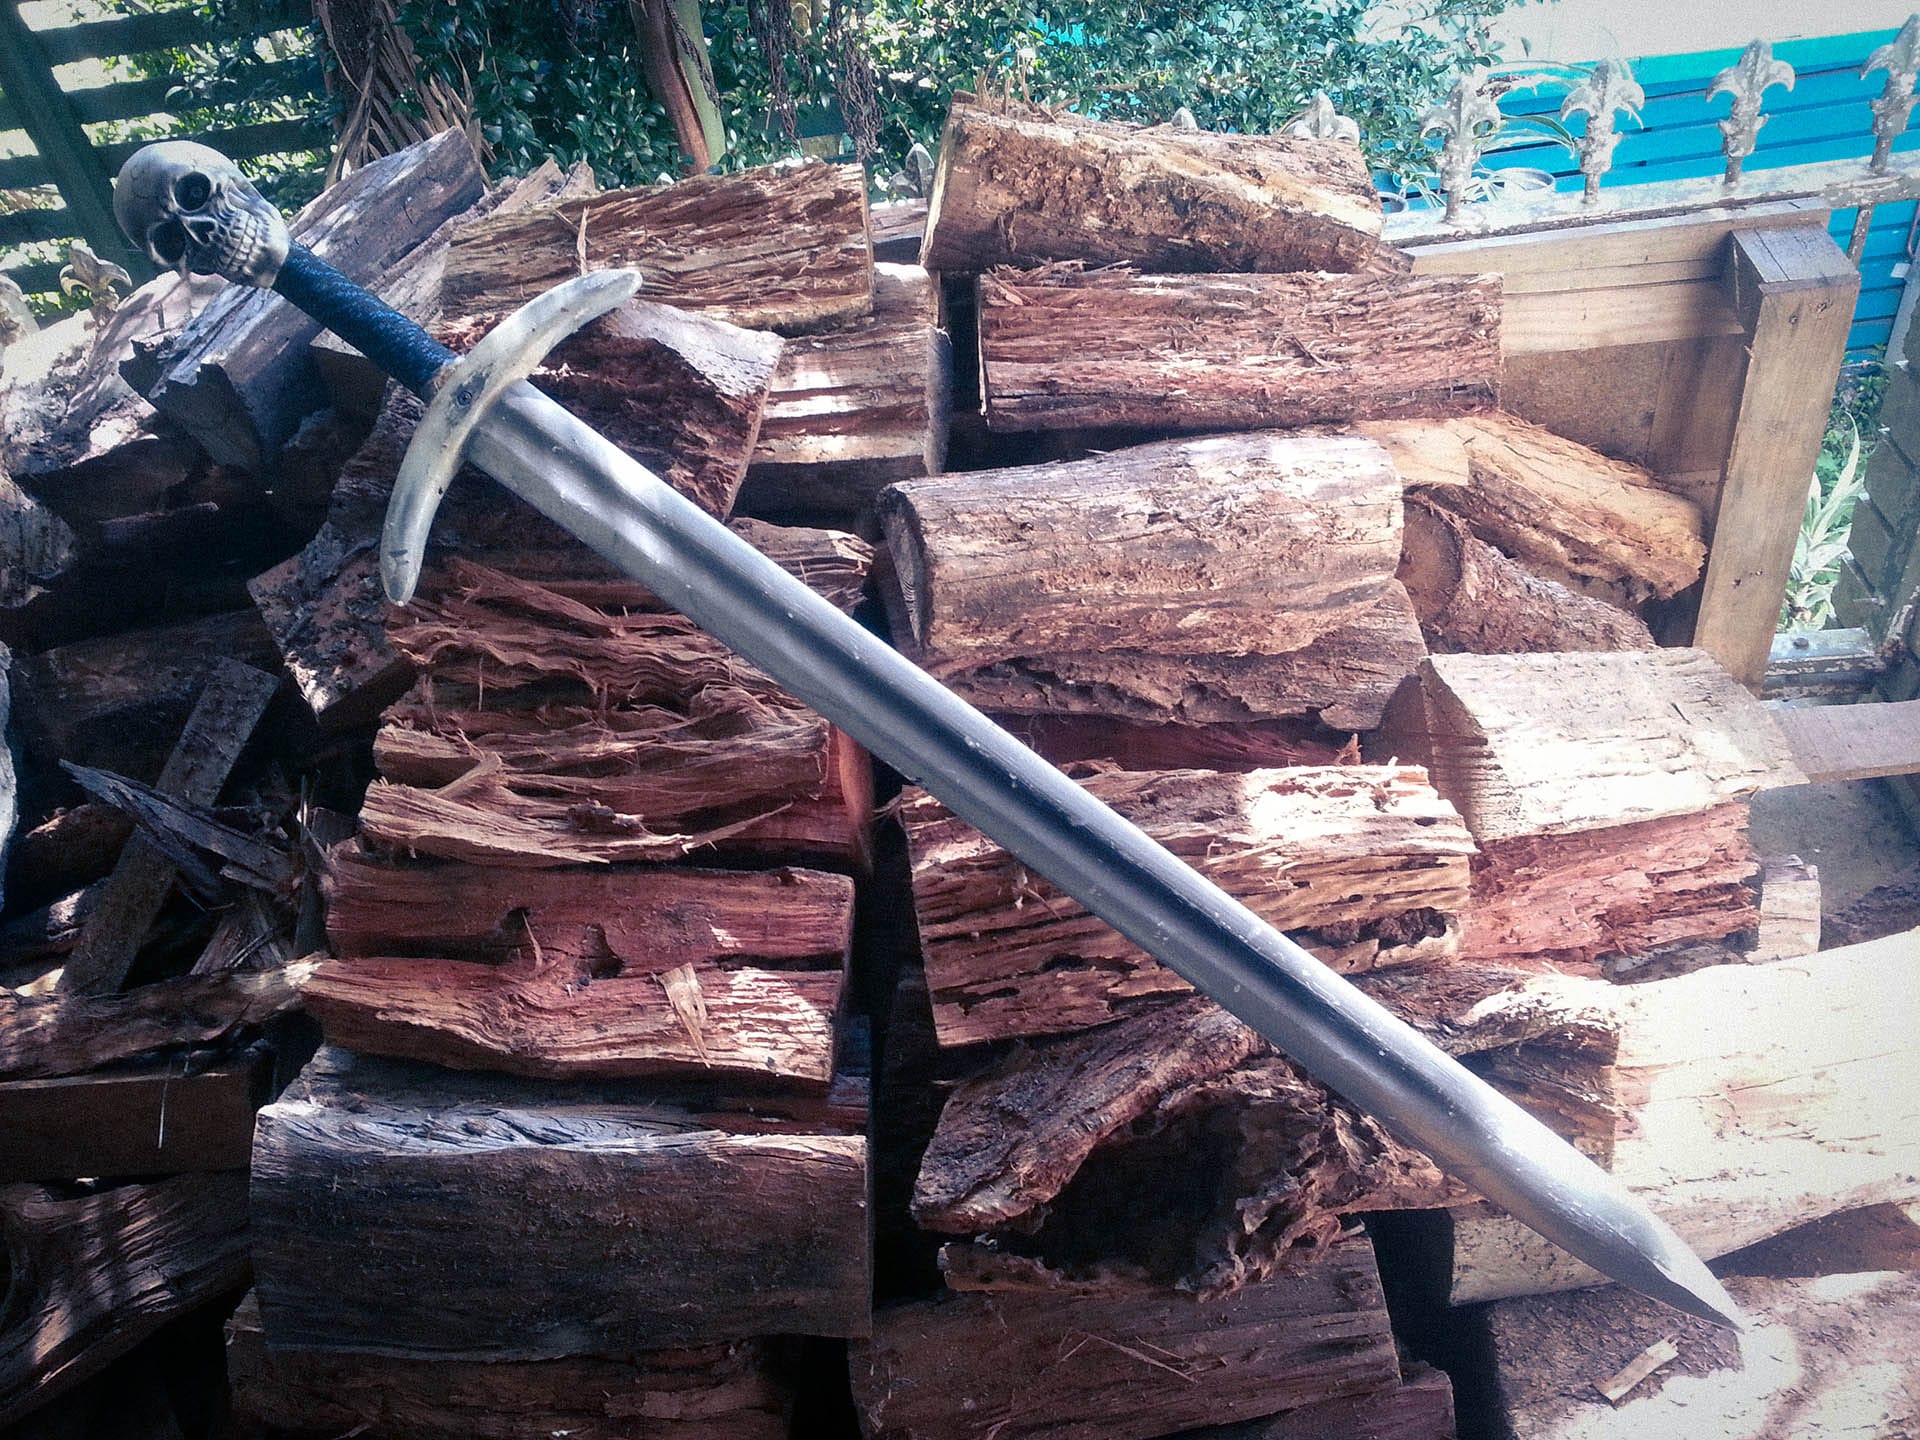
Behold! The prop sword in all its Glory... Again
After the show
After the show they didn’t have a use, or room, for it, so while packing up props they offered it back to me. It was then that I noticed the join at the cross guard, where we had placed a screw to secure it, had been drastically weakened from the beating it sustained on stage. It didn’t take much to snap the handle clean off.
But luckily for us it mostly lasted the entire show, and after a bit of a nightmare of a project, it was completed successfully. I also came away with a lot more experience than I had bargained for.
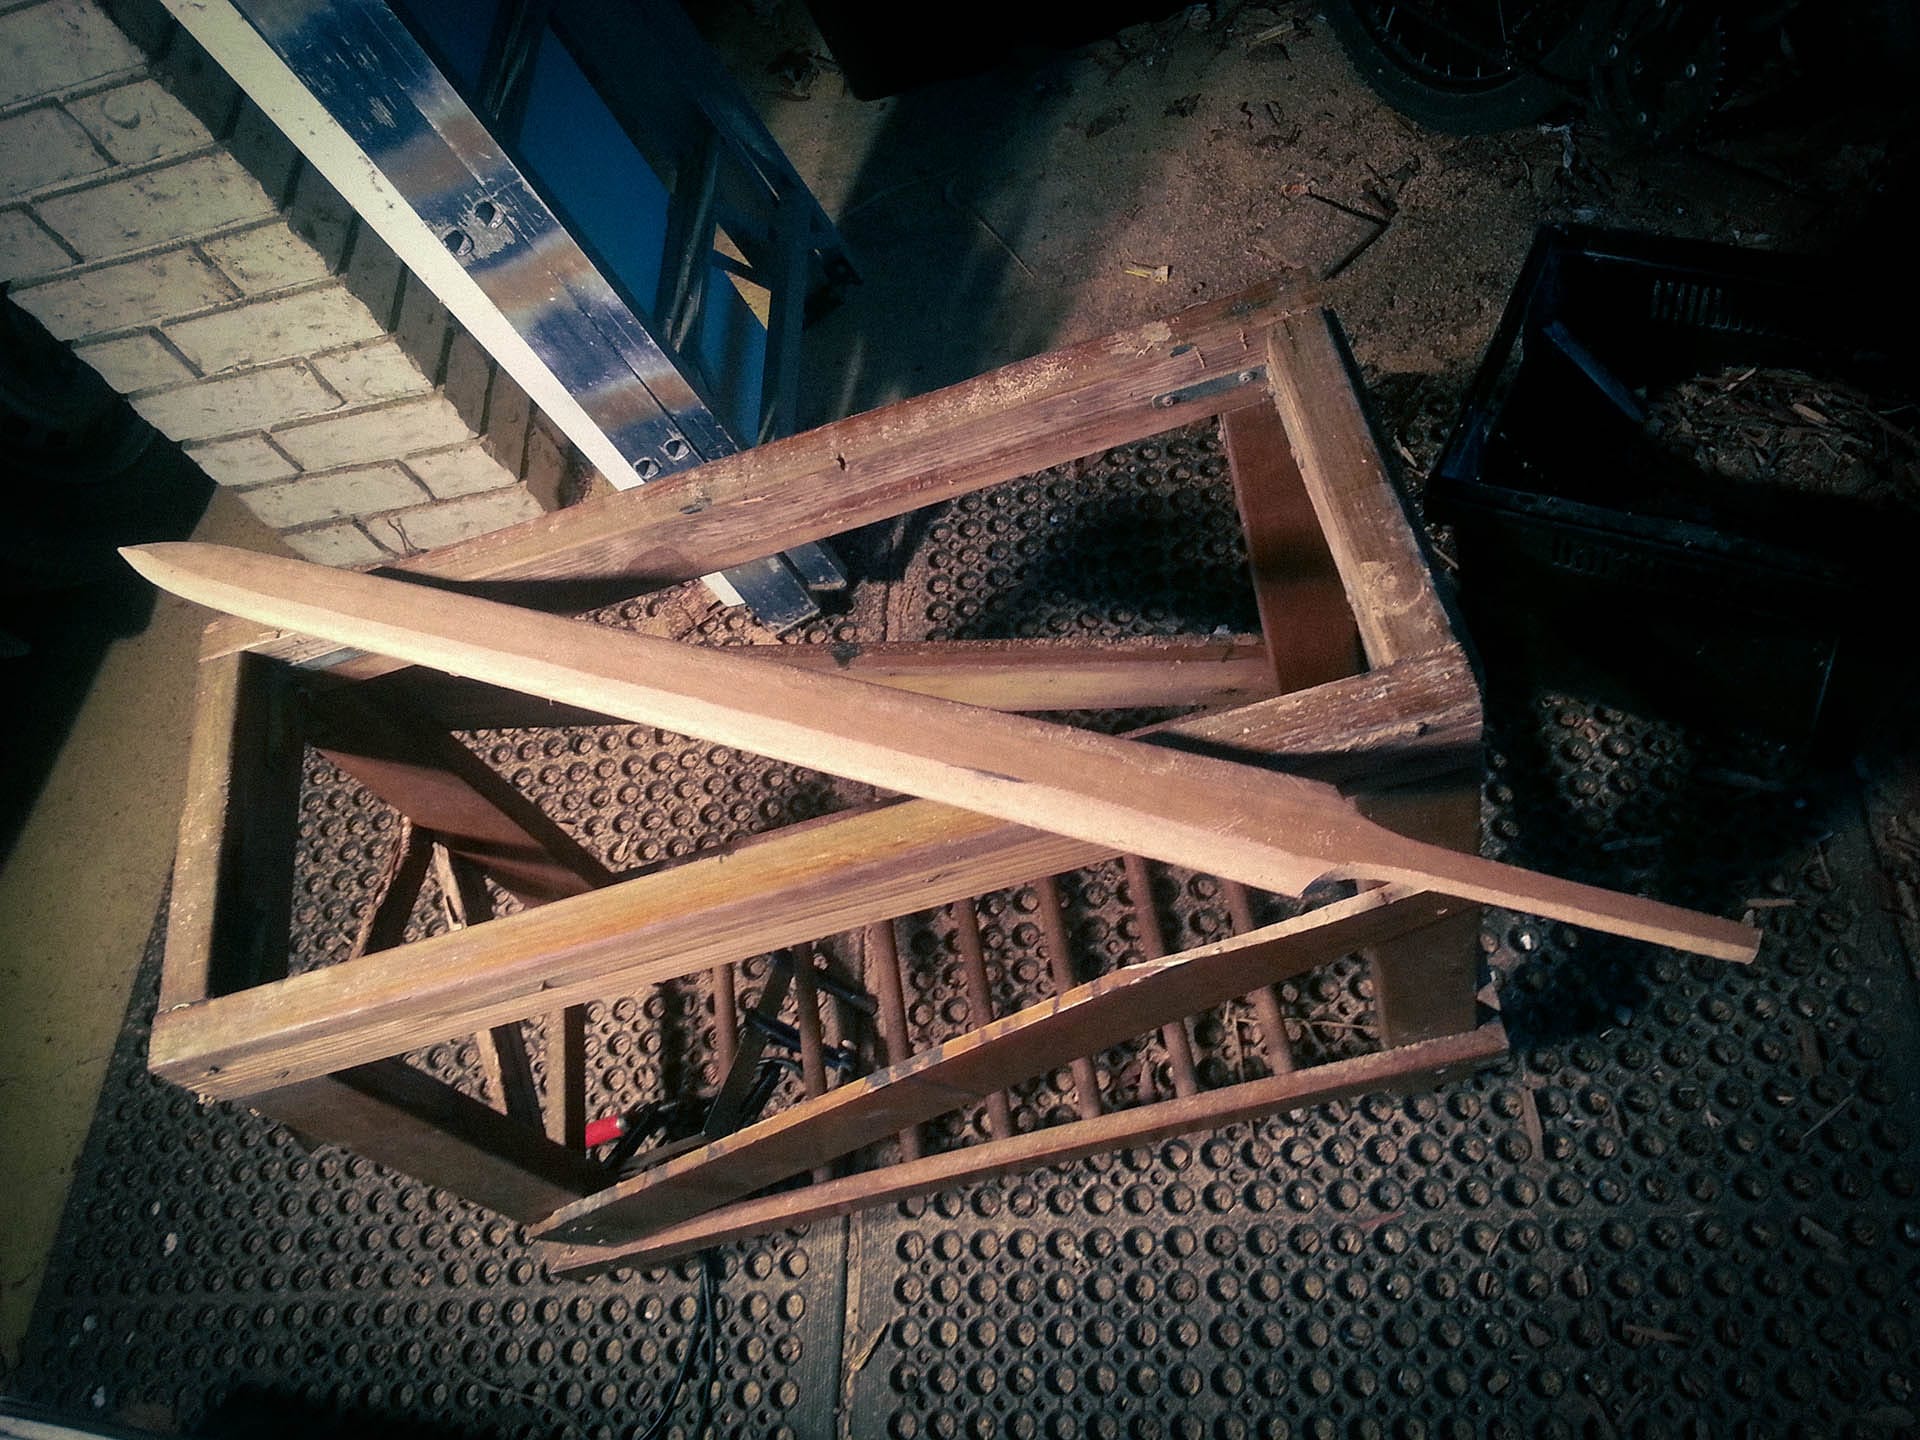
What remains of the prop sword March 2026
Everything on this site is free for everyone. No ads. No popups. No paywalls. Subscribe to receive the free monthly newsletter, and you’ll be able to comment on posts. If you’d like to help keep this project sustainable, there are Supporter and Sponsortiers available - Totally optional.